Building the enviro:bit Weather Station Kit
This tutorial will show you how to put your enviro:bit kit (also known as the Weather Station Kit) together.
With this kit, you'll be able to complete a number of projects that we've written for the enviro:bit, including a weather station and a noise detector!
It should take less than 15 minutes to assemble the kit.
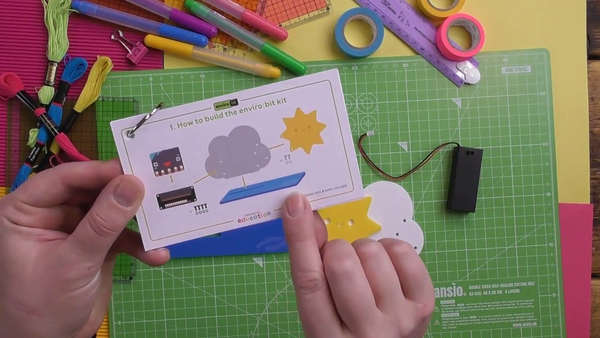
We've included simplified instructions with the kit, on the first of the printed cards. If you prefer video instructions, take a look at our YouTube channel.
Preparing the acrylic pieces
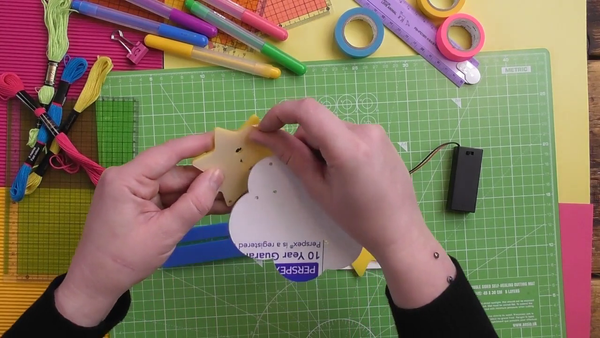
The acrylic pieces come with a protective plastic film on them that you'll have to peel off before you assemble the kit. You'll need to do this for the sunshine, cloud, and the blue stand.
Bolting the pieces together and assembling the stand
First, bolt the sunshine to the cloud. The sun sits behind the cloud, and the two white bolts go through from the front. Keep them in place with the white hexagonal nuts.
Once you've done this, you'll need four black bolts and four black hexagonal nuts. Place the enviro:bit on the cloud, over the four holes, and push the black bolts through from the front, attaching a black hexagonal nut to the back of each one. The next photo shows the view from the back.
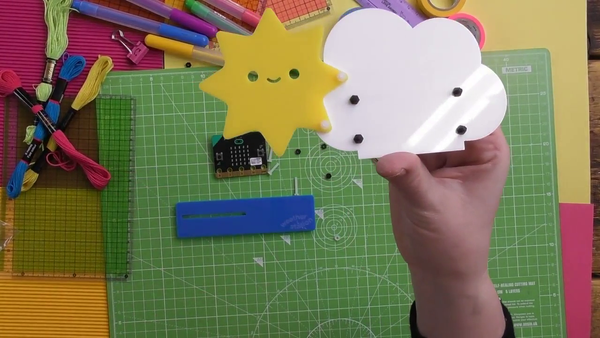
The sunshine/cloud/enviro:bit combination slots into the blue stand. It's designed to be a little tight, so that it grips firmly.

Attaching the micro:bit
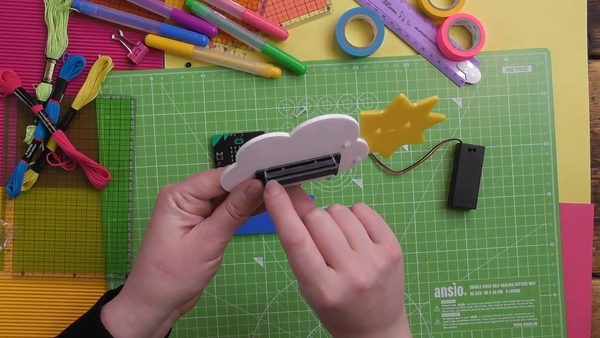
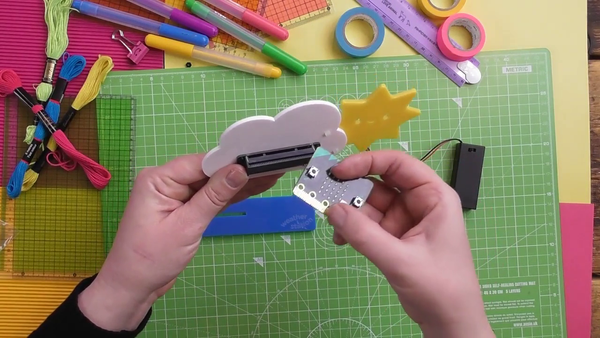
To attach the micro:bit, look down at the weather station and you'll see a slot at the front of the enviro:bit. Push the micro:bit firmly into the slot, as shown in the photo below (gold contacts down, buttons and LED matrix at the front).
Securing the battery pack
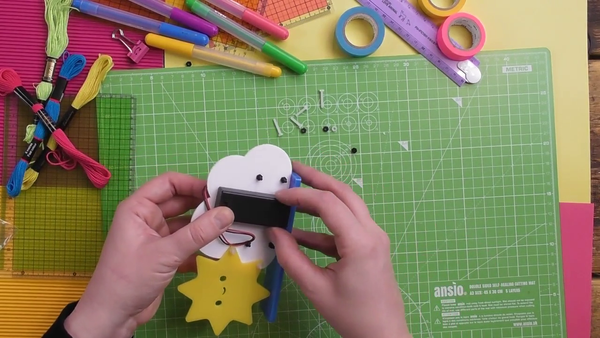
We attached our battery pack over the top of the cloud and hid the battery pack behind it. It sits nicely on the stand but, if you wanted to secure it, you could use double-sided tape or Blu Tack.
To buy the Weather Station Kit head to our shop or, to see a video version of this tutorial, head to our youtube channel.
Next steps
Now that you've built your weather station, you can start coding it! Follow the activities on the cards in your kit to learn how to install the enviro:bit software, and how to turn your kit into a real weather station or noise detector.
Search above to find more great tutorials and guides.