 Easy
Easy
Assembling Pibow Frame for Touch Display 2 - 10.1"
Learn how to put Pibow Frame together and attach your Raspberry Pi.
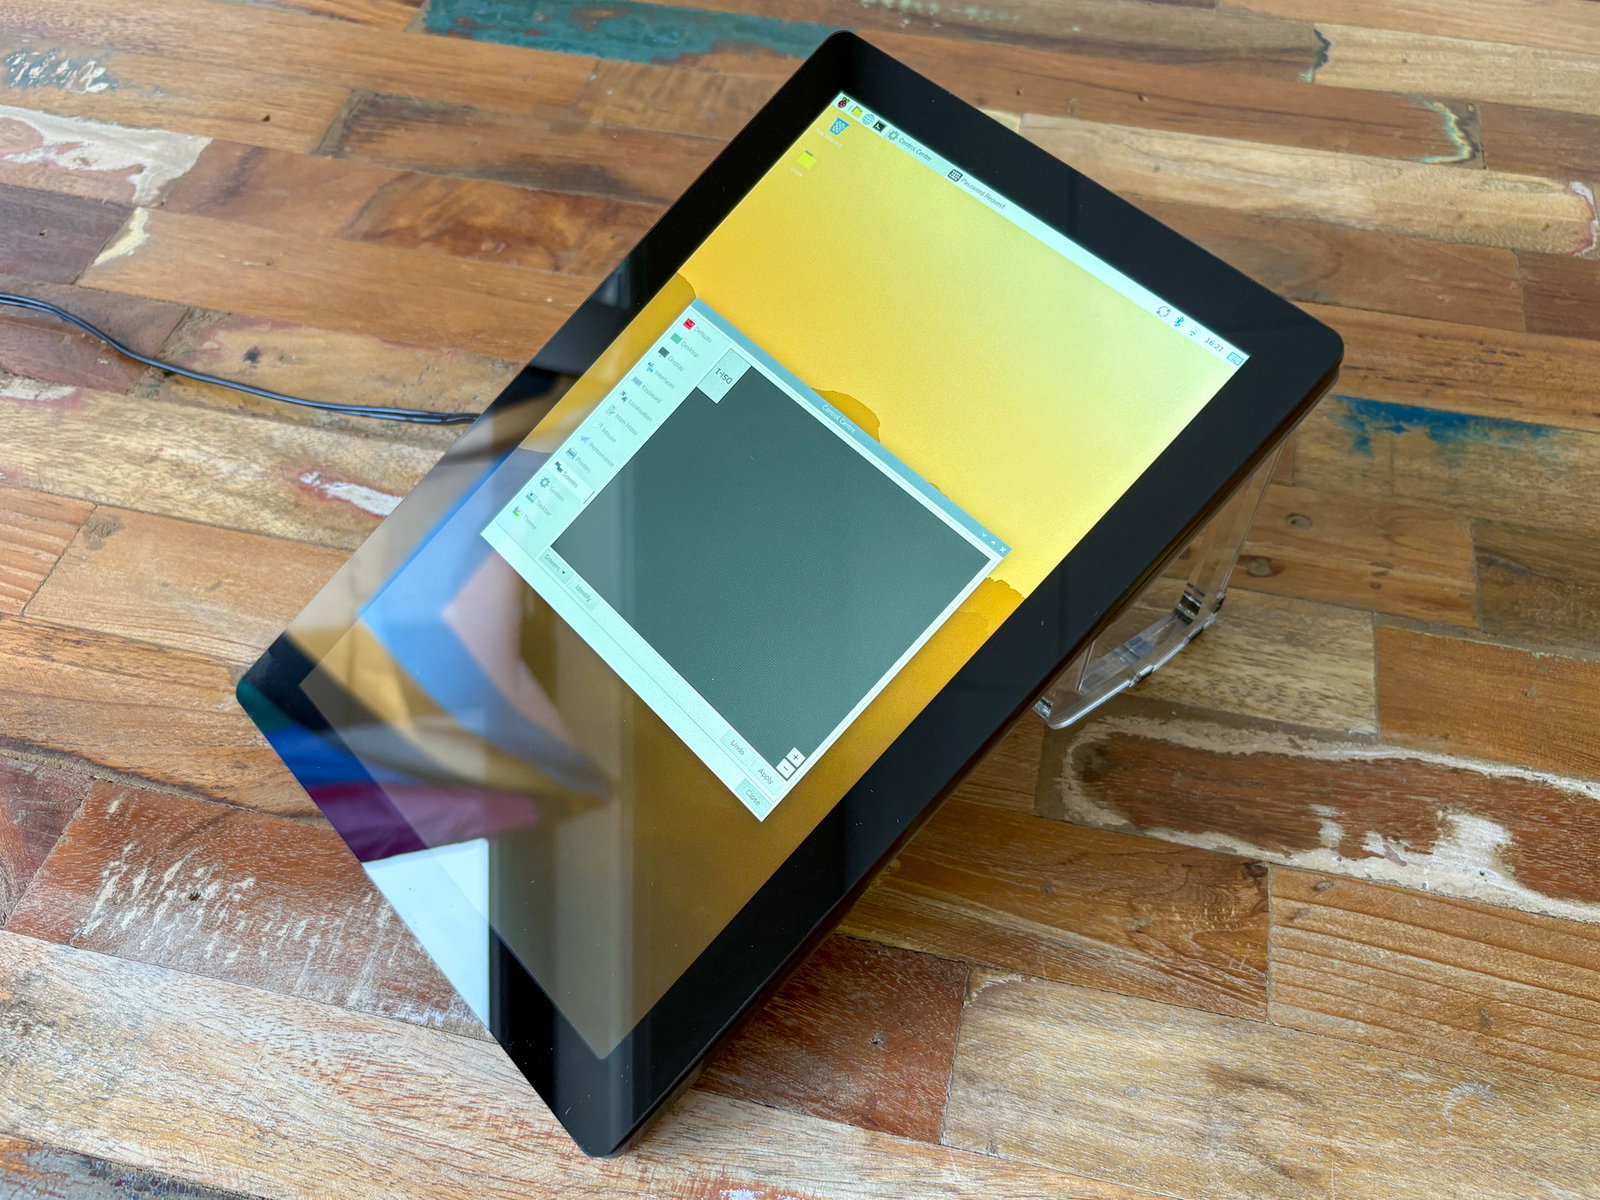
Our Pibow Frame protects the back of your shiny new Raspberry Pi Touch Display 2 and helps it stand neatly on your desk. You can use it in portrait or landscape, at a variety of angles, and even mount the Pi in different orientations. This guide walks you through the assembly step by step.
What You'll Need
- Pibow Frame - 10.1"
- Raspberry Pi Touch Display 2 - 10.1"
- A Raspberry Pi 5 (the 10.1" touchscreen will only work with Pi 5)
- A small cross-head screwdriver (we really like the iFixit ones).
Kit Contents
Here's what you get in the kit:
- 3x screen-sized acrylic pieces
- 2x mounting plates
- 2x legs with rubber feet
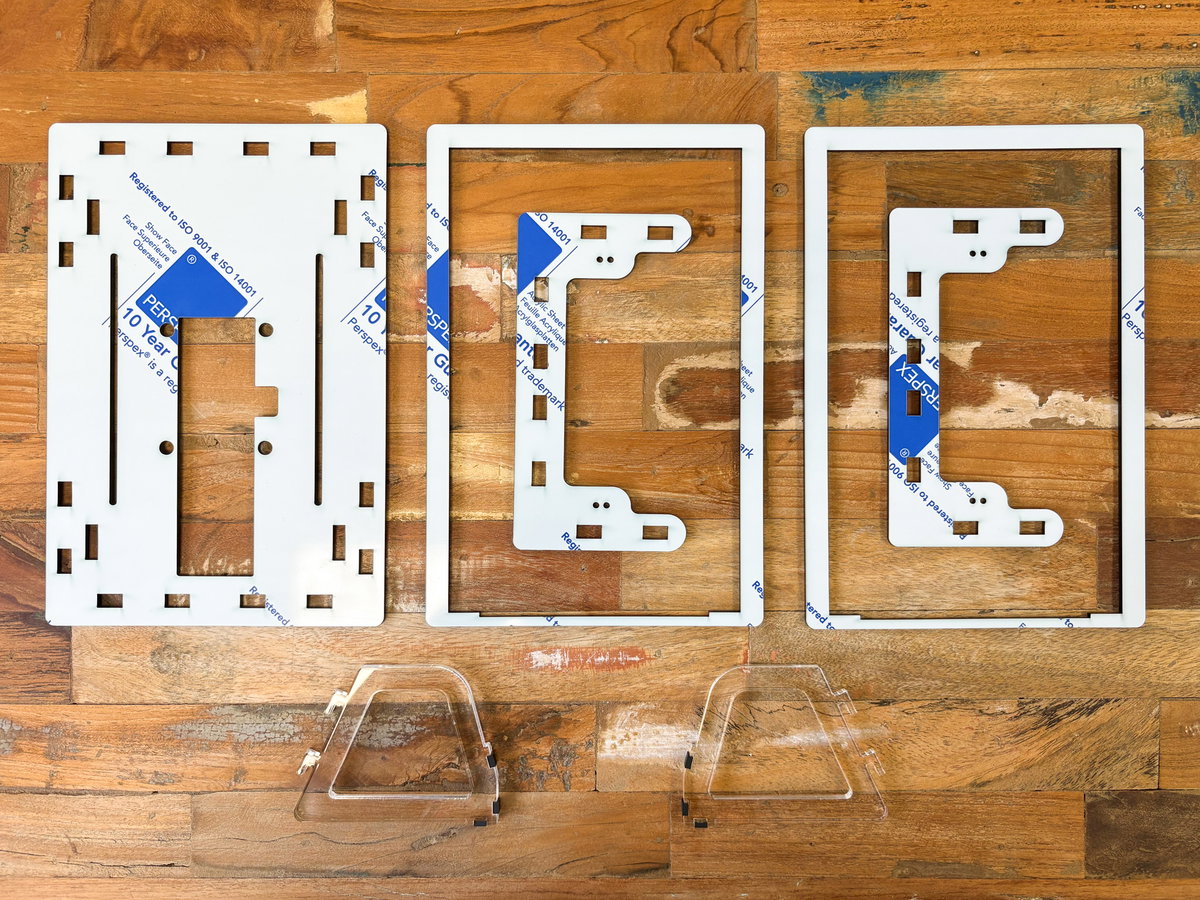
If you're missing anything, drop our support team a line and we'll get it sorted.
Assembling the screen
First up, unpeel all the protective plastic from both sides of the acrylic parts.
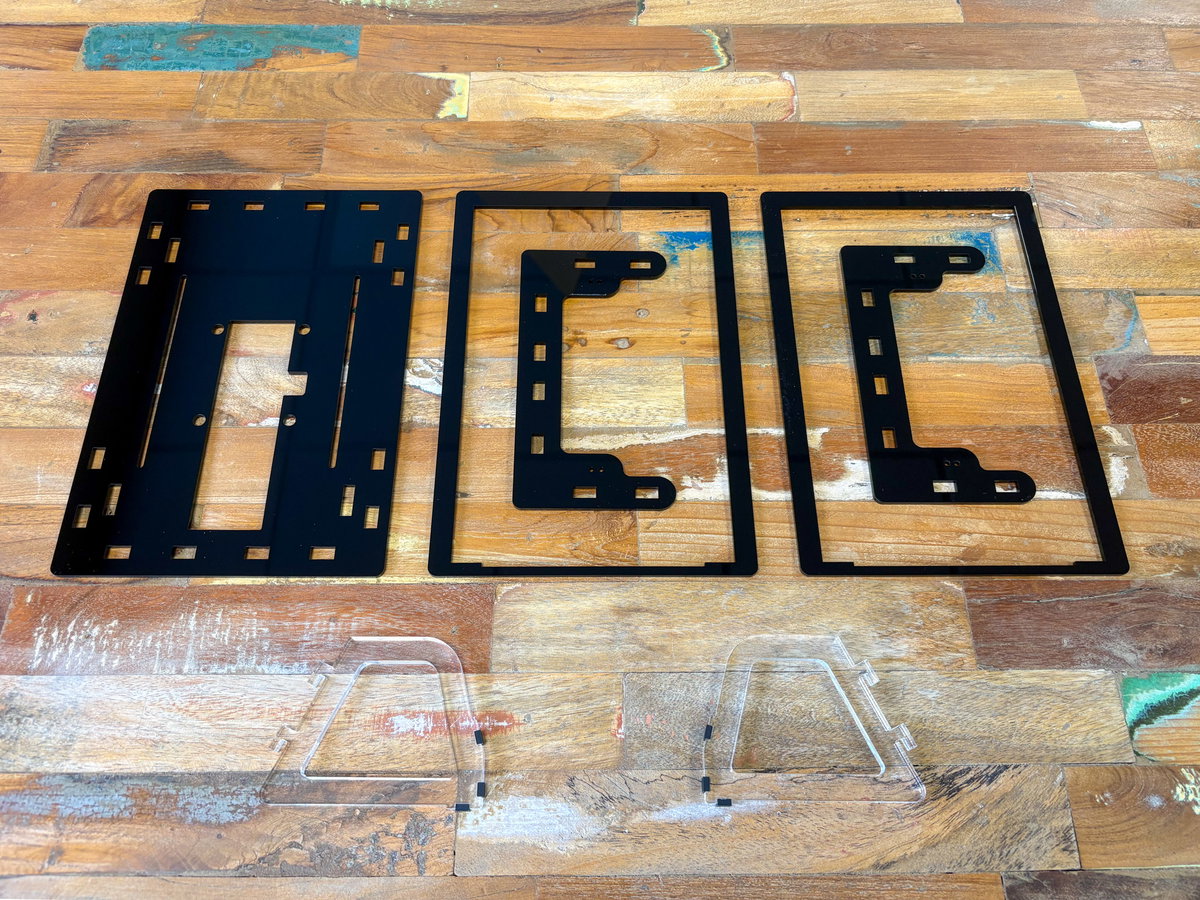
You'll then need to unpack your screen - it should come with a ribbon cable, a red and black power cable and 8x M2.5 screws. You'll also need your Raspberry Pi 5.
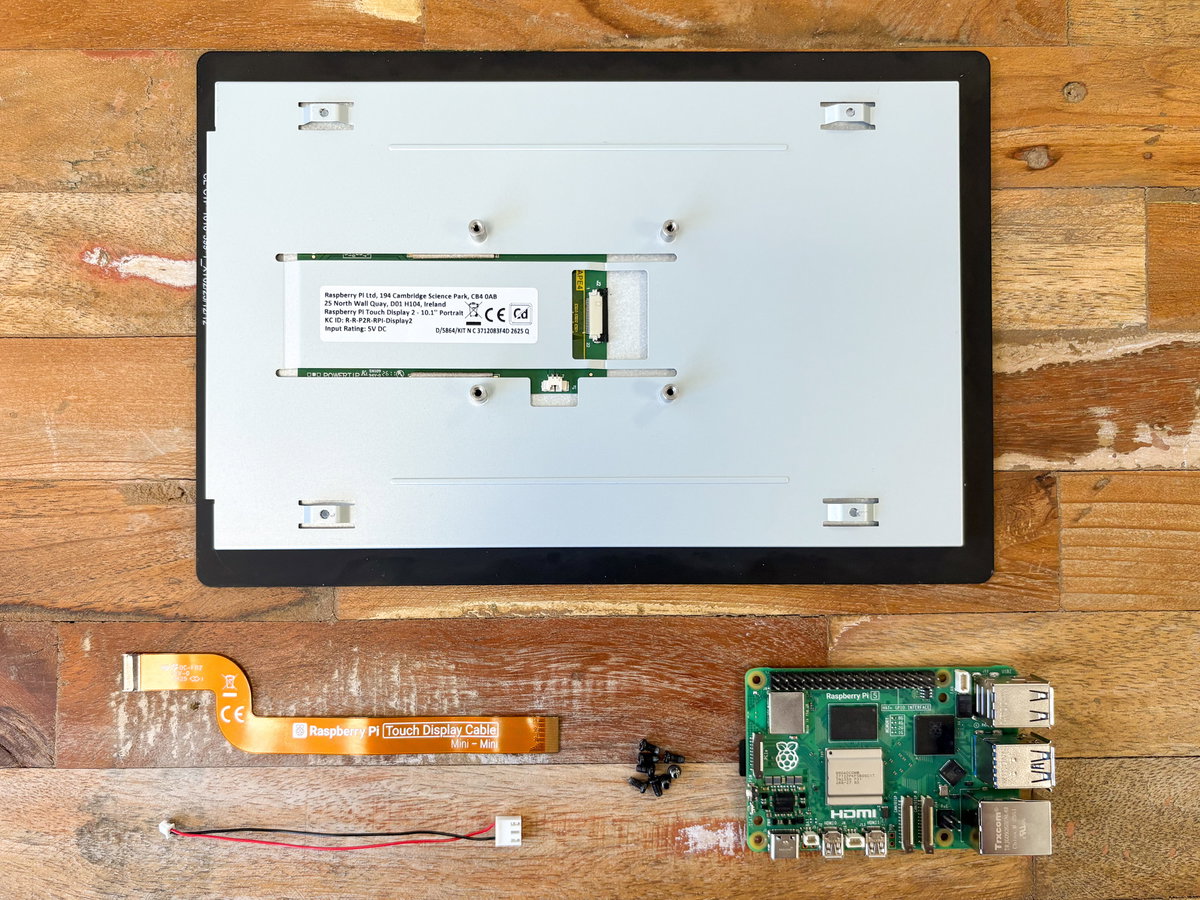
Lay the screen face down on a flat surface. We suggest leaving the protective plastic on the front while you assemble the frame. If you've already removed it, place the screen on something soft.
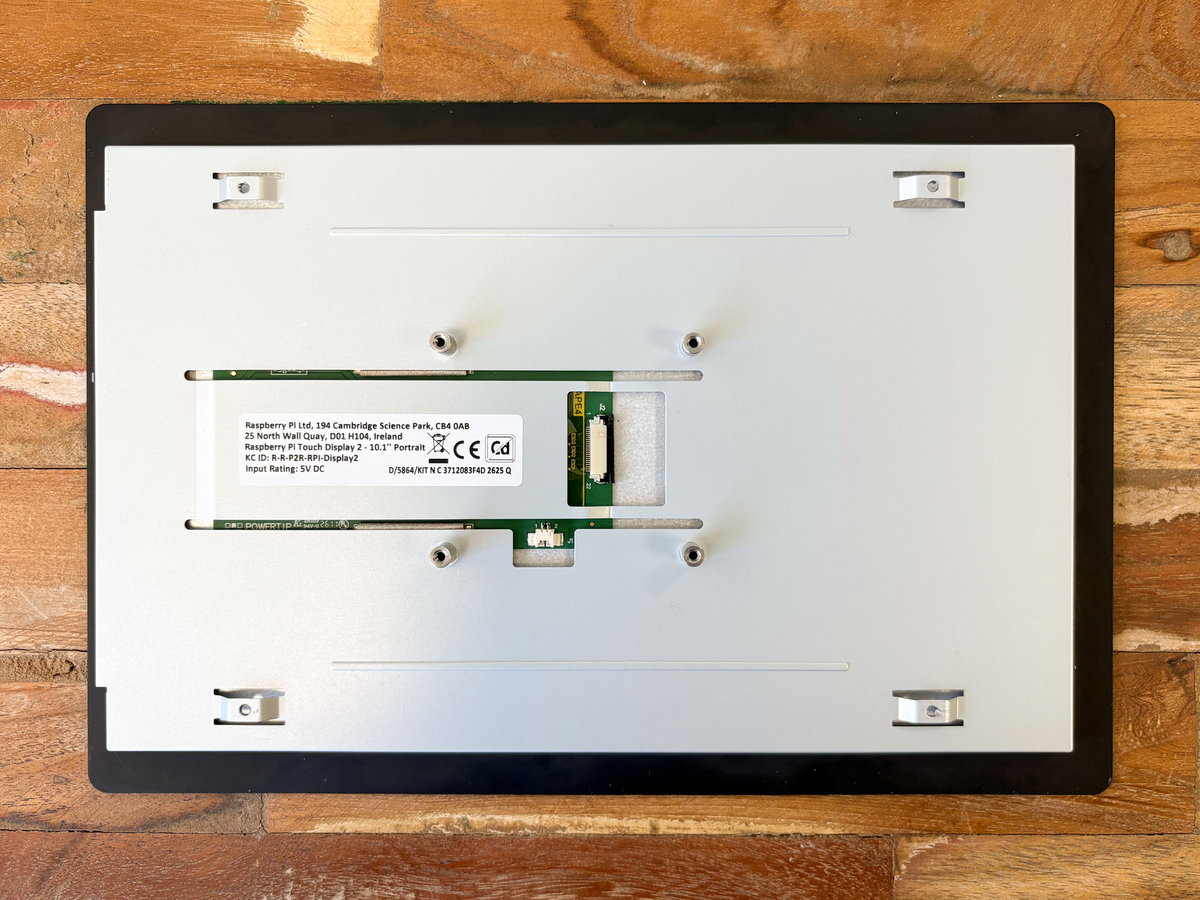
First, take the two large acrylic pieces with the big central cut-out. These two parts are identical. Align the cut-out edge with the notched side of the screen, then slot both pieces over the back of the display:
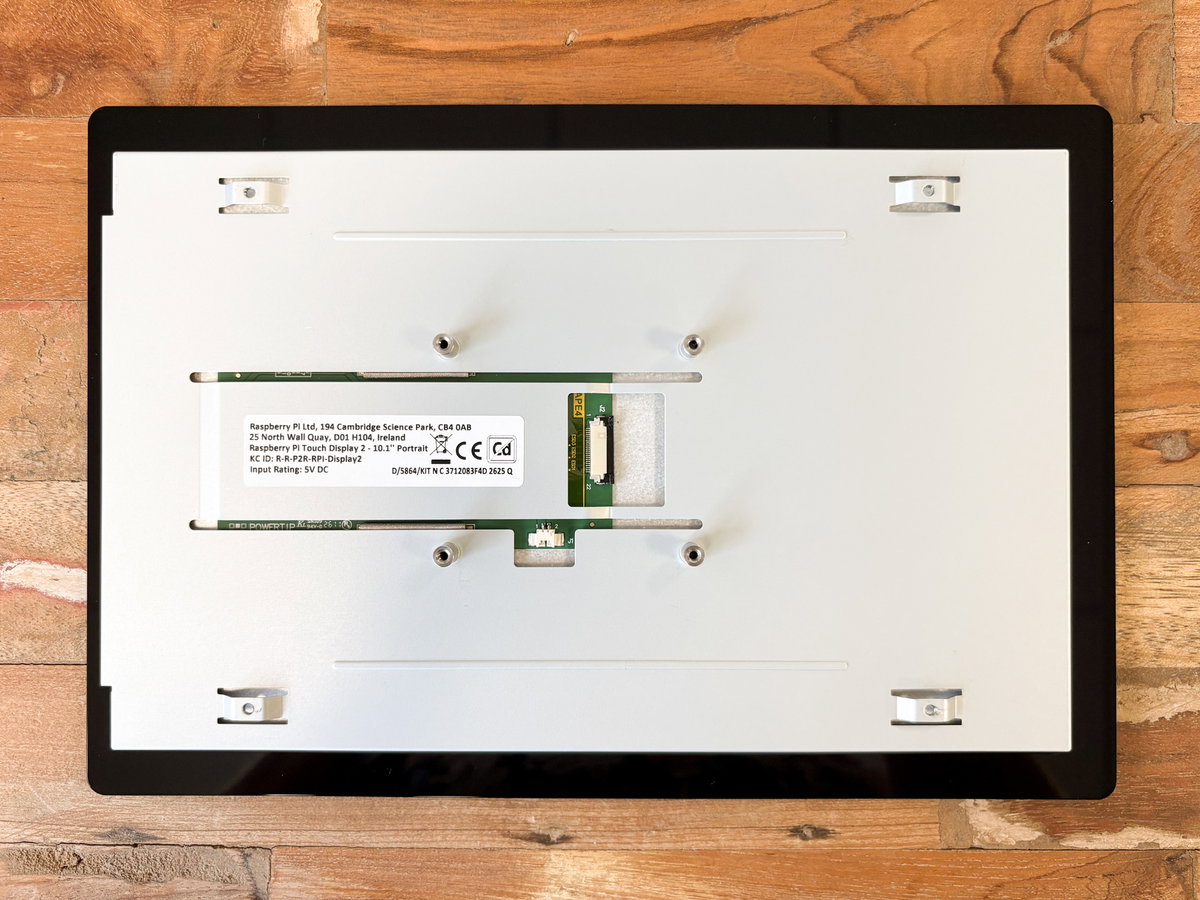
Now is a good time to plug the cables into the display.
Open the ribbon connector on the display by sliding the grey tab sideways slightly. Be gentle, these FFC connectors are quite delicate and it's possible to break the tab if you try and open it too far.
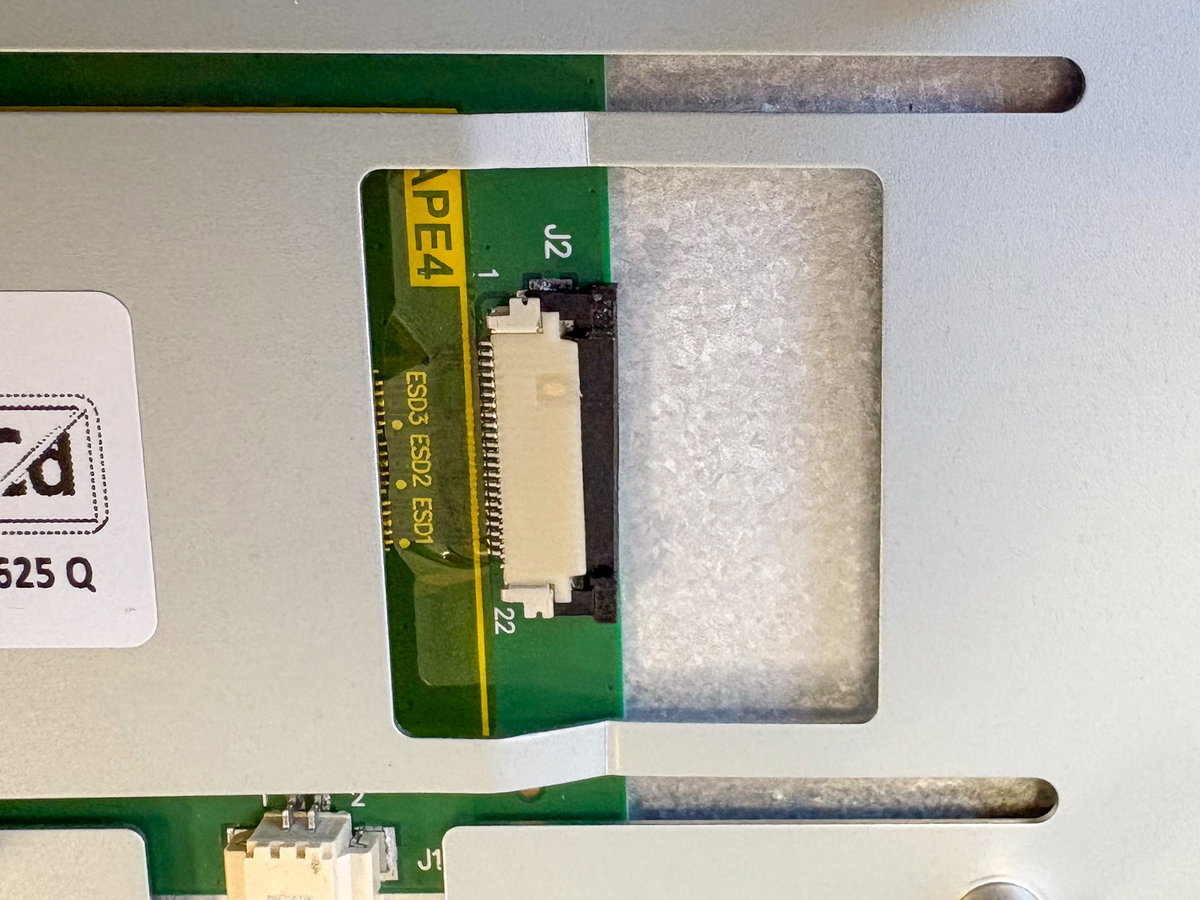
Insert the short end of the ribbon cable into the connector with the metal contacts facing you. Secure the cable by pushing the grey tab back into place.
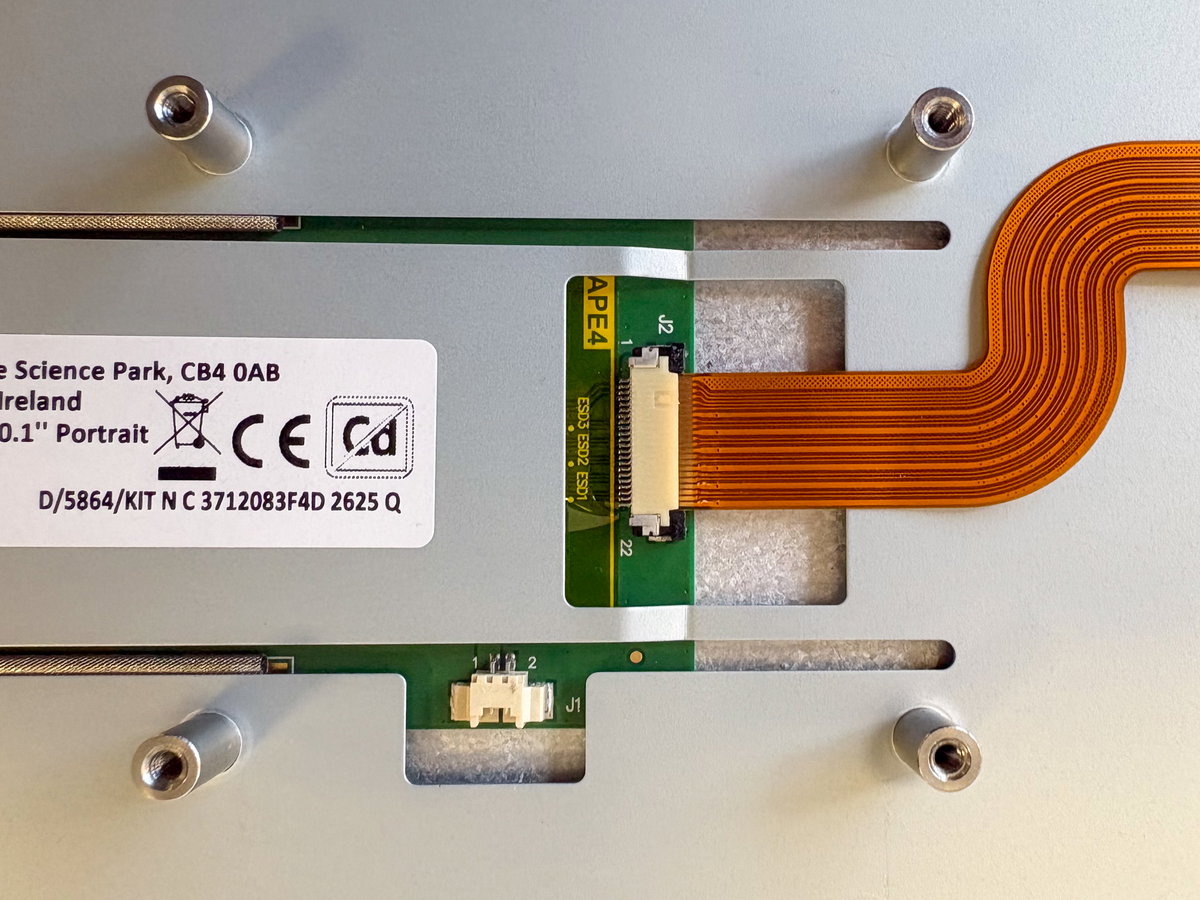
Plug the two-pin end of the red and black power cable into the two-pin connector on the display (it will only go in one way).
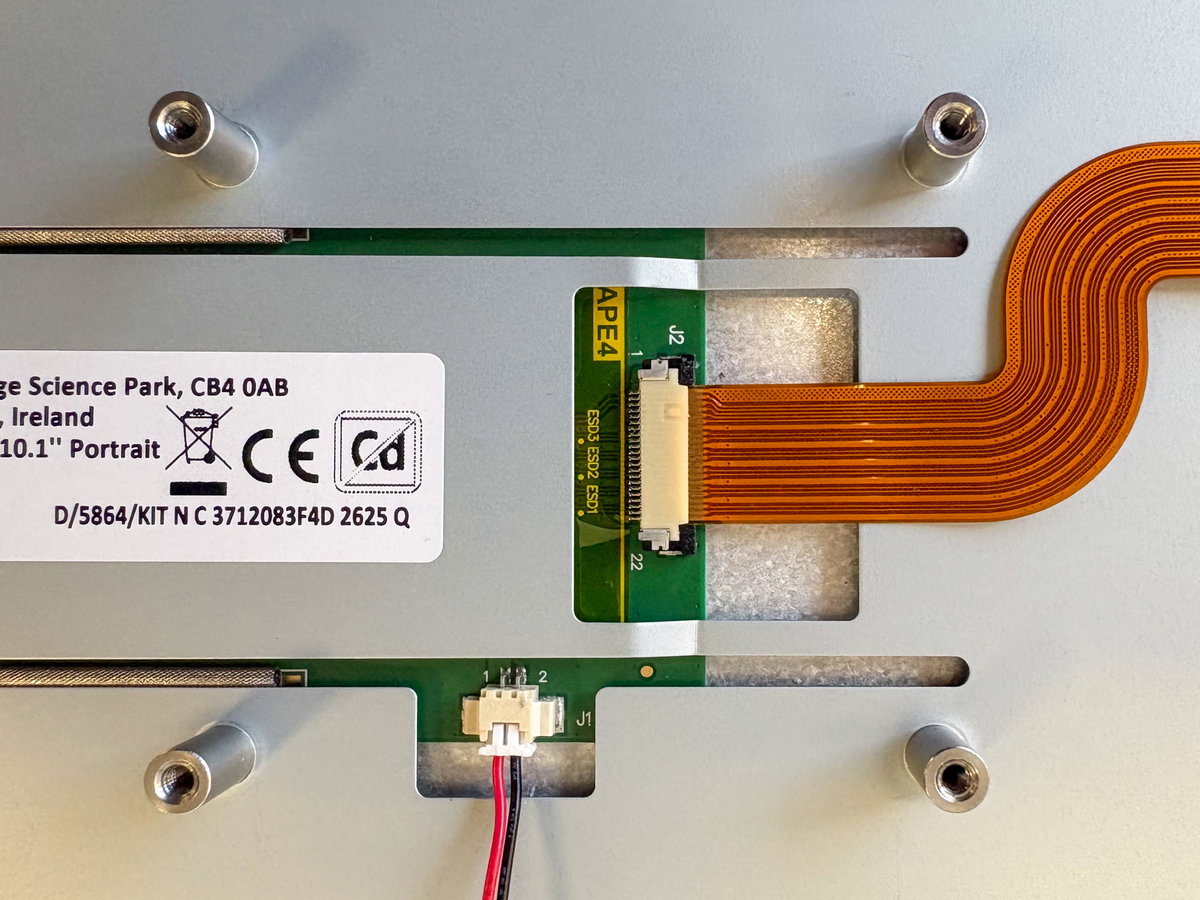
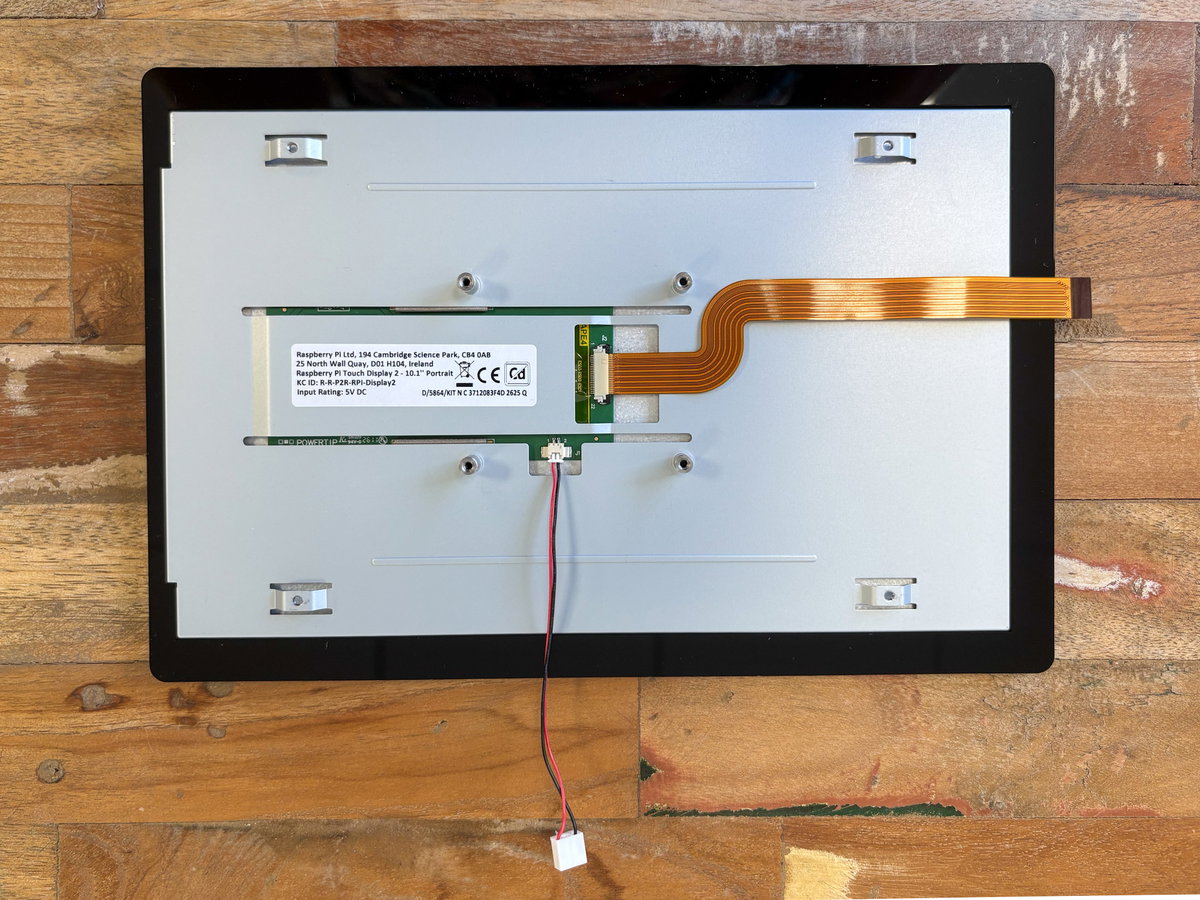
Here's what it should look like with the display cables plugged in.
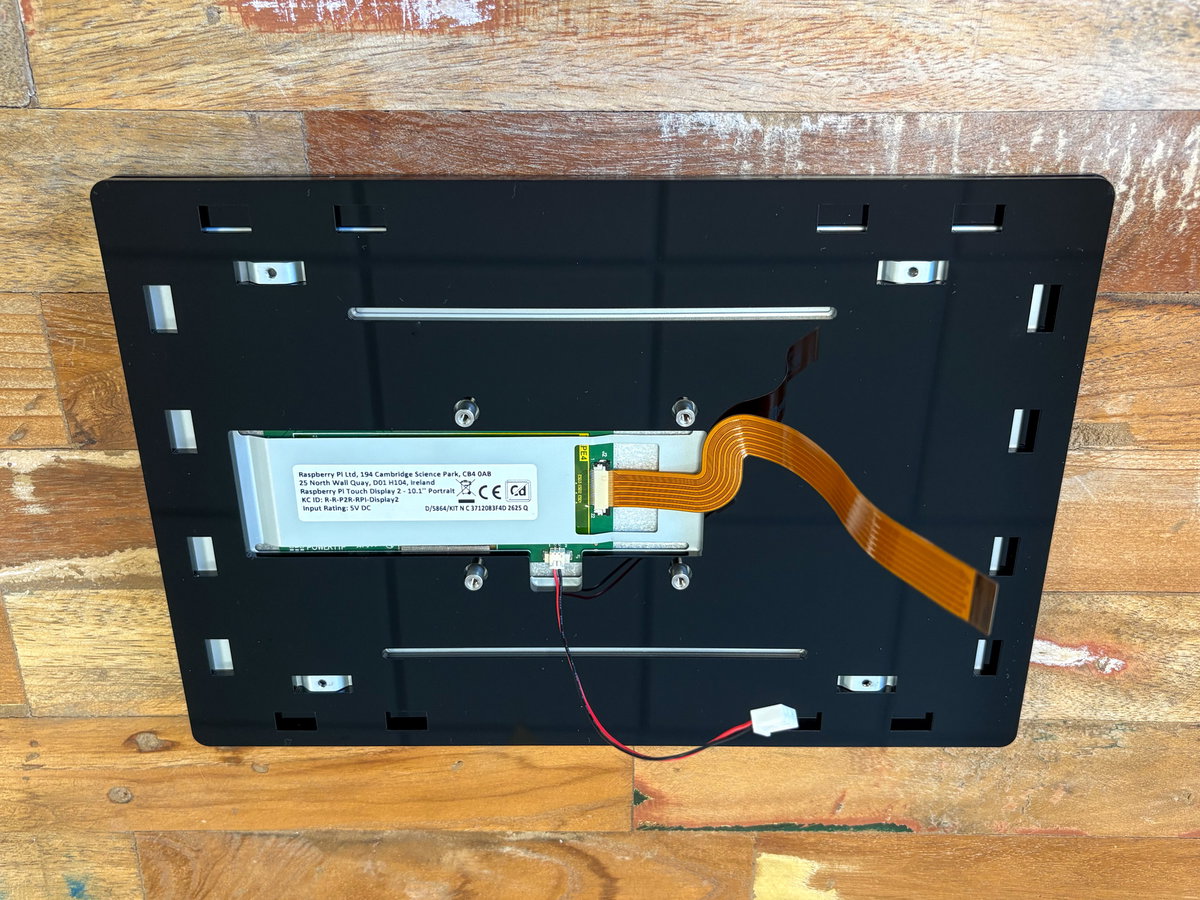
Thread the ends of the cables through the large hole in the third large acrylic piece and fit it in place over the back of the display. The rectangular hole should fit over the rectangular protrusion on the back of the display.
Fitting the legs
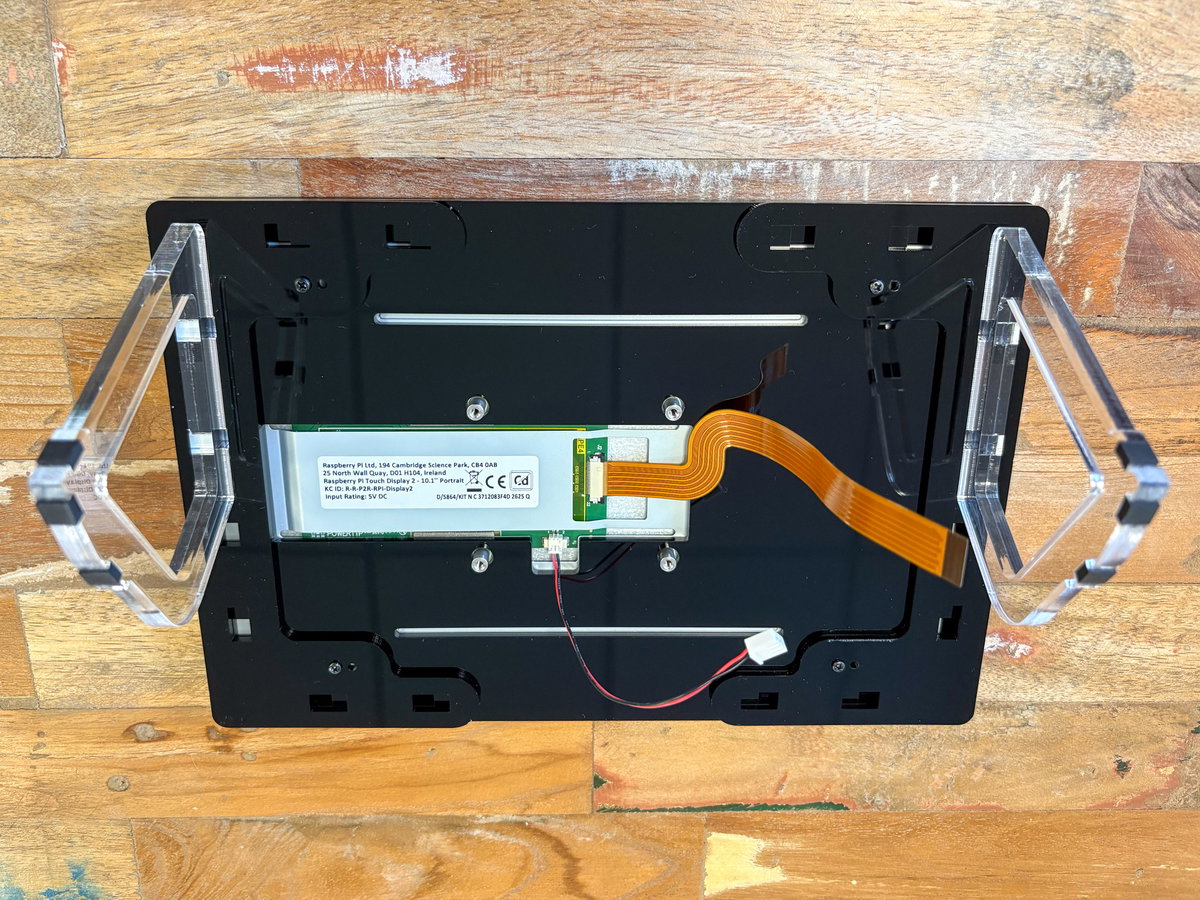
Before you fit the legs, decide which orientation you want for your display. We're mounting ours in landscape, so we need to attach one leg to the long side of each mounting plate. Fit the tabs on the legs into the slots on the mounting plates.
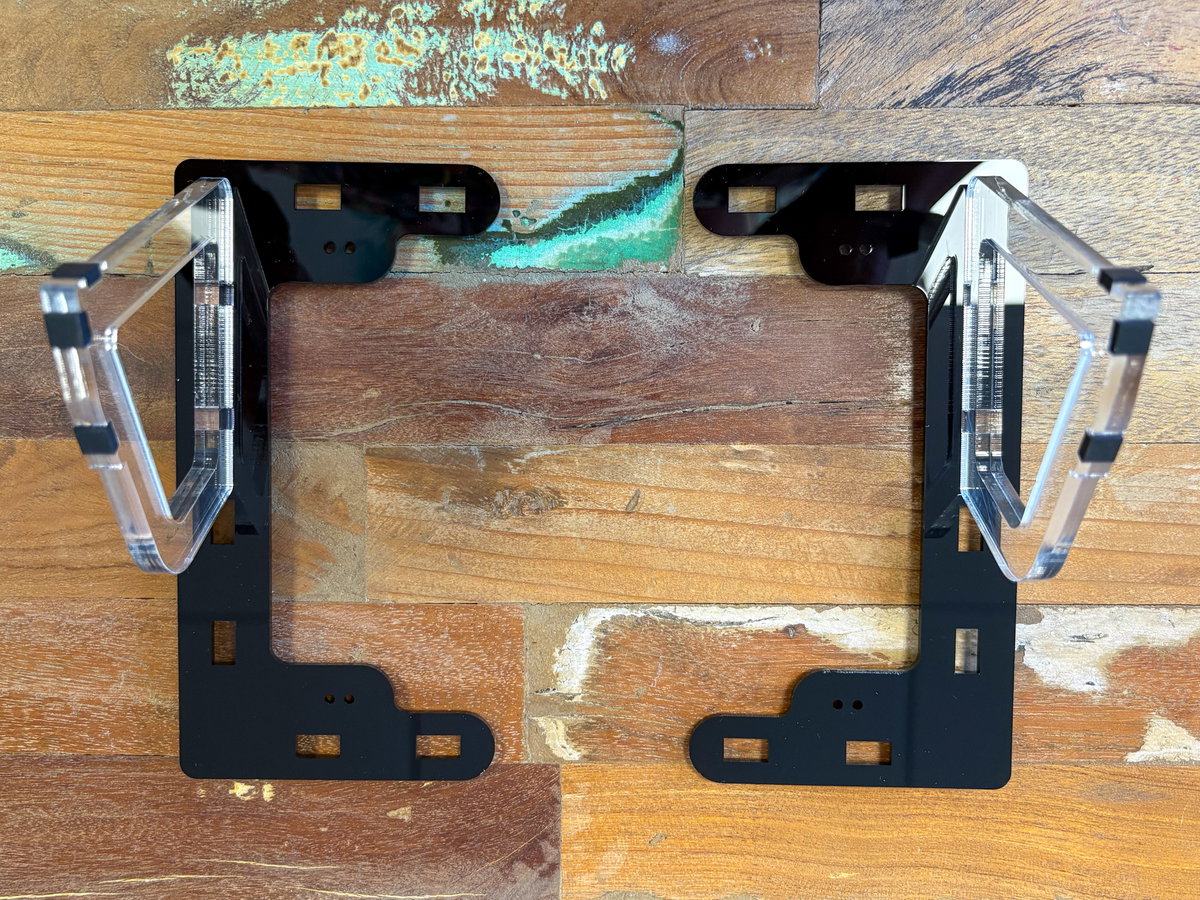
Place each mounting plate on the back of the frame, then give it a gentle wiggle to make sure the leg tabs fit nicely into the holes in the acrylic.
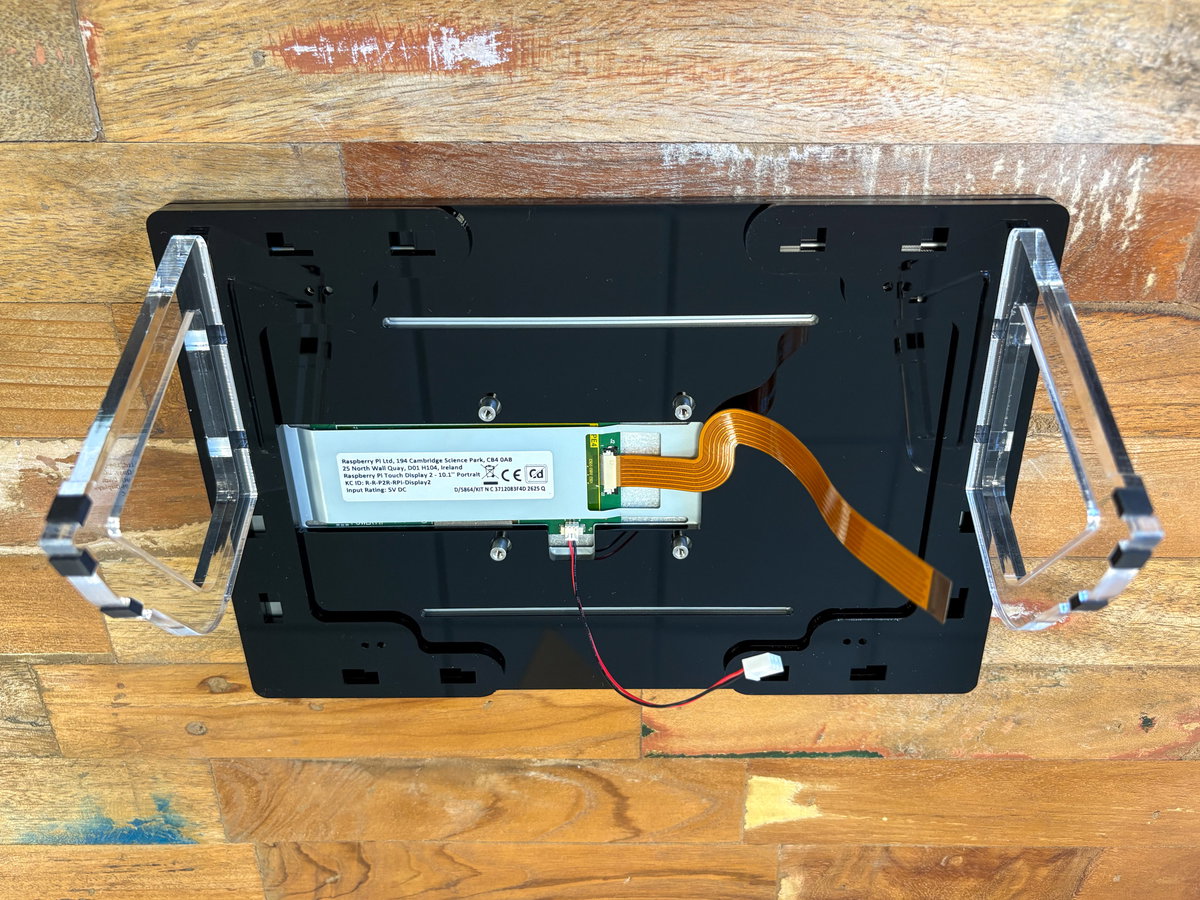
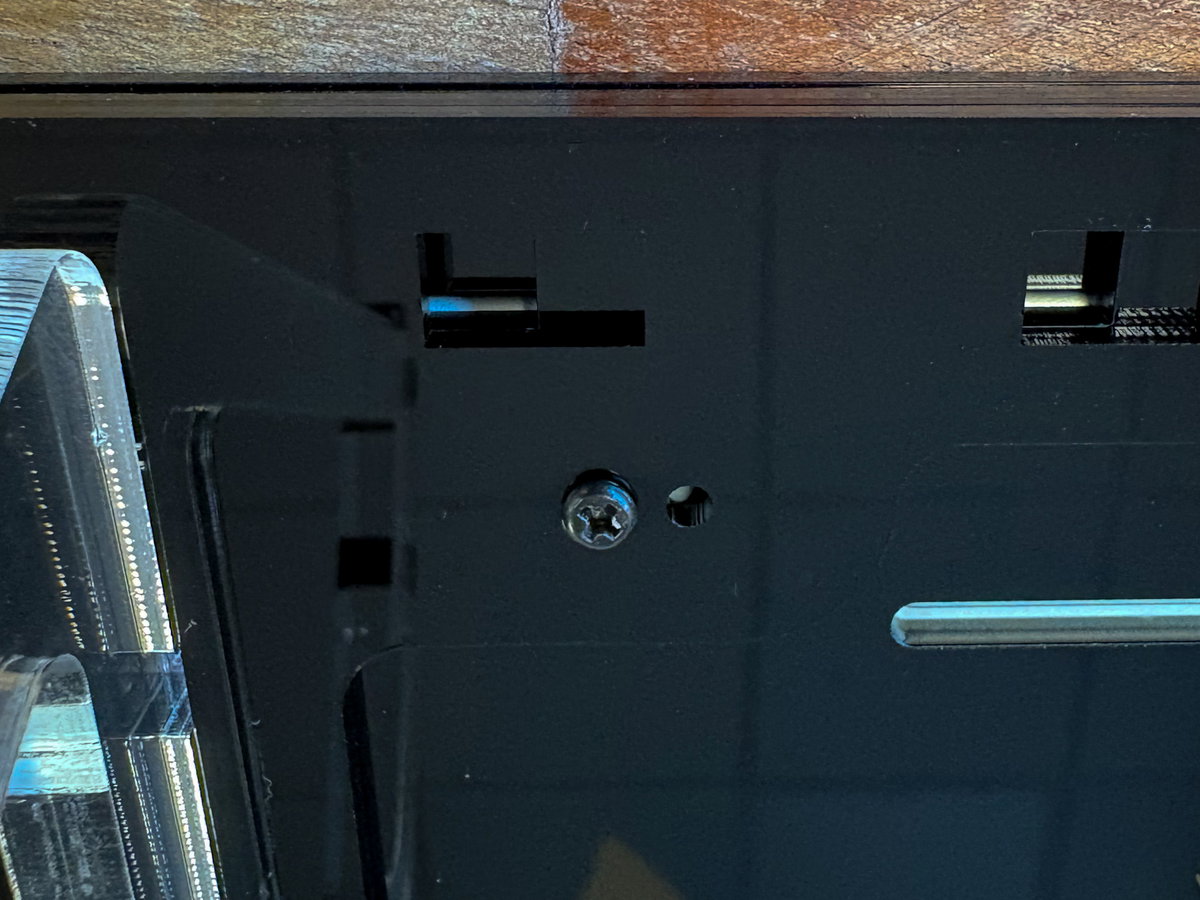
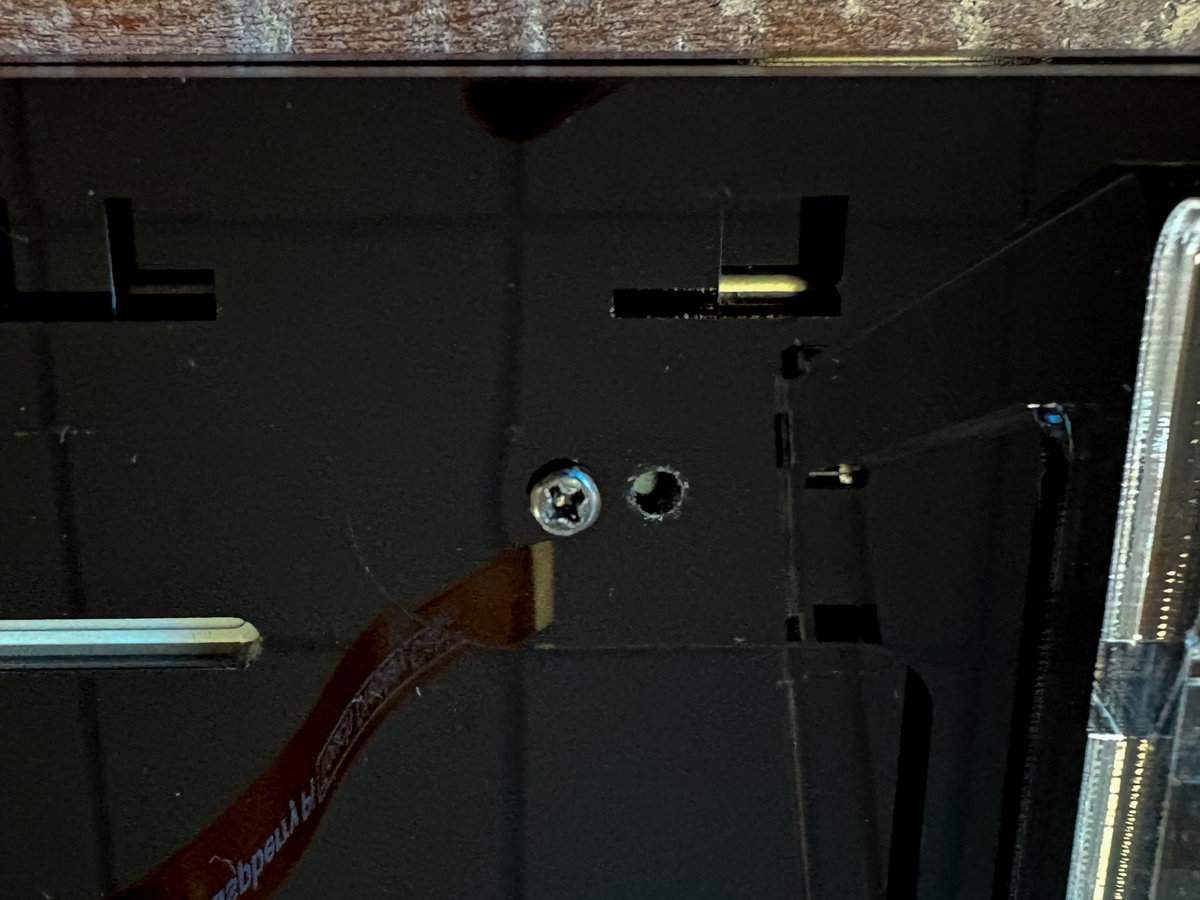
To fix the mounting plates in place, use four of the screws that came with the screen. There are two holes in each bracket so they will work in both landscape and portrait modes, so make sure you use the ones that match up with the holes on the display.
Adding the Pi
Next, add the Pi. We found it easier to connect the display cable before fastening the Pi to the display.
Open up display connector 0 on your Pi 5 (this is the one nearest to the USB and ethernet ports). This connector works in a similar way to the one on the display, but you need to carefully slide the tab up vertically (away from the Pi) rather than sideways.
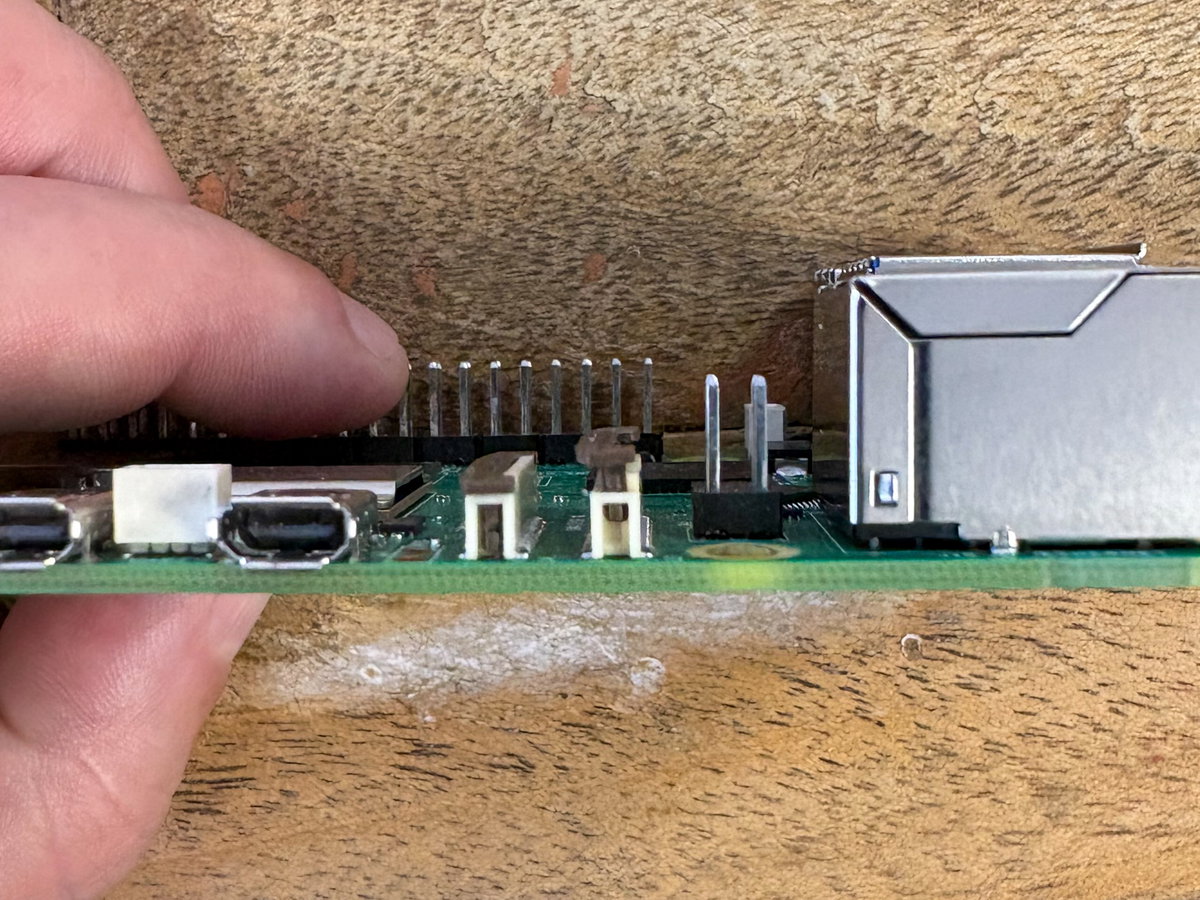
Pop your Pi on top of the display's built-in standoffs, and use the remaining M2.5 screws to fix it in place.
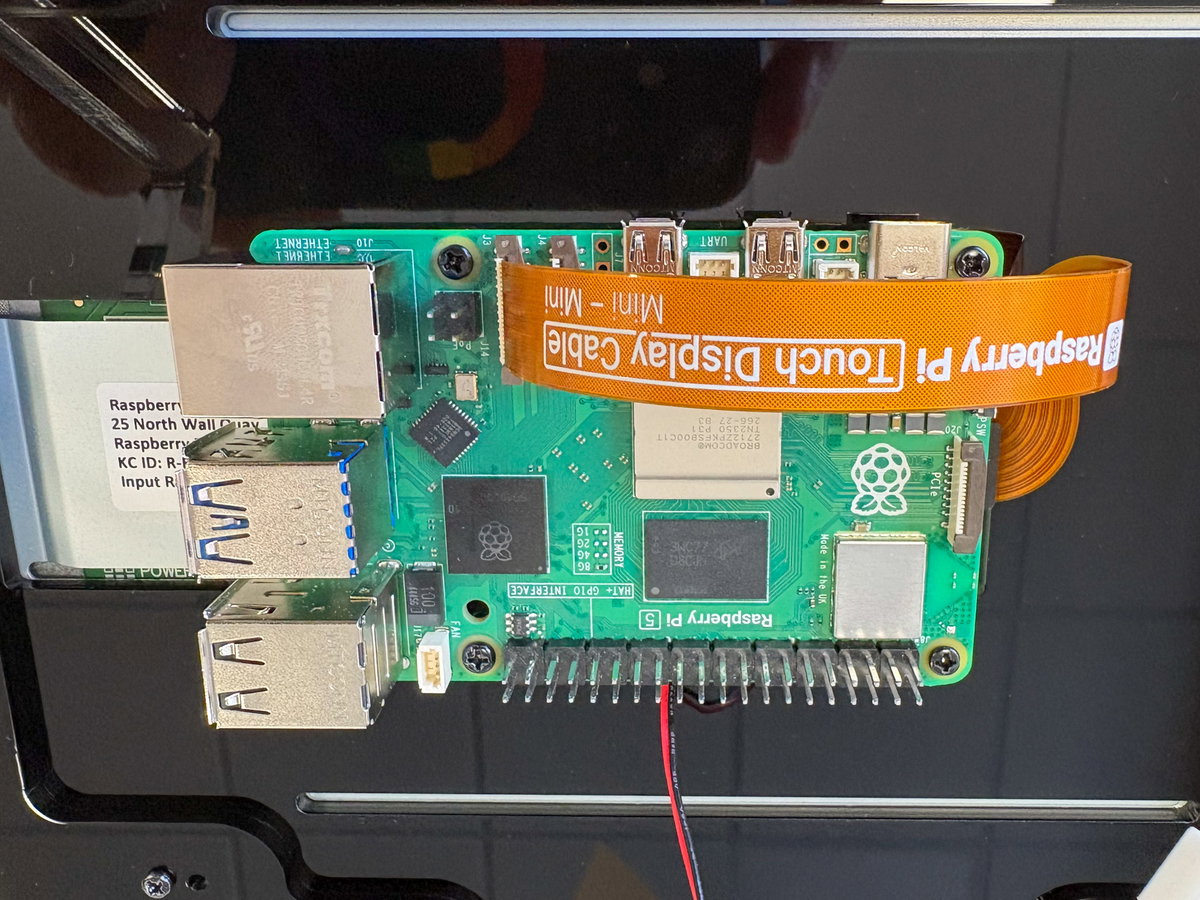
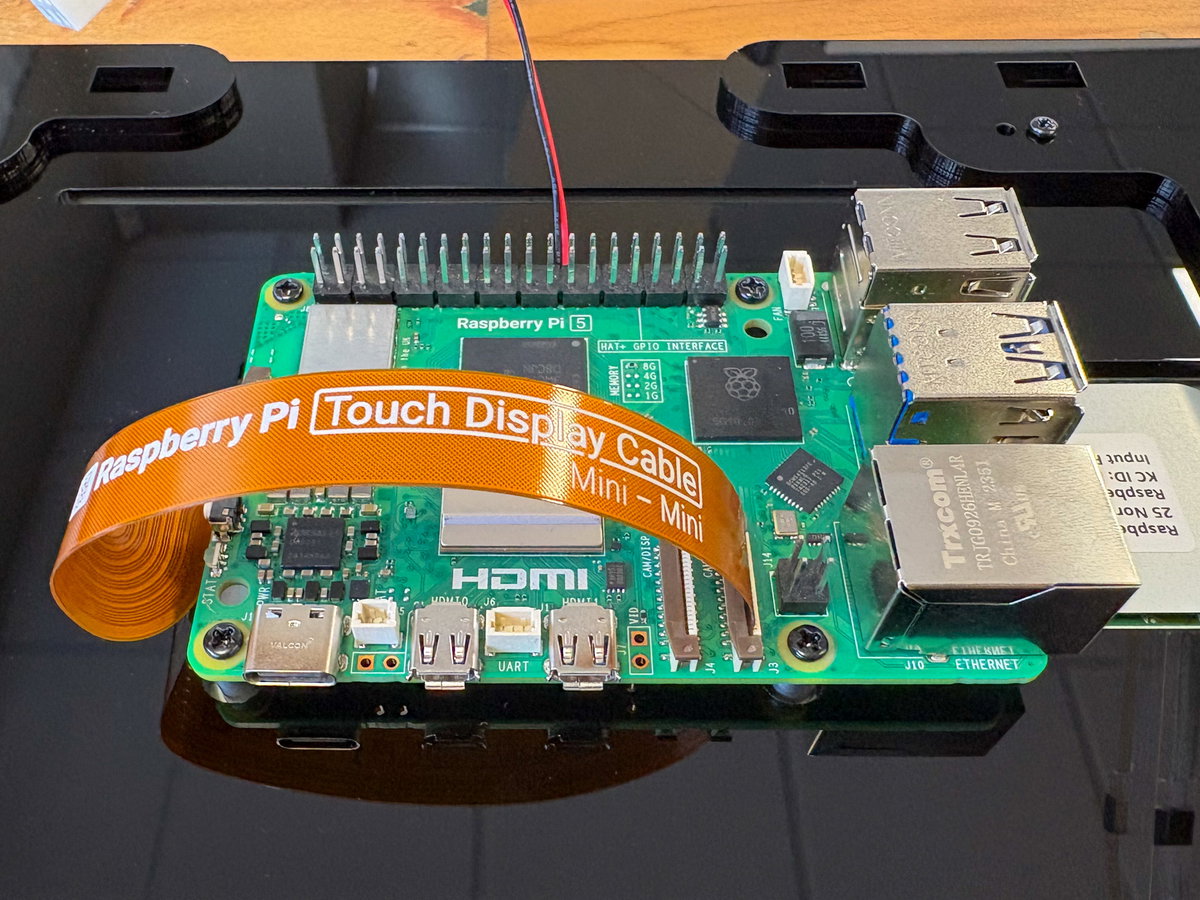
Plug the power cable into the first three pins on the Raspberry Pi's GPIO header as shown. Make sure the red wire is going to pin 2, which is the first pin on the top row (check Raspberry Pi's helpful diagram if you're unsure!)

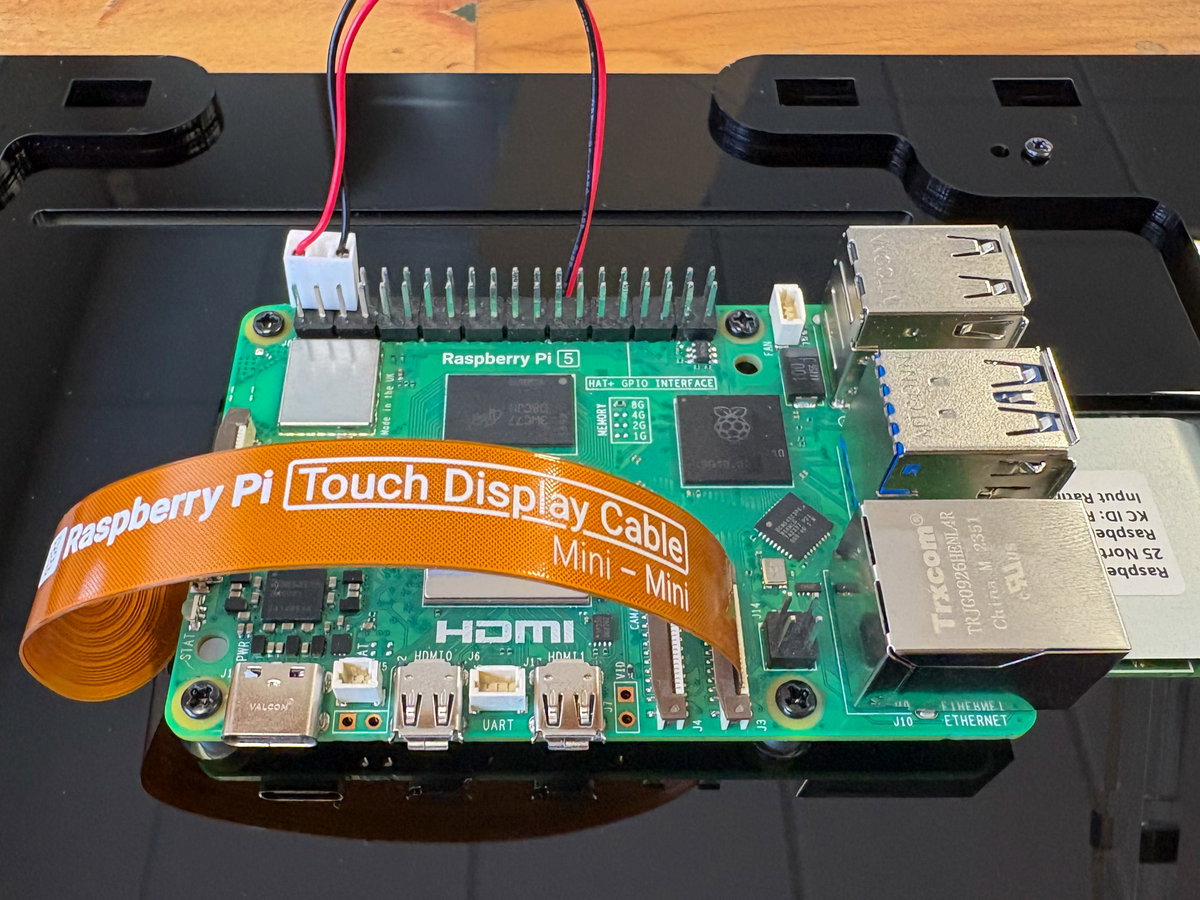
Ta-da, you're done!
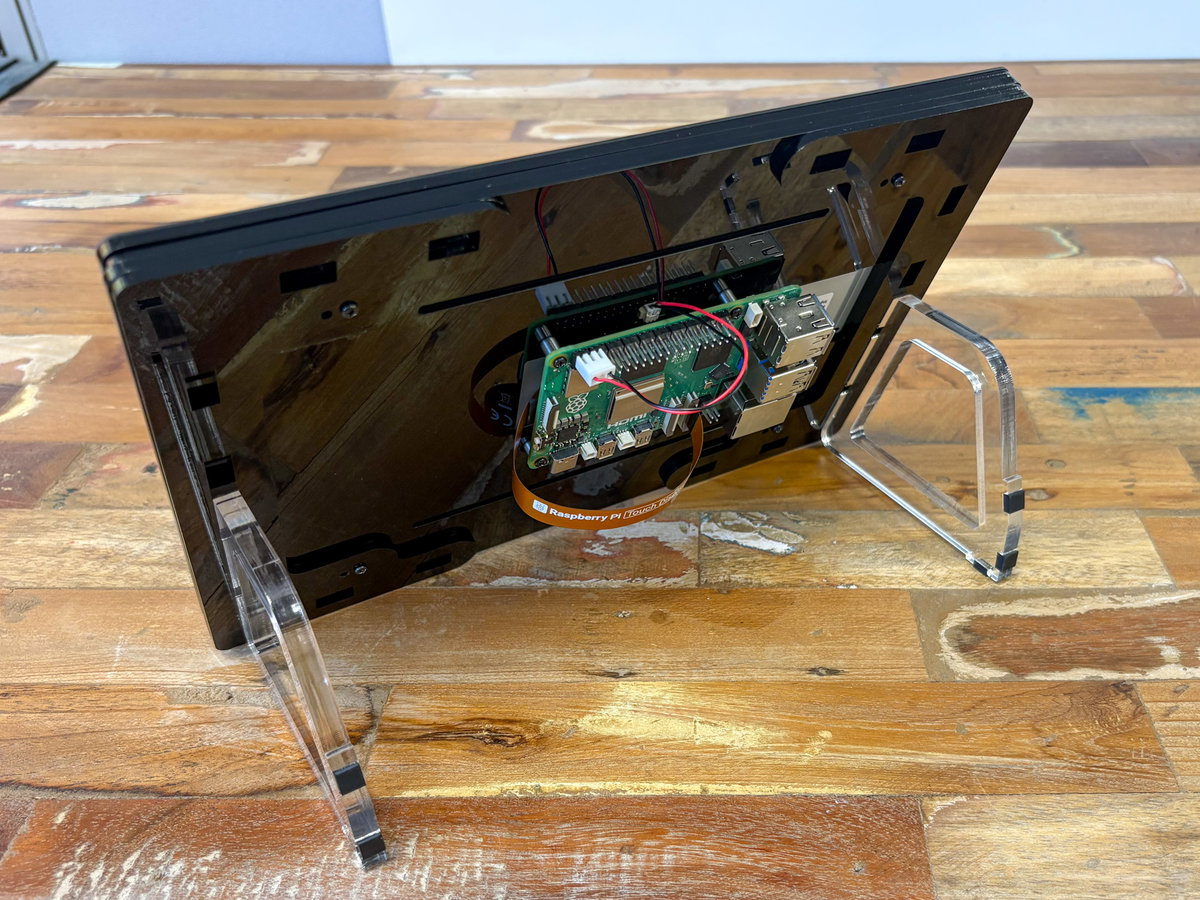
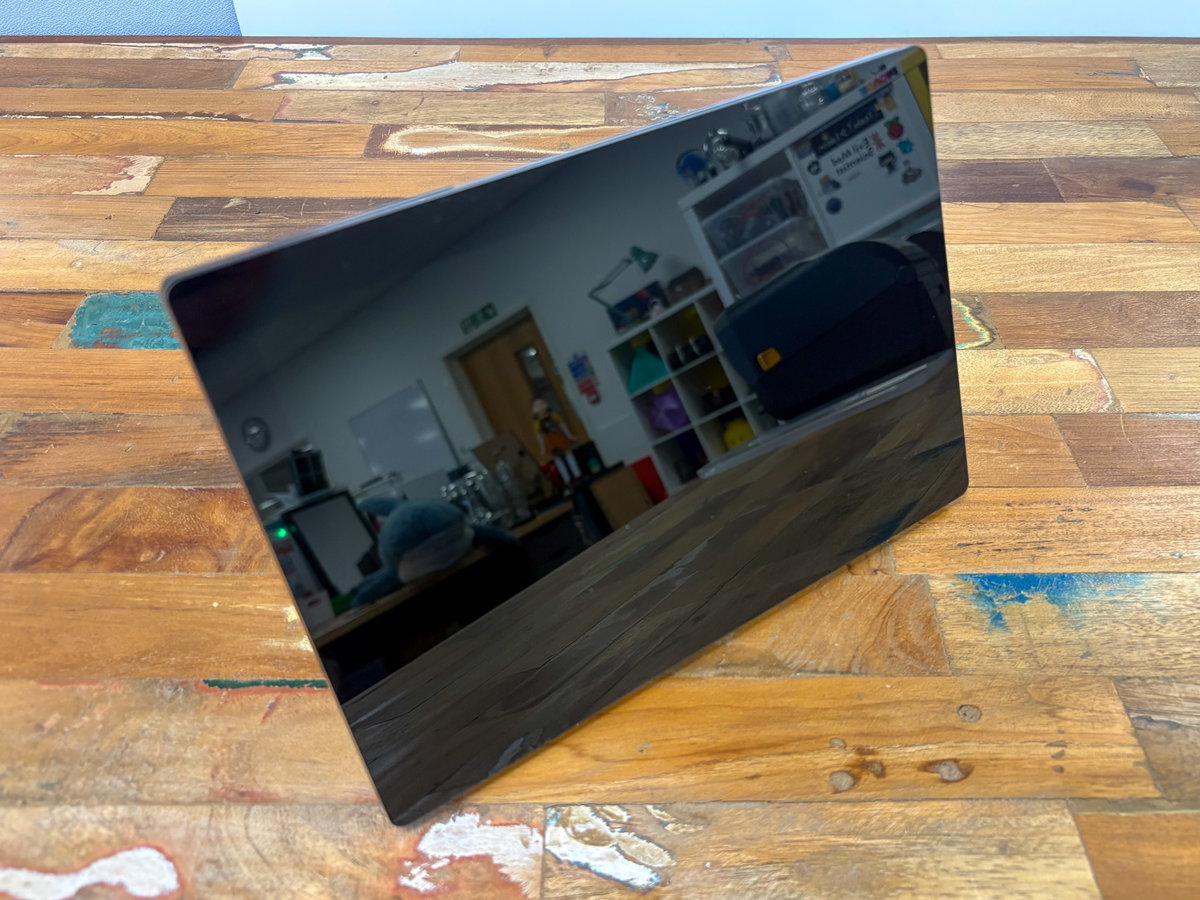
Don't forget to remove the protective plastic from the display when you're done!
Variations!
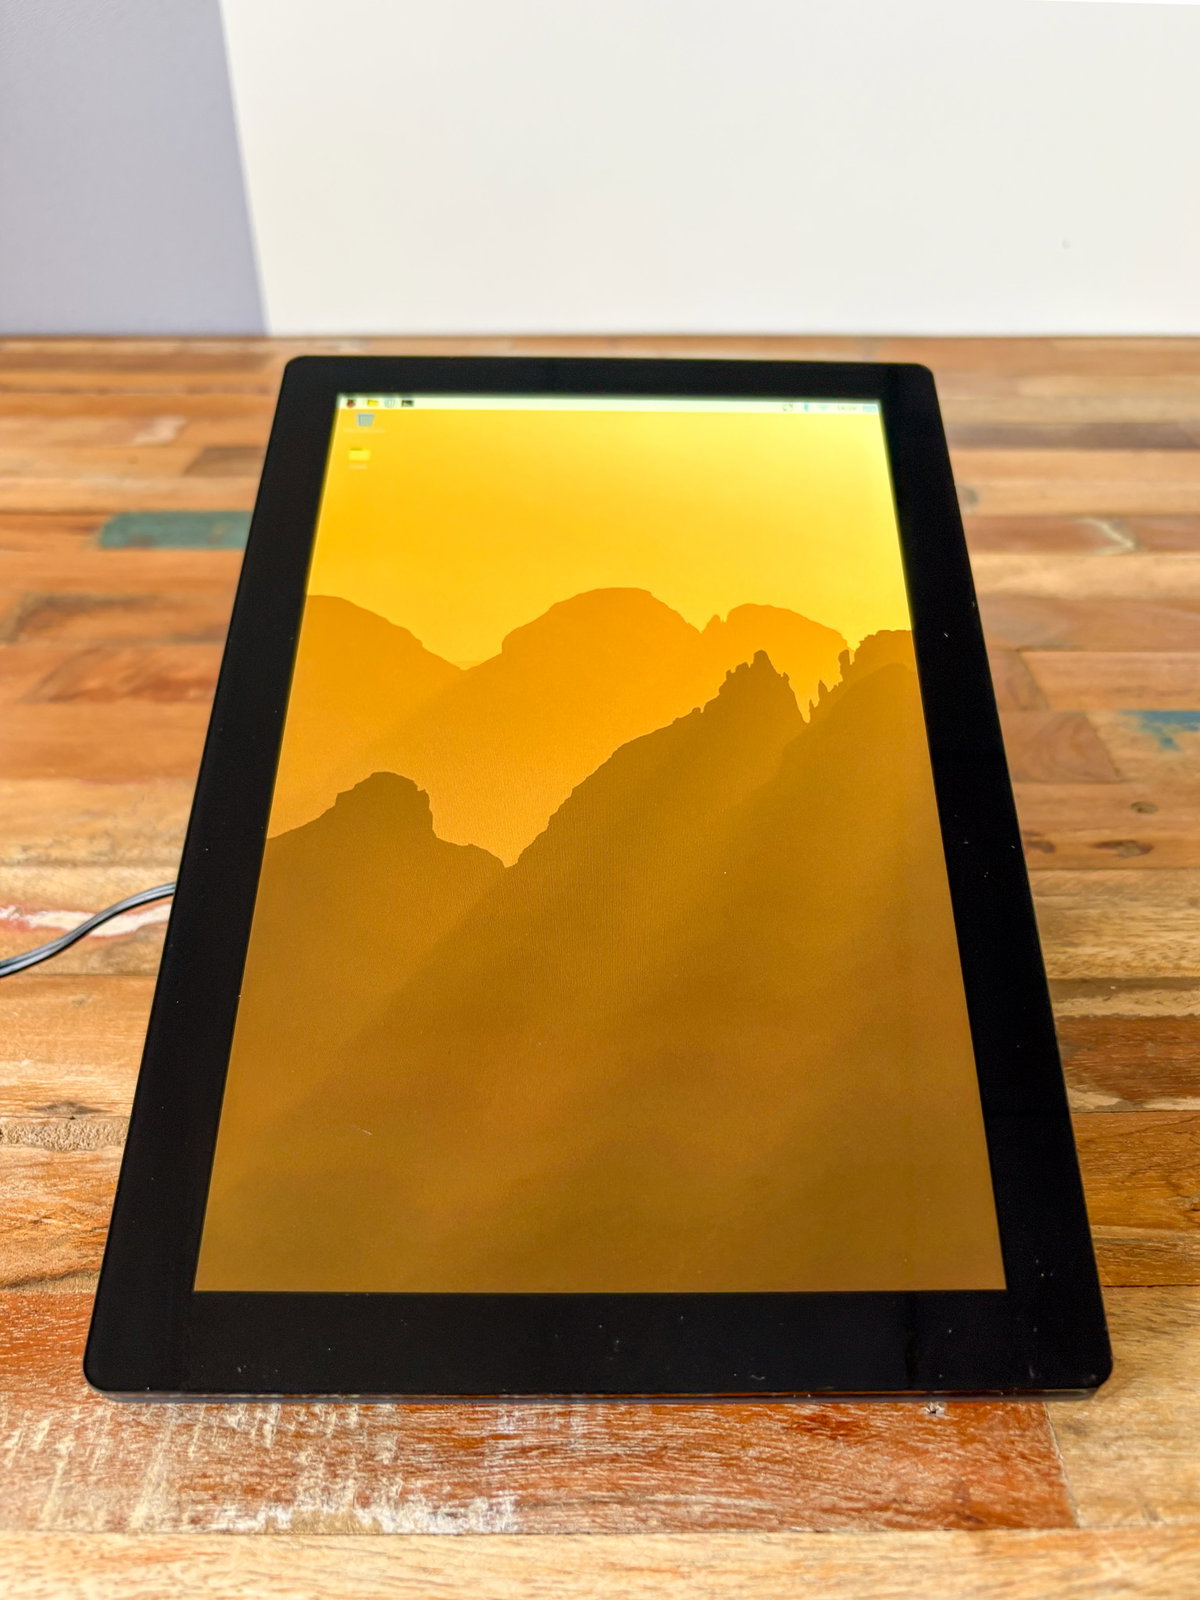
Portrait
If you want to use the display in portrait orientation, you'll need to mount both legs to the short sides of the same bracket.
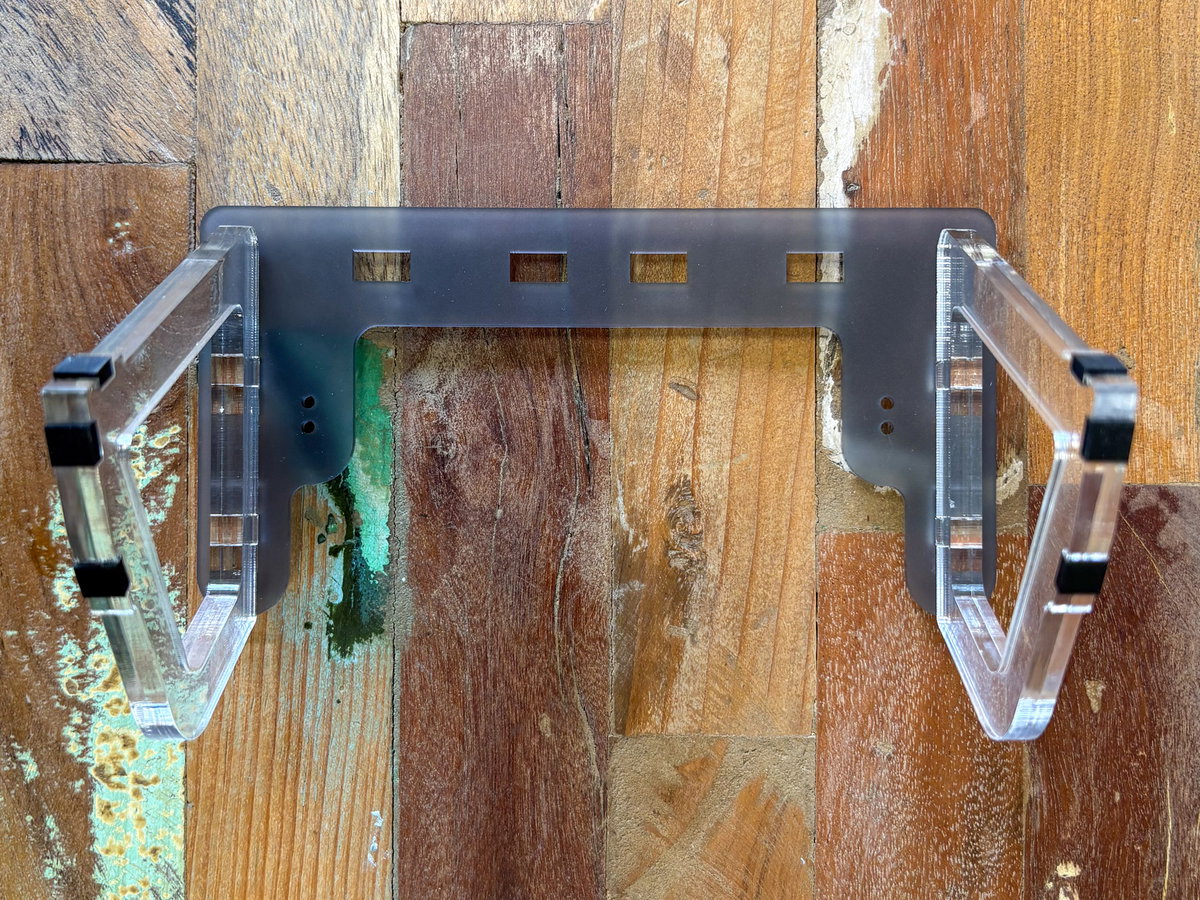
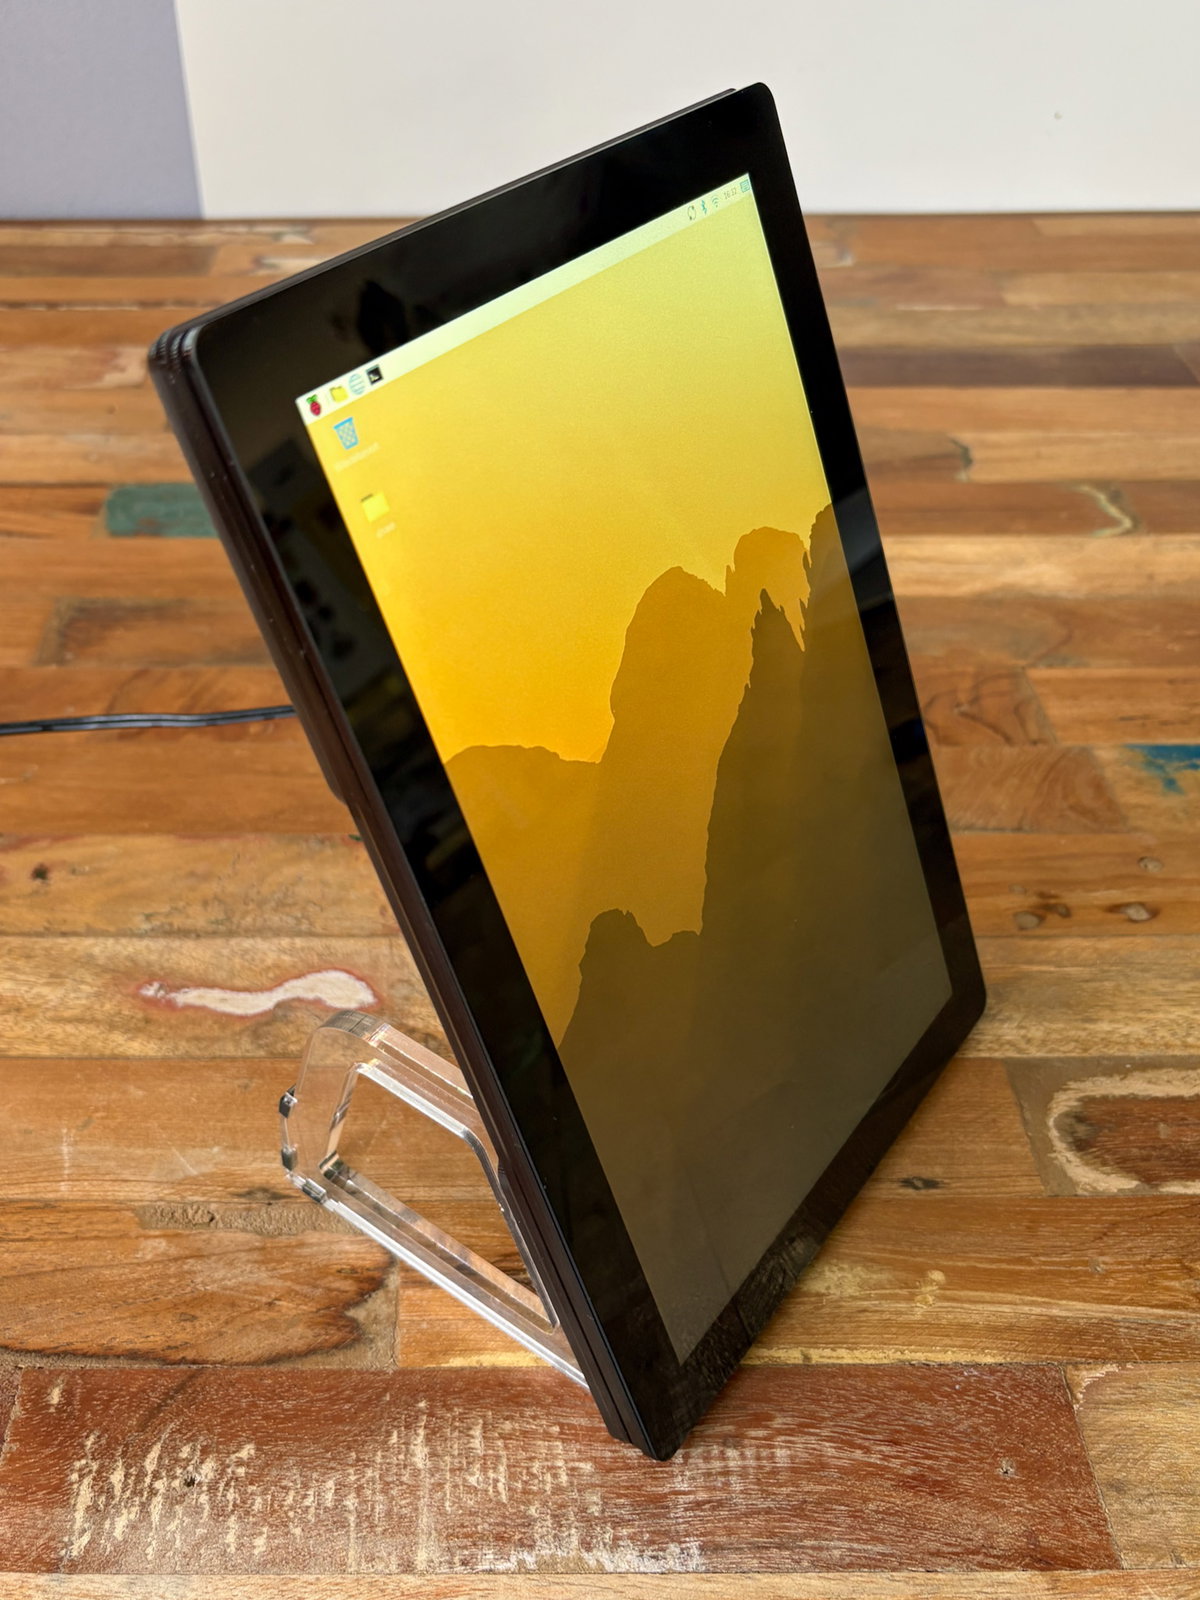
Reclining
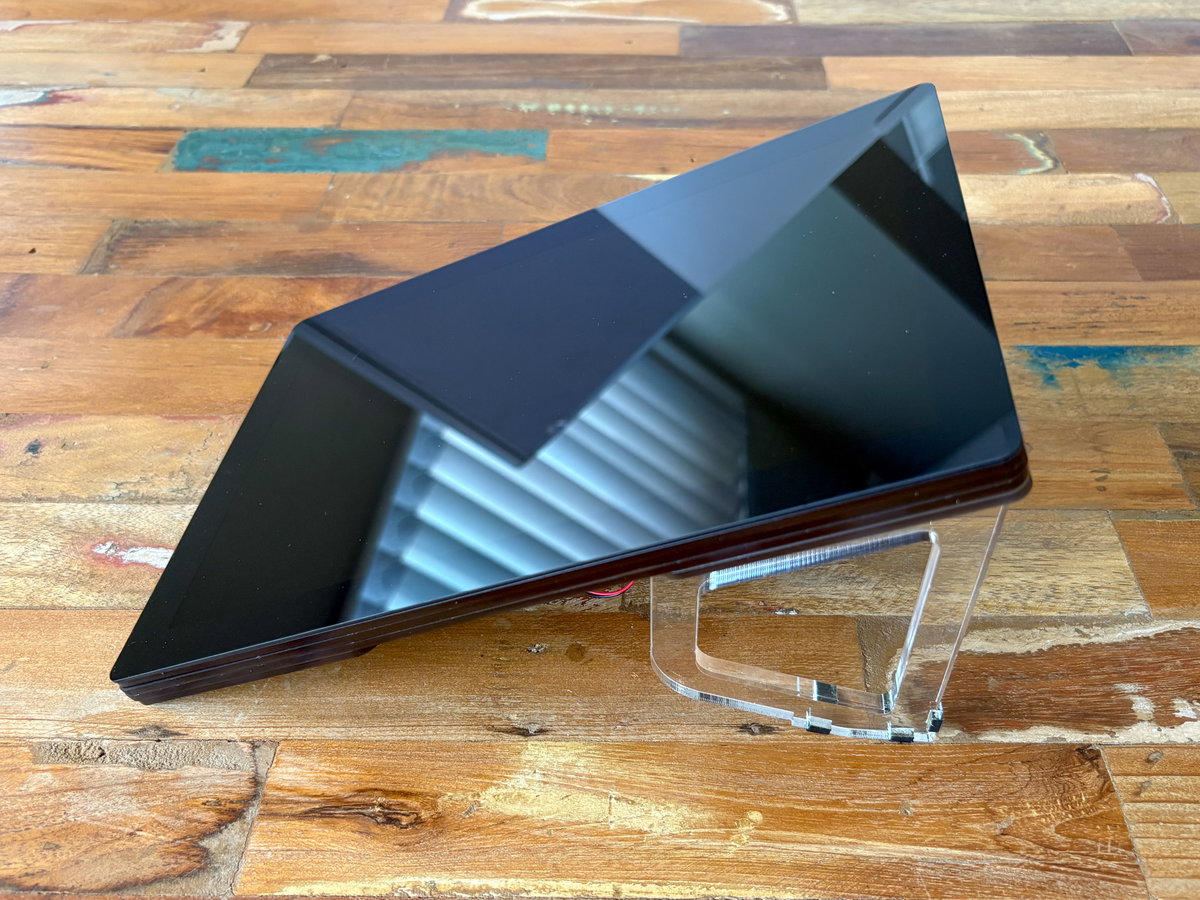
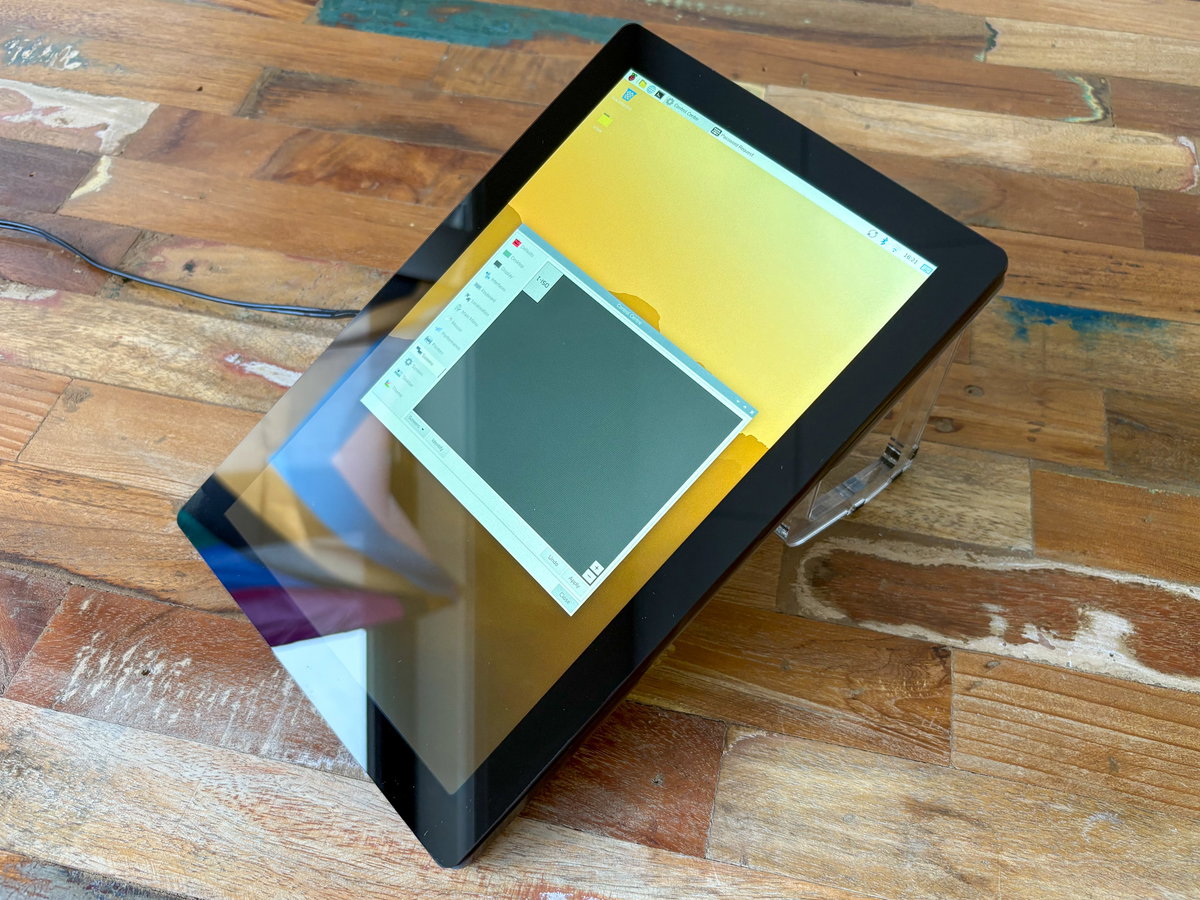
New for the 10.1" frame, you can use your touchscreen at a reclined, kiosk-mode-friendly angle. It's great for workshops, schools, or showing off a catalogue of goodies at a maker event.
Next steps
You can rotate the display to match your chosen orientation in Preferences > Control Centre > Screens. For info on how to rotate without a desktop, check out Raspberry Pi's documentation!