Building your Pibow 5
This guide will show you how to assemble Pibow Coupé 5 for Raspberry Pi 5. Our Pibow cases are designed to keep your precious Raspberry Pi protected from bumps and bruises, whilst still allowing access to all the ports and connectors.
What you'll need
- A Pibow 5
- A Raspberry Pi 5
- An Active Cooler (optional, but recommended)
Preparation
Your Pi 5 will need to be naked (without an Active Cooler fitted) to start. If you've already installed your Active Cooler, remove it before starting assembly - you can squeeze the ends of the white plastic bolts on the underside of the Pi with strong fingers or pliers to release them.
You may find that you have some little plastic plugs in the smaller connectors on your Pi 5. These are leftovers from the manufacturing process and we'd suggest removing these now to make sure they don't interfere with the Pibow layers later.
Take your Pibow out of its packaging. You should have five different acrylic layers and a baggie with nuts and bolts in. The little diamond-shaped piece of acrylic with a hole in the middle is a tiny wrench to help tighten up the nuts.
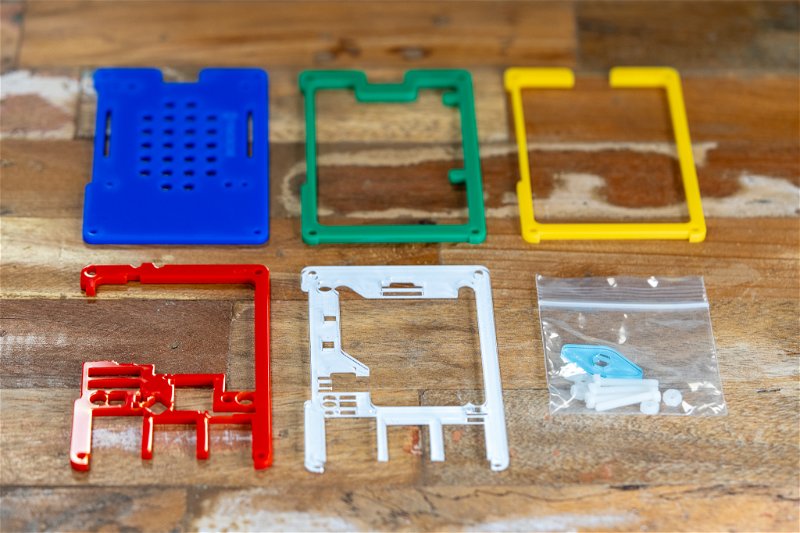
If you're missing anything or if any of the layers have been damaged in transit, drop a message to our support team and we'll get it sorted.
Peel the protective covering off all the acrylic layers. Some of the layers are quite fragile, so be careful when peeling off the film.
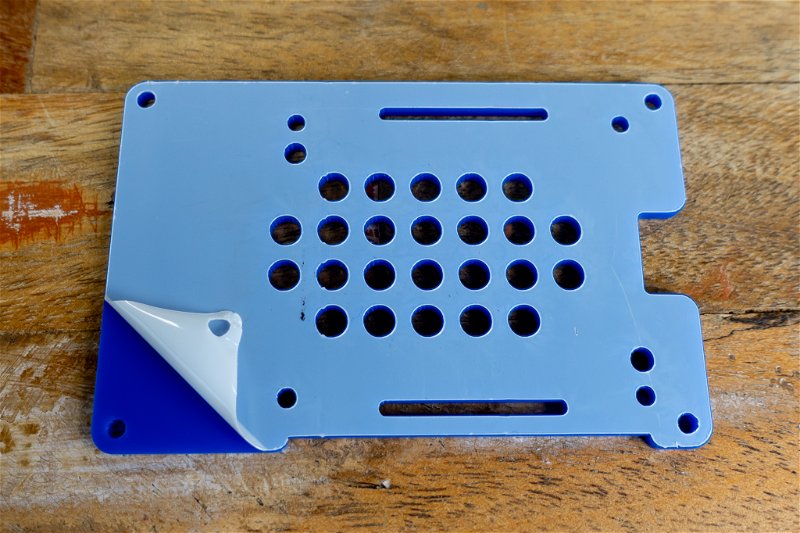
Stacking the bottom layers (0, 1, and 2)
Each layer of your Pibow (apart from the clear top) is labelled with a number at the top-left corner. When correctly assembled, these numbers will be stacked on top of each other and facing upwards.
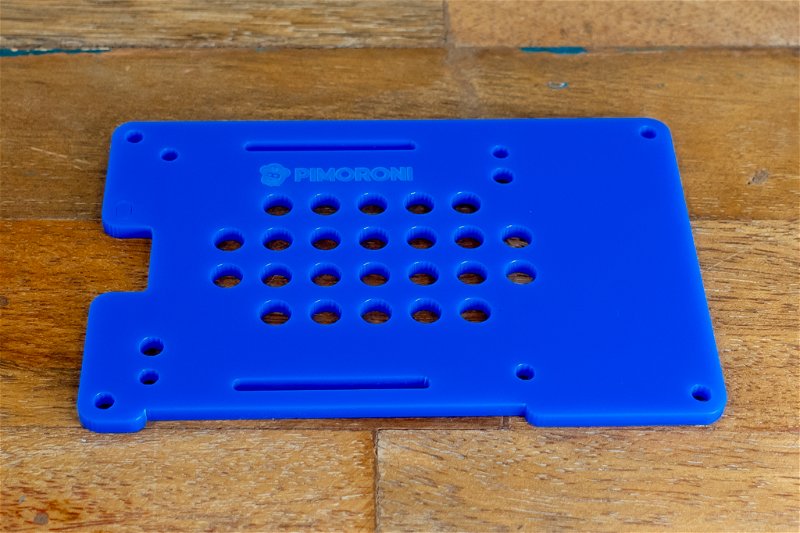
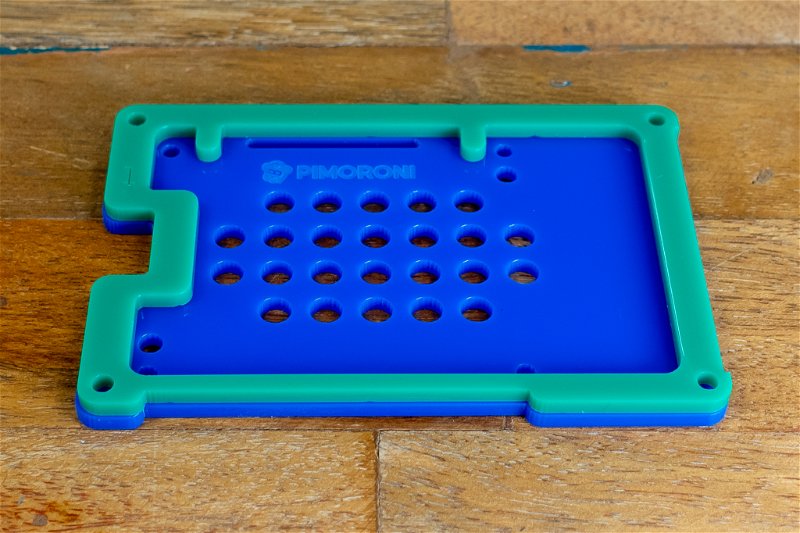
Lay the base layer (layer 0) down on a flat surface - our Rainbow Pibow has a blue base layer but if you have a Ninja or Royale Pibow yours will be clear. Make sure the cutout for the micro-SD card is at the left hand side and that the '0' is in the top-left corner.
The etched logo should be on the top surface.
If you have a blue base layer the text should be the right way up and readable (you get secret stealth branding).
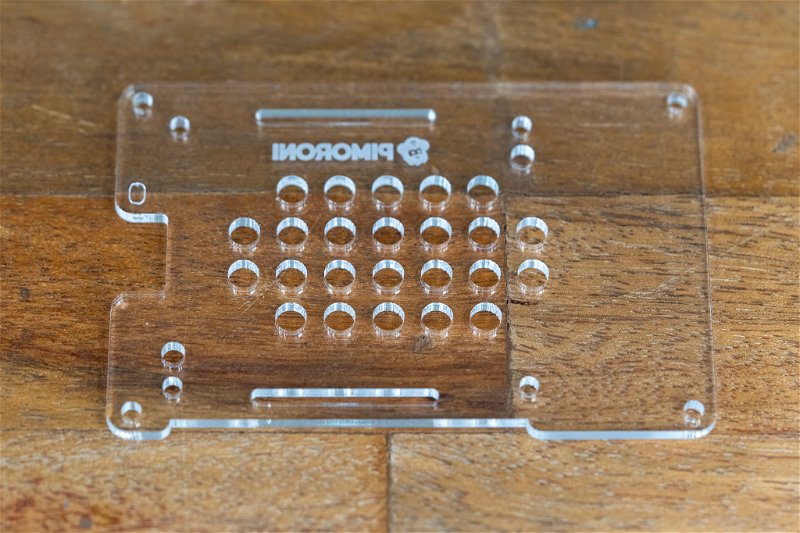
If you have a clear base layer the text should be flipped so you can read it from the outside of the case.
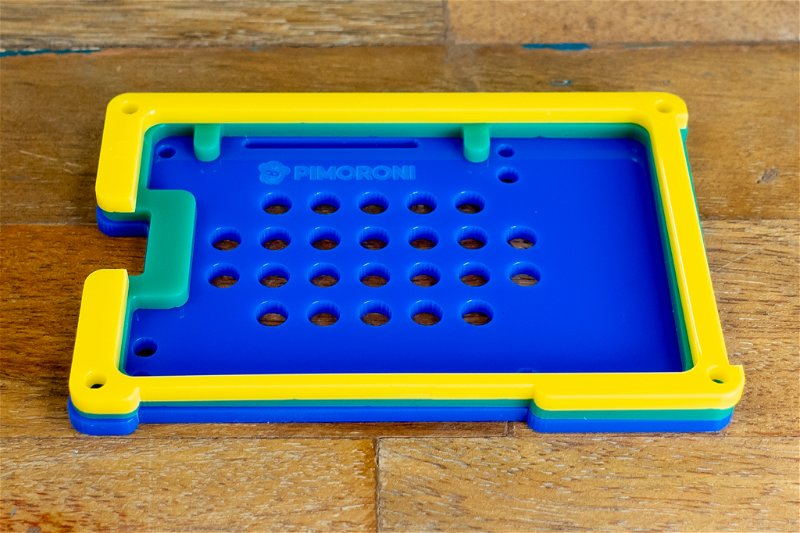
Stack layers 1 (green) and 2 (yellow) on top, with the numbers facing upwards and in the top-left corner.
Placing your Pi
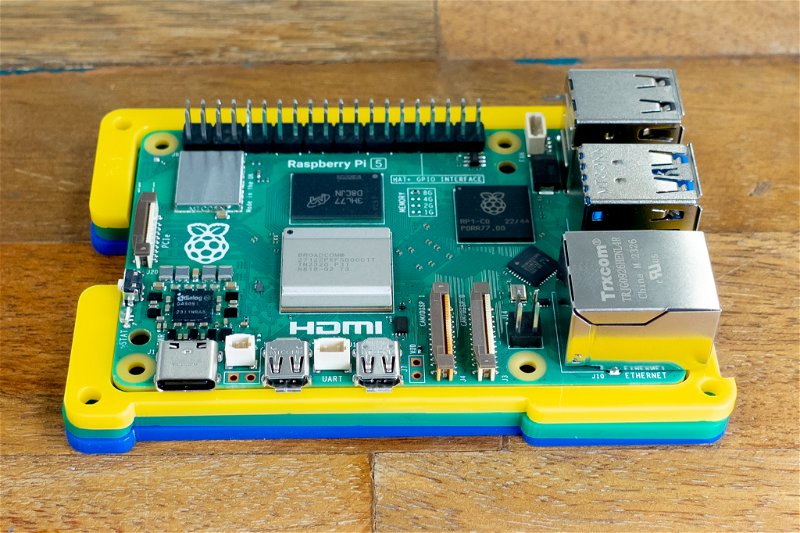
The next step is to place your Pi on top of the layers you've stacked so far. Layer 2 should nestle around the Raspberry Pi, with the micro-SD card slot at the left-hand side.
Adding layer 3
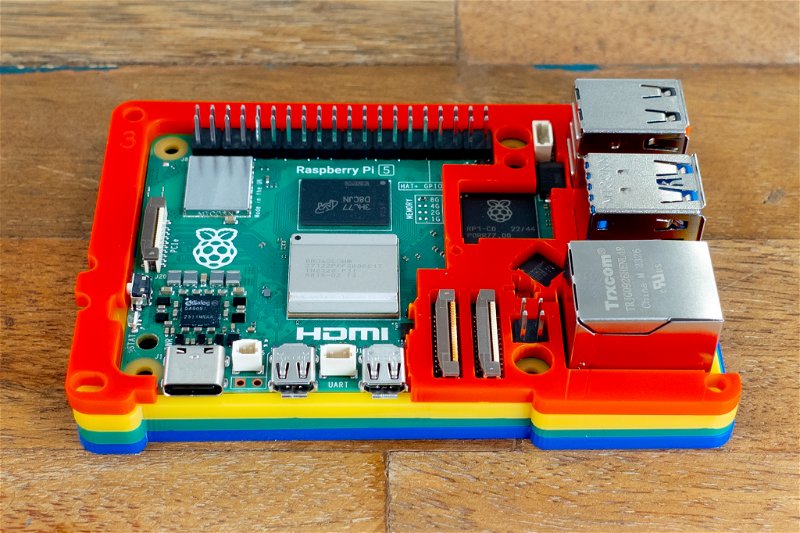
Stack layer 3 on top of your Pi. This layer has a lot of nooks and crannies, so it's worth taking a bit of time to make sure it's sitting in the right place and it fits round all the little components. If it isn't sitting right then don't try to force it - a gentle shake or wiggle (of the Pi and Pibow) should get it to lay flat.
Fitting the Active Cooler
If you have an Active Cooler it's time to fit it now (if not, just move on to the next step).
Unpeel the protective film from the cooler's thermal pads and fit it into place on top of your Pi. The cooler's springy bolts will go through a hole on layer 3 and out the bottom of your Pi.
Don't plug the cable into the fan connector just yet, we need to add the top layer first.
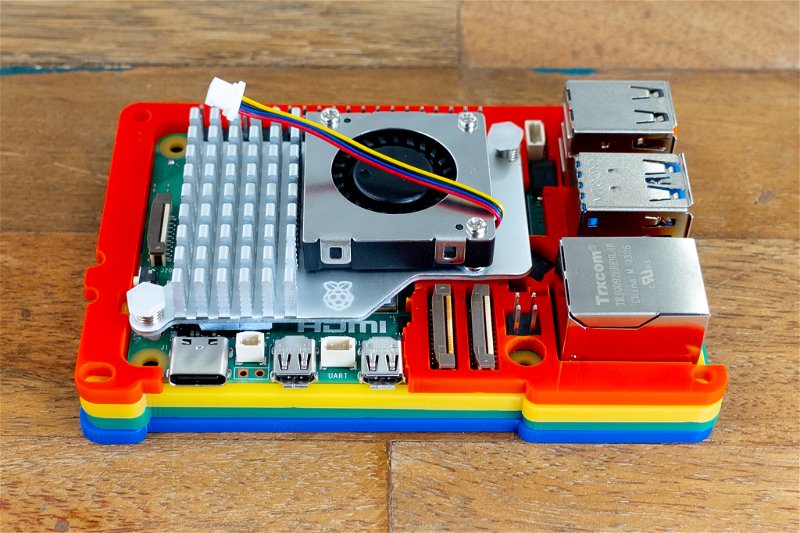
Adding layer 4
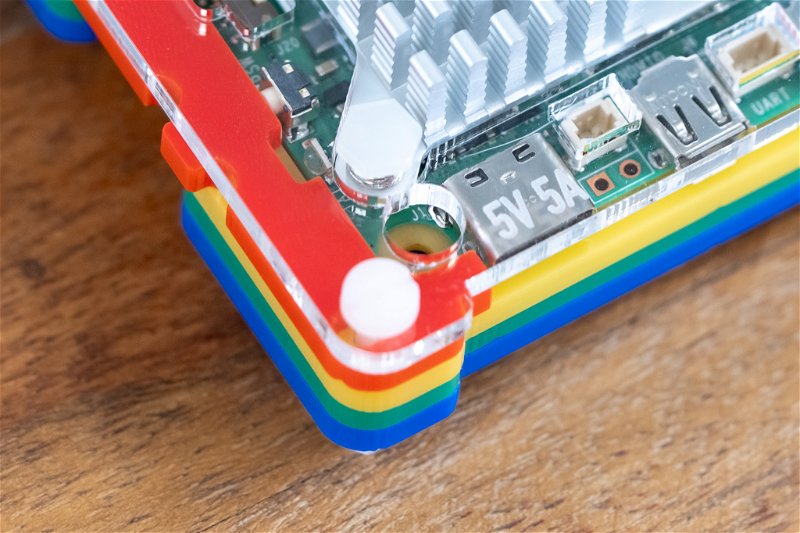
Layer 4 is the top clear layer, which sits on top of the whole shebang (and around the Active Cooler). Place it on top now - the etched labels should be readable from the top and the 5V 5A label should be over the Pi's USB-C connector.
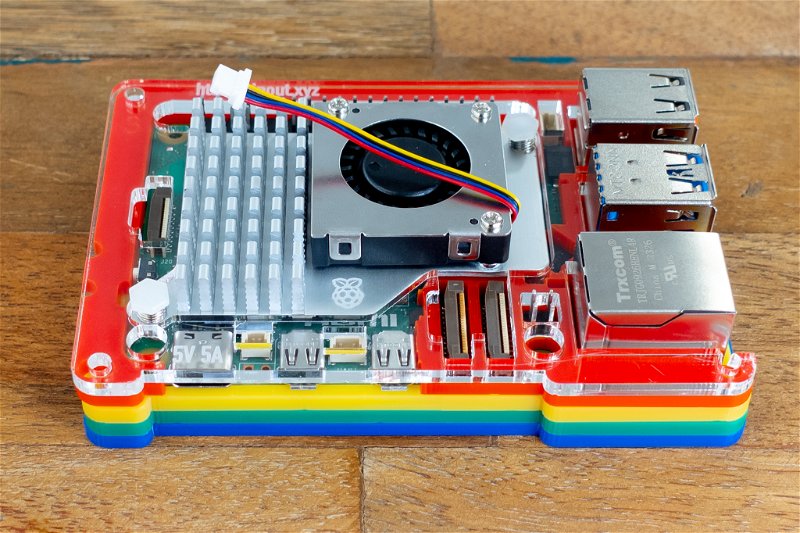
Securing your Pibow
The final step is to secure your Pibow with the nylon bolts and nuts. Push the bolts through the four holes in the very corners of the Pibow. We like to put the head of the bolt on top and the nut on the bottom so they act as little feet, but you do you.
Screw each of the nuts onto the bolts. You can use the little acrylic wrench to tighten them, or just use your fingers.
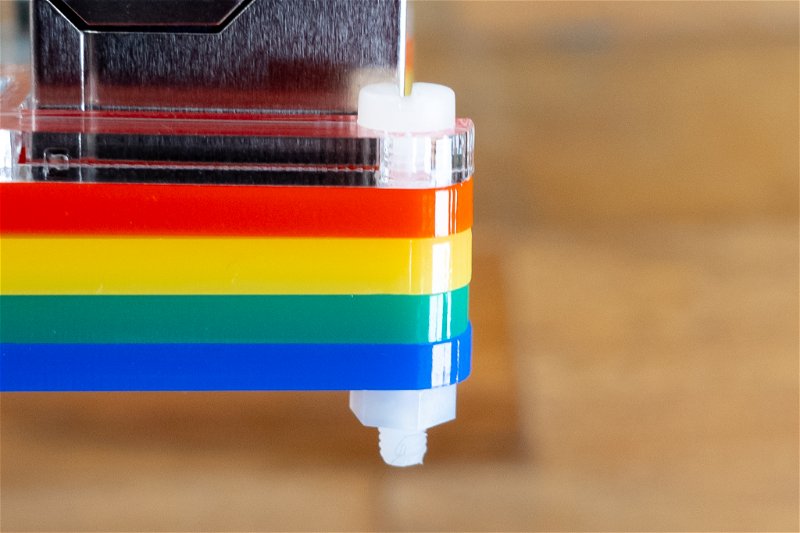
All of the layers of your Pibow should sit flat and flush with each other. If they aren't, then loosen the nuts and bolts, give the layers a little wiggle until things settle, and tighten them back up again. It's also worth checking that you don't have any tiny pieces of acrylic (AKA 'hanging chads') from some of the smaller holes stuck between the layers.
You can go ahead and plug in the Active Cooler's fan in now (the fan connector is hiding behind the Pi's USB 2.0 ports).
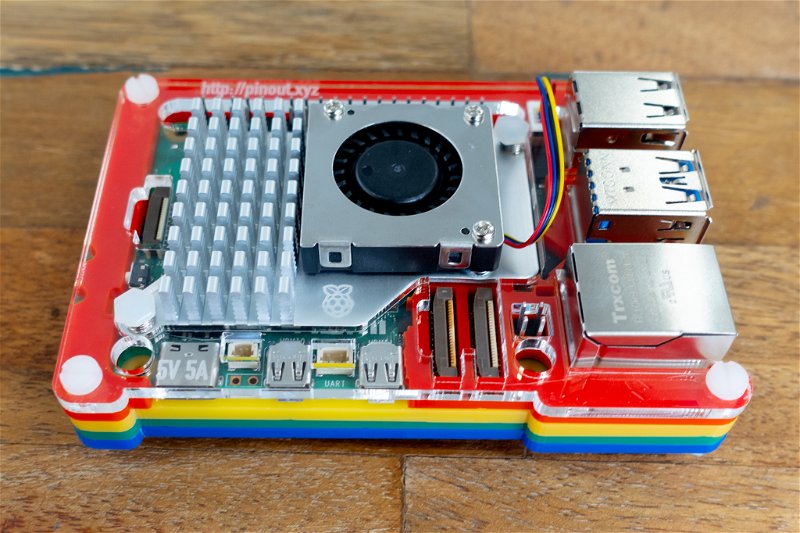
Your Pi is now attractively clad in its Pibow, hoorah!
Respect the Power Nubbin
Layer 3 includes a clever mechanism that lets you press the Pi's power button from the outside of the case. For this to work as intended there needs to be a bit of movement in the layer - so if you're having trouble pushing the button, loosen off the bolt at the corner nearest the USB-C port a half turn and try again.
Search above to find more great tutorials and guides.