Display-O-Tron Breakout with Raspberry Pi
If you haven't already, follow our guide to assembling your Display-O-Tron breakout.
Here, we'll go through a couple of simple examples of how to write text to the Display-O-Tron breakout display and control the LED backlight, using the Raspberry Pi.
Software
Before we get started with displaying text on Display-O-Tron, we'll need to install some software.
We need to do a couple of things: enable SPI and install the ST7036 LCD driver Python library. The simplest way to do this is to use our one line installer for the Display-O-Tron 3000 and HAT, which should also enable and install everything we need for the breakout. Open a new terminal window and do as follows, making sure to follow the prompts and type 'y' or 'n' when required.
curl https://get.pimoroni.com/displayotron | bash
Once that has finished installing - and it may take a good 10/15 minutes - then you should be good to go. It may prompt you to reboot, to enable the changes to SPI to take effect.
Wiring
You should use some jumper wires to connect your breakout to your Pi. Display-O-Tron breakout can be powered from either the 5v or 3.3v power pins on your Pi, but we've used the 5v power here.
We prefer to use jumper jerky and keep all of the wires connected together, as it makes working out which pin is which much easier.
Connect the pins as follows:
- VCC -> 5V
- GND -> GND
- RST -> BCM 12
- RS -> BCM 25
- CS -> BCM 8
- SCLK -> BCM 11
- MOSI -> BCM 10
- R -> BCM 5
- G -> BCM 6
- B -> BCM 13
The pins that you use for the R, G, and B pins are up to you, but we used 5, 6 and 13 because they're not used for anything else on Display-O-Tron breakout and they're right next to each other.
Controlling the backlight
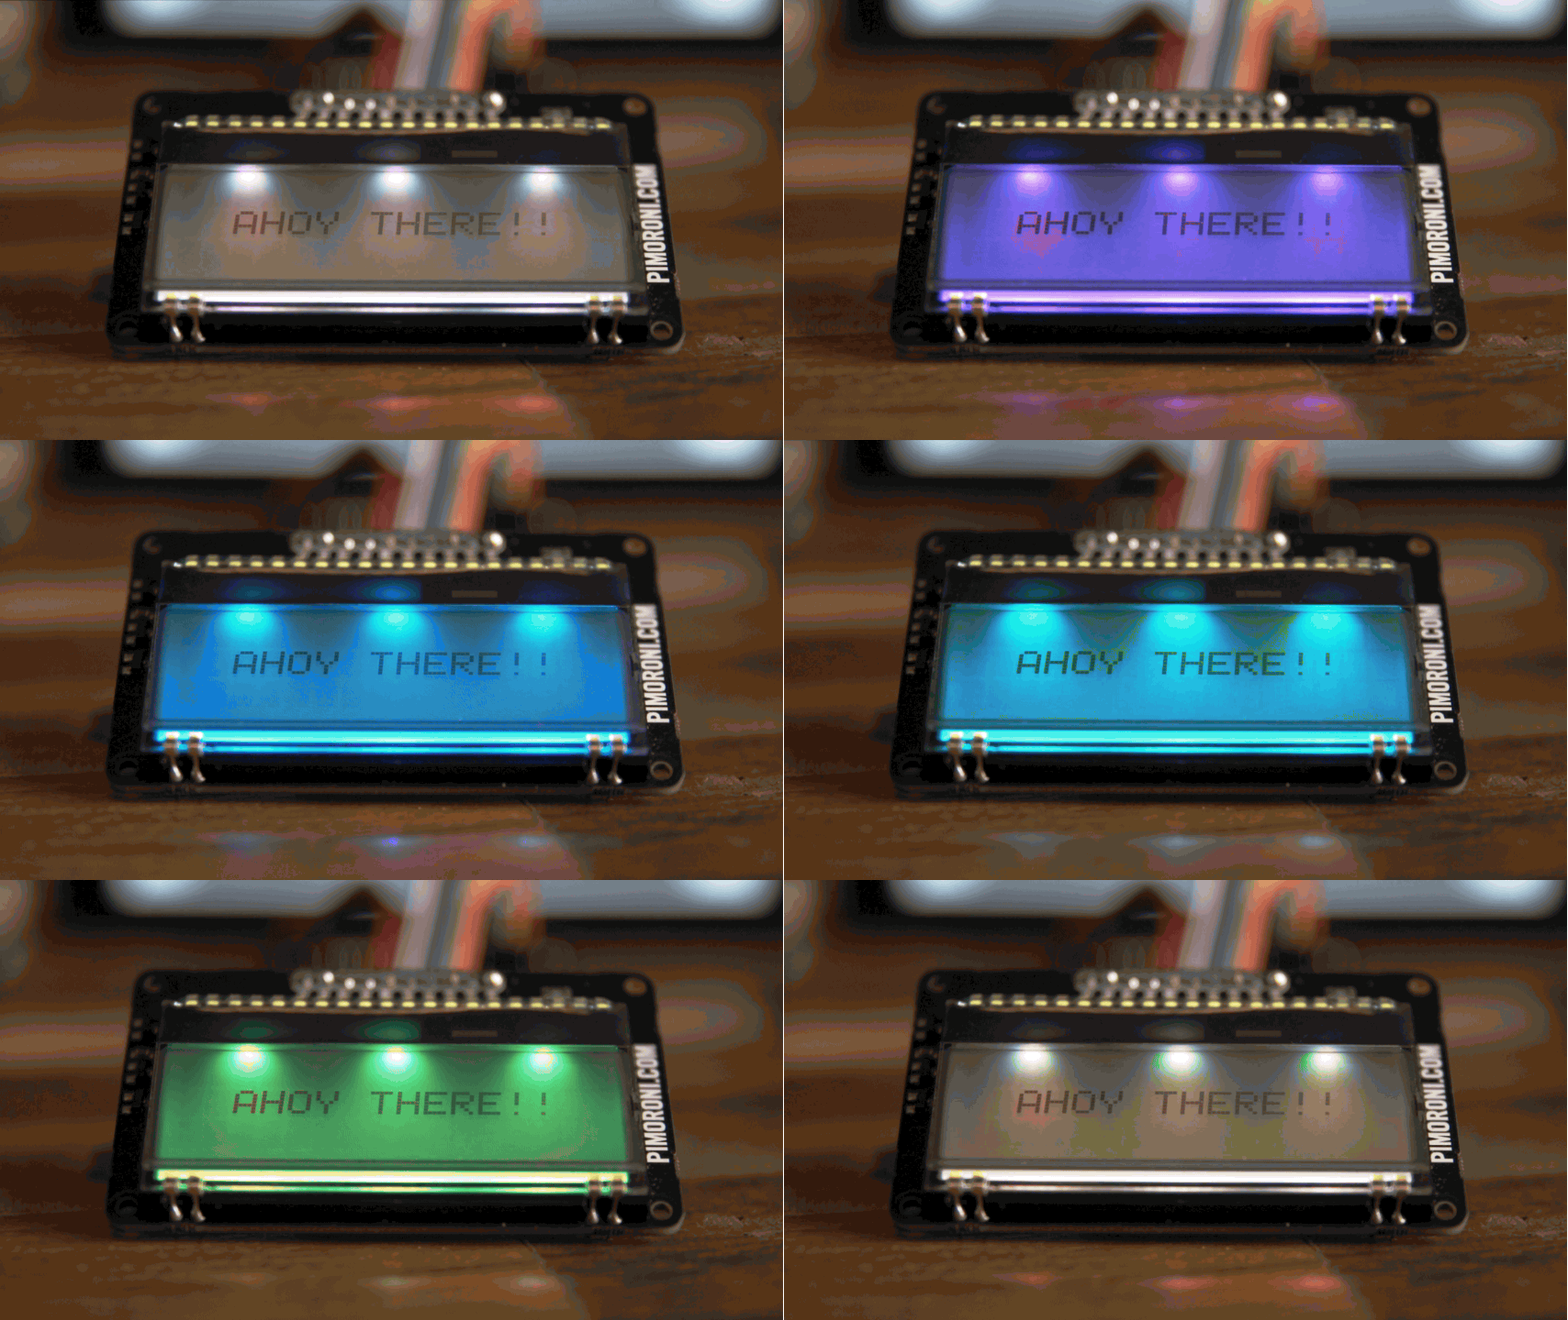
The backlight is controlled by three pins, one each for red, green and blue. By setting the pins high, you can turn each on or off. Unlike our Display-O-Tron 3000 and HAT, all three LEDs across the display have to be set to the same colour at the same time.
By mixing the three primary colours, you can get up to seven different colours (red, green, blue, yellow, magenta, cyan and white).
Open a terminal on your Raspberry Pi and type python to open a Python
prompt.
We'll be using RPi.GPIO to control the three pins for our red, green and blue LEDs.
Type the following to import RPi.GPIO and set the pin modes for the three pins.
import RPi.GPIO as GPIO

GPIO.setmode(GPIO.BCM)
GPIO.setup(5, GPIO.OUT)
GPIO.setup(6, GPIO.OUT)
GPIO.setup(13, GPIO.OUT)
Now, try toggling one of the pins high to see what happens. We'll do the red pin first.
GPIO.output(5, GPIO.HIGH)
Next, try toggling the blue pin high.
GPIO.output(13, GPIO.HIGH)
Your display should be a lovely shade of magenta!
To switch one of the colours off again, for instance the red, you just have to set the pin low, as follows.
GPIO.output(5, GPIO.LOW)
Using PWM to make rainbows!

As well as just toggling the RGB pins high/low to turn them on/off, we can do even better and use PWM to get way more than seven colours.
We'll use software PWM (pulse width modulation), as opposed to one of the PWM pins on the Pi, since this means that we don't have to change our wiring and we can use audio at the same time. Pulse width modulation is a method that can be used (amongst other things) to control the brightness of LEDs, by rapidly switching them on and off at a certain rate to dim or brighten them.
Here's all of the code needed, and we'll go through line-by-line what it does after.
import time
import math
import RPi.GPIO as GPIO

GPIO.setmode(GPIO.BCM)
GPIO.setup(5, GPIO.OUT)
GPIO.setup(6, GPIO.OUT)
GPIO.setup(13, GPIO.OUT)

r = GPIO.PWM(5, 100)
g = GPIO.PWM(6, 100)
b = GPIO.PWM(13, 100)

r.start(0)
g.start(0)
b.start(0)

freq = 0.05

try:
    while True:
        for i in range(500):
            red = math.sin(freq * i + 0) * 50.0 + 50
            green = math.sin(freq * i + (2 * math.pi / 3)) * 50.0 + 50
            blue = math.sin(freq * i + (4 * math.pi / 3)) * 50.0 + 50
            print red, blue, green
            r.ChangeDutyCycle(red)
            g.ChangeDutyCycle(green)
            b.ChangeDutyCycle(blue)
            time.sleep(1/100.0)

except KeyboardInterrupt:
    pass

r.stop()
g.stop()
b.stop()
GPIO.cleanup()
First, we import the time, math and RPi.GPIO libraries. We need the time
library to add some delays to our rainbow loop, the math library for
calculating the RGB values in our rainbow, and the RPi.GPIO library for
the software PWM.
import time
import math
import RPi.GPIO as GPIO
Next, we specify BCM pin numbering and setup the RGB pins 5, 6 and 13 as outputs.
GPIO.setmode(GPIO.BCM)
GPIO.setup(5, GPIO.OUT)
GPIO.setup(6, GPIO.OUT)
GPIO.setup(13, GPIO.OUT)
Then, we set the frequency of the PWM pins. This frequency controls the refresh rate of the LEDs, and the higher the value, the smoother the fade. Here, we'll use 100 Hz, the same rate that we'll use for the delay in our loop later.
r = GPIO.PWM(5, 100)
g = GPIO.PWM(6, 100)
b = GPIO.PWM(13, 100)
Next, we start the PWM pins at a duty cycle of 0, meaning that they start off. The duty cycle values range from 0 (off) to 100 (full brightness) and control how bright the LED is.
r.start(0)
g.start(0)
b.start(0)
Next, we have the code that will create our rainbow. We won't go into too much detail, but this nifty bit of code (credit to Jim Bumgardner) basically creates three sine waves of values for red, green and blue and then overlays them on top of each other, out of sync.
The frequency value of 0.05 controls the number of steps in our rainbow of
colours, where smaller numbers are more steps and therefore give a smoother
transition between the colours.
We've put this whole piece of code inside a try and except loop, so that when we control-c out of the script, it cleans everything up gracefully.
freq = 0.05

try:
    while True:
        for i in range(500):
            red = math.sin(freq * i + 0) * 50.0 + 50
            green = math.sin(freq * i + (2 * math.pi / 3)) * 50.0 + 50
            blue = math.sin(freq * i + (4 * math.pi / 3)) * 50.0 + 50
            print red, blue, green
            r.ChangeDutyCycle(red)
            g.ChangeDutyCycle(green)
            b.ChangeDutyCycle(blue)
            time.sleep(1/100.0)

except KeyboardInterrupt:
    pass
Finally, we stop the PWM pins and clean up the GPIO.
r.stop()
g.stop()
b.stop()
GPIO.cleanup()
Writing to the display
Thanks to the Display-O-Tron Python library, writing to the display is really simple.
We'll go through an example of how to write a string to the display, and then how to scroll text.
The first thing we'll need to do is to import the lcd module from the dot3k
library.
import dot3k.lcd as lcd
By default, the contrast on the display will either be set too high or low, so we'll fix that first.
lcd.set_contrast(20)
Now, to write a string to the display, all we have to do is type this:
lcd.write('AHOY THERE!!')
You'll notice that the string is positioned at the top left by default. We can display it right in the centre by doing the following:
lcd.clear()
lcd.set_cursor_position(2, 1)
lcd.write('AHOY THERE!!')
This i) clears the existing text from the display, ii) set's the cursor position to column 3, row 2 (remember that numbers are indexed from 0 in Python) and, iii) writes our string to the display again.
Scrolling text

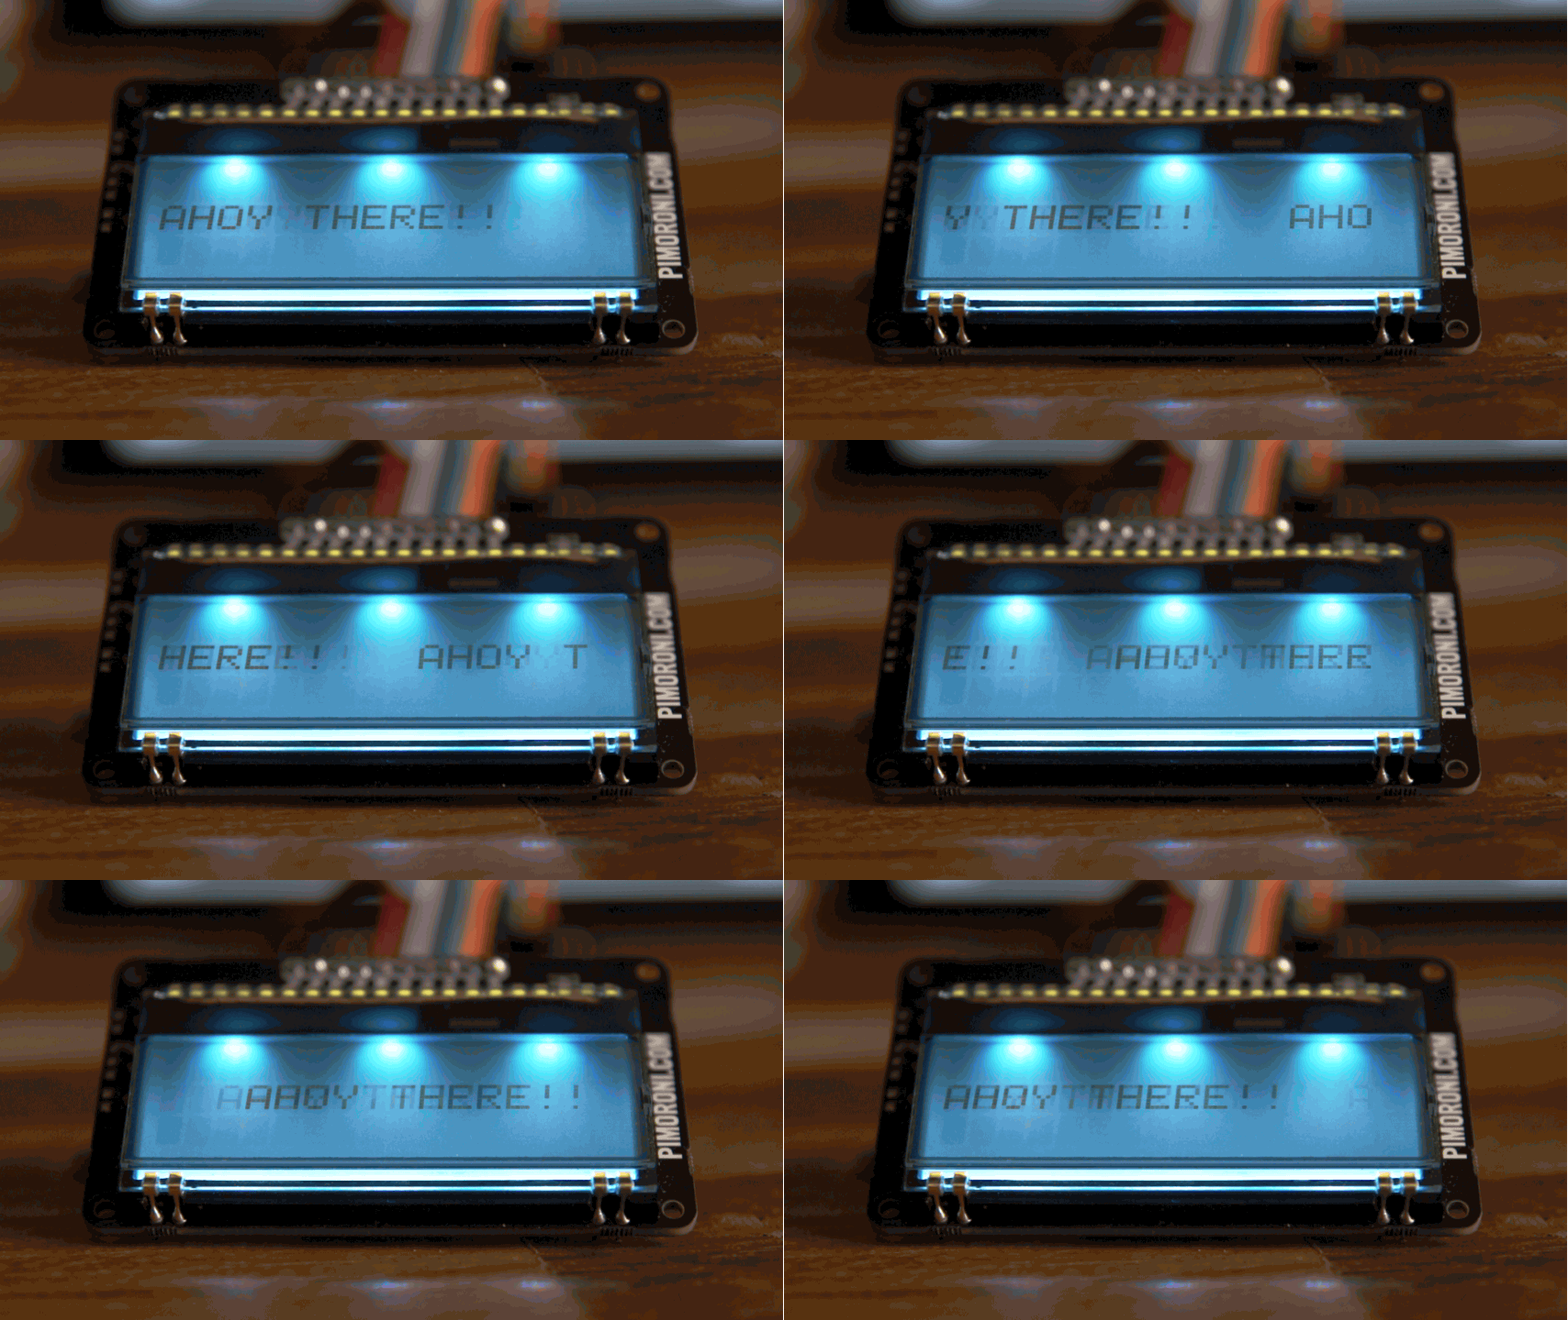
We can use a crafty trick to scroll text across the display, by rotating the characters in a string.
Try the following bit of code and see what it does:
import time

ahoy = 'AHOY THERE!!'

while True:
    print(ahoy)
    ahoy = ahoy[1:len(ahoy)] + ahoy[0]
    time.sleep(1)
What we're doing is taking the first character (index 0) off the front of the string and sticking it onto the end. If we keep doing that, then the string will rotate continuously.
All we have to do is to pad the string with some extra white space and incorporate the rotating code into our code above that displayed the text on Display-O-Tron breakout.
Here's all of the code and, again, we'll go through what it does after.
import time
import dot3k.lcd as lcd

lcd.set_contrast(18)
lcd.clear()

ahoy = 'AHOY THERE!!'
padding = ' ' * (16 - len(ahoy) - 1)
ahoy += padding
length = len(ahoy)

while True:
    lcd.set_cursor_position(0, 1)
    lcd.write(ahoy)
    ahoy = ahoy[1:length] + ahoy[0]
    time.sleep(0.2)
We need the time library to control the scroll speed of the text, and the
dot3k.lcd module to display text on the Display-O-Tron breakout.
import time
import dot3k.lcd as lcd
We set the contrast and clear any existing text on the display.
lcd.set_contrast(18)
lcd.clear()
Then we create our text string, pad it to fit the display and get its length.
ahoy = 'AHOY THERE!!'
padding = ' ' * (16 - len(ahoy) - 1)
ahoy += padding
length = len(ahoy)
Finally, we have a while loop that sets the cursor position, writes the string to the display, rotates it and then pauses briefly before the next iteration.
while True:
    lcd.set_cursor_position(0, 1)
    lcd.write(ahoy)
    ahoy = ahoy[1:length] + ahoy[0]
    time.sleep(0.2)
That covers the basic usage of the Display-O-Tron breakout but, as always, we'd encourage you to take it further. Try combining the rainbow backlight and scrolling text examples for a start.
Search above to find more great tutorials and guides.