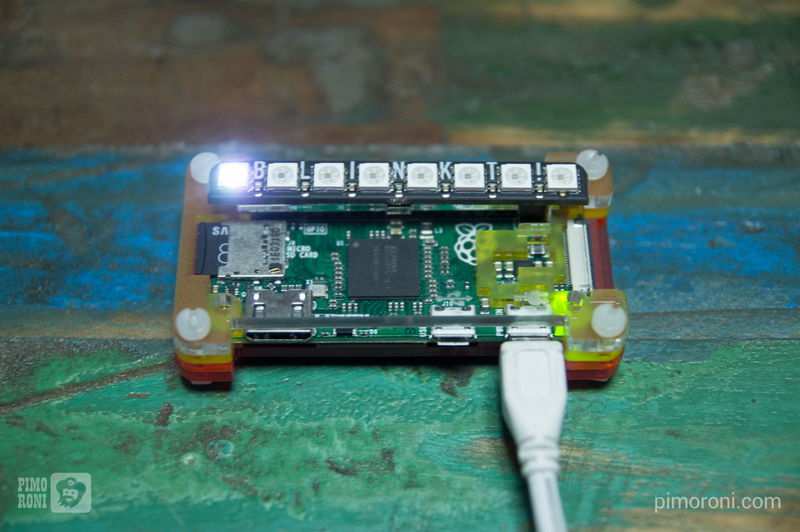
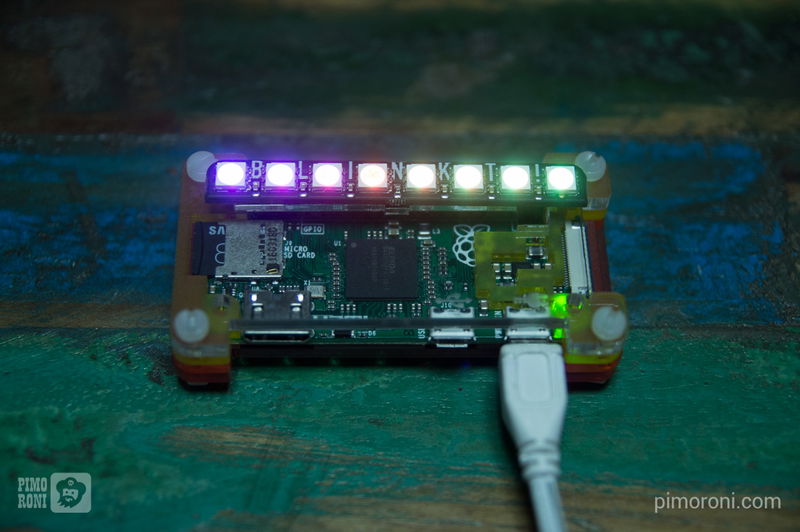
Getting Started with Blinkt!
This tutorial will show you how to install the Blinkt! Python library, and then walk through its functionality, finishing with an example of how to make a rainbow with Blinkt!
Installing the software
We always recommend using the most up-to-date version of Raspbian, as this is what we test our boards and software against, and it often helps to start with a completely fresh install of Raspbian, although this isn't necessary.
As with most of our boards, we've created a really quick and easy one-line-installer to get your Blinkt! set up. We'd suggest that you use this method to install the Blinkt! software.
Open a new terminal, and type the following, making sure to type 'y' or 'n' when prompted:
curl https://get.pimoroni.com/blinkt | bash
Once that's done, it probably a good idea to reboot your Pi to let the changes propagate.
Using the software
Open a new terminal and type python to open a new Python prompt.
The set_pixel function
set_pixel is the bread and butter function that we use to do everything with
Blinkt! Because there are just a single row of eight pixels, it's simple just to
iterate through each one in turn, setting its value, and then showing the values
on Blinkt! with the show function.
set_pixel is passed 4 arguments - x, r, g and b - with x being the
pixel position from 0 to 7 on Blinkt! and r, g and b being the RGB colour
values.
In the RGB colour system, each colour has a value between 0 and 255, meaning that 255,255,255 is white and 0,0,0 is black. It follows that 255,0,0 is red, 0,255,0 is green, and so on.
Type the following to import the set_pixel, set_brightness, show, and
clear functions from the blinkt library, and then we'll light the pixels
different colours. We're also going to set the brightness fairly low, at 0.1,
since full brightness is really bright.
from blinkt import set_pixel, set_brightness, show, clear

set_brightness(0.1)
First, we'll clear any pixels that might be lit already, then set the
leftmost pixel white, and finally call show() to display the pixel we set on
Blinkt!.
Note that the pixels are indexed from 0 to 7, as is the norm in Python, rather than from 1 to 8, so the leftmost pixel is index 0.
clear()
set_pixel(0, 255, 255, 255)
show()

Now, we'll do something a little more complex and light the pixels in sequence from left to right, and in red rather than white.
import time

while True:
    for i in range(8):
        clear()
        set_pixel(i, 255, 0, 0)
        show()
        time.sleep(0.05)
Since that's a fair bit of code, we'll break down what it does briefly.
We need to import the time library to introduce a small delay between lighting
each pixel. The length of this delay sets the animation speed and, in this case,
we've picked 0.05 seconds, meaning that our animation will run at 20 frames per
second.
We wrap our for loop in a while True loop, so that it runs constantly. Then,
because we have 8 pixels, we use for i in range(8): to light each pixel from
index 0 to 7 in turn.
In each iteration of the for loop, we clear() the pixels that were set
previously, and then use set_pixel(i, 255, 0, 0) followed by show() to
light the current pixel i red. Lastly, we call show() to display the set
pixel on Blinkt!

Making rainbows
Everyone loves rainbows, right? We're going to make a beautiful rainbow that fades slowly across the eight pixels on Blinkt!
As well as the RGB colour system that we mentioned above, there is the HSV colour system. Whereas RGB explicitly sets both the colour and brightness with just those three red, green and blue values, HSV sets the hue (colour), saturation, value (brightness). This means that you can have things like a dimly lit, light red colour, if you want, by setting HSV to 1.0, 0.2, 0.1, for example.
The hue values in HSV represent colours around a colour wheel. Colour wheels are circular series of colours that begin and end with red at 0 degrees, and then fade through all the colours of the rainbow, through orange, yellow, green, etc.
We're going to use hue values around the colour wheel to make our rainbow,
converting the various hue values in degrees to values between 0 and 1, and then
converting the HSV colours at full saturation and brightness back into RGB
colours that can be passed to Blinkt's set_pixel function.
We'll look at all of the code and then go through it bit by bit.
You can type each line of the code below into a Python prompt, but we'd
recommend opening a text editor, pasting the code in there, saving it as
something like rainbow.py, and then running it with python rainbow.py
in the terminal.
import colorsys
import time

from blinkt import set_brightness, set_pixel, show

spacing = 360.0 / 16.0
hue = 0

set_brightness(0.1)

while True:
    hue = int(time.time() * 100) % 360
    for x in range(8):
        offset = x * spacing
        h = ((hue + offset) % 360) / 360.0
        r, g, b = [int(c * 255) for c in colorsys.hsv_to_rgb(h, 1.0, 1.0)]
        set_pixel(x, r, g, b)
    show()
    time.sleep(0.001)

The colorsys library is what we'll use to convert our HSV colours to RGB.
Again, we'll use time to set the animation speed.
We import the functions we'll need from the blinkt library, although this time
we won't be needing clear as we'll be resetting the value of each pixel in
every iteration of the loop.
from blinkt import set_brightness, set_pixel, show
We're going to define two variables, spacing and hue, that will govern the
spacing of the colours of each pixel around the colour wheel. In this case,
we've used 360.0 / 16.0, meaning that our 8 pixels will span half of the
colour wheel at any one time. The hue = 0 means that our rainbow will start
at 0 degrees on the colour wheel, although we'll iterate that value through
time.
spacing = 360.0 / 16.0
hue = 0
set_brightness(0.1) sets the overall brightness of Blinkt! to a fairly low
value, so that it's not too bright.
Now, we get to out while True loop that generates the rainbow.
while True:
    hue = int(time.time() * 100) % 360
    for x in range(8):
        offset = x * spacing
        h = ((hue + offset) % 360) / 360.0
        r, g, b = [int(c * 255) for c in colorsys.hsv_to_rgb(h, 1.0, 1.0)]
        set_pixel(x, r, g, b)
    show()
    time.sleep(0.001)
The hue is calculated by using the time seconds, time.time() multiplying it by
100 and then taking the modulus 360, to get a position in degrees around the
colour wheel.
Then, we have a loop, for x in range(8):, that will let us set each pixel on
Blinkt! We use the spacing variable that we defined earlier to calculate a
hue offset for each pixel, offset = x * spacing, and then calculate the
individual hue, h, for each pixel, adding on the offset, taking the modulus
360 again, and then dividing by 360 to get a value between 0 and 1,
h = ((hue + offset) % 360) / 360.0.
We have to convert our HSV colour to RGB values that can be passed to the
set_pixel function. We do this with
r, g, b = [int(c * 255) for c in colorsys.hsv_to_rgb(h, 1.0, 1.0)], also
multiplying each value by 255 and converting to an integer, since the numbers
returned by the colorsys.hsv_to_rgb function are values between 0 and 1.
r, g, b = [int(c * 255) for c in colorsys.hsv_to_rgb(h, 1.0, 1.0)]
The last line of our for loop sets the pixel colour,set_pixel(x, r, g, b),
and then outside our for loop, but still within our while loop, we call
show() and include a small delay, time.sleep(0.001), to set the animation
speed. Using a delay of 1 millisecond (0.001 seconds) makes the animation
super-smooth.
Taking it further
Blinkt! is perfect as a notification device, so why not use your Blinkt! as a Twitter notifier, tracking a particular hashtag and then blinking when someone tweets with that hastag? Or use Blinkt! with Cheerlights, allowing anyone in the world to change the colour of your Blinkt!?
We have lots of examples, including the above ones, in our Blinkt! Python library, so check them out for more inspiration.
Search above to find more great tutorials and guides.