Getting Started with pHAT BEAT
This tutorial will show you how to install the pHAT BEAT software and Python library, and then walk through its functionality. You'll learn how to change the settings in the ALSA config. (ALSA deals with sound output in Linux), how to control the VU meter LEDs separately, and how to use the buttons on the board.

If you haven't already soldered the header to your pHAT BEAT, then you can follow our guide to soldering pHATs here.
Connecting speakers
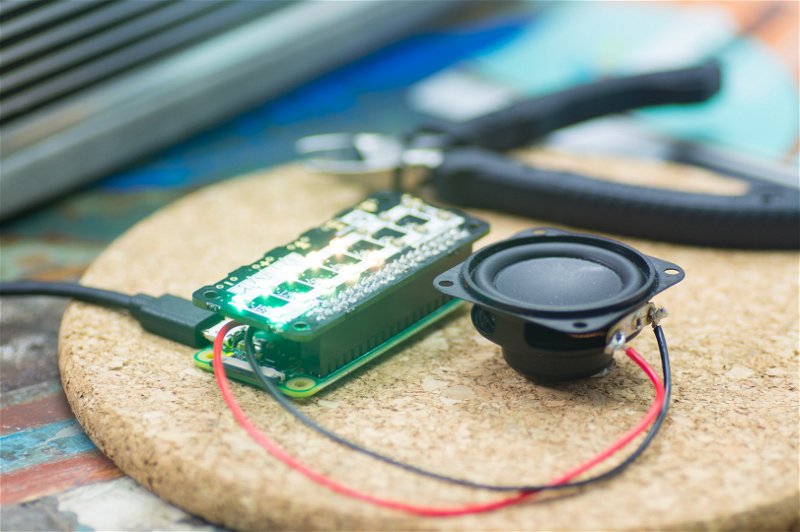
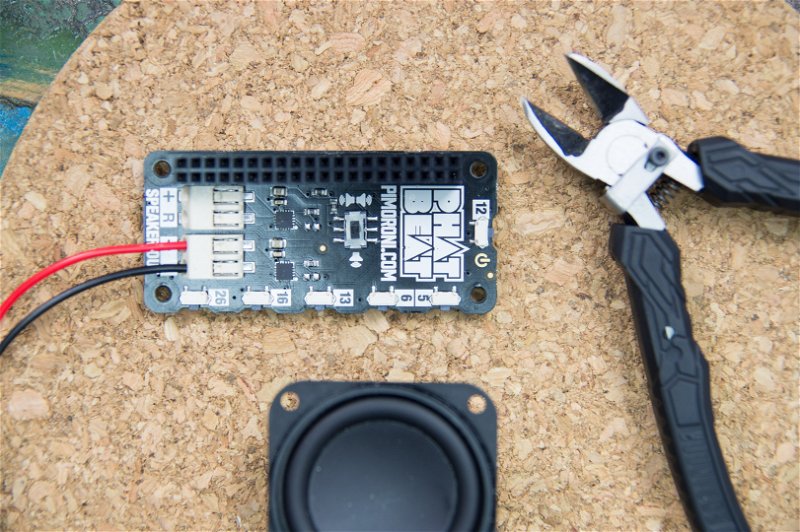
The push-fit speaker terminals on pHAT BEAT make it really simple to connect up one or two speakers (the DIP switch on the underside switches between mono and stereo modes).
It's easiest if the bare ends of your speakers wires are "tinned" with a little solder. You can do this by melting a little blob of solder on the end of your soldering iron and then "painting" it onto the bare wire to cover it in a thin coating of solder (if it's too thick then the wire won't fit into the terminal).
If you've bought one of our 5W speakers, or have the Pirate Radio kit, then the ends of the wires should already be tinned.
Once your wires have been tinned, simply push them into the terminals, making sure to put the red wires into the positive terminals and the black ones into the ground terminals. Push the wires in firmly. If they're seated properly then they will "lock" into the terminal and should not pull out easily.

To remove the wires, use something pointed like a pencil and press it fairly firmly (although not too firmly as the clips can break) on the clip on top of the terminal while pulling the wire out.
Installing the software
We always recommend using the most up-to-date version of Raspbian, as this is what we test our boards and software against, and it often helps to start with a completely fresh install of Raspbian, although this isn't necessary.
As with most of our boards, we've created a really quick and easy one-line-installer to get your pHAT BEAT set up. We'd suggest that you use this method to install the pHAT BEAT software.
Open a new terminal, and type the following, making sure to type 'y' or 'n' when prompted:
curl -sS get.pimoroni.com/phatbeat | bash
Once that's done, it probably a good idea to reboot your Pi to let the changes propagate, if the installer doesn't prompt you to reboot.
Testing the audio
Pop the pHAT BEAT with connected speaker onto your Pi, noting that it may reboot if it's currently switched on. Don't worry too much about that!

You can test that audio is being output correctly and that the VU meter is
working as it should using speaker-test in the terminal. Open a terminal, if
you don't still have it open and type the following:
speaker-test -c2 -t wav
You should hear audio and see the meter reacting accordingly. Press control
and c to stop the speaker test.
ALSA configuration
The one-line-installer takes care of reconfiguring ALSA to route the audio out correctly through the I2S interface used by pHAT BEAT, and will also install an ALSA plugin to enable the VU meter LEDs called Pi VU Meter.
The ALSA configuration file is located at /etc/asound.conf. You can edit it,
in the terminal, by typing sudo nano /etc/asound.conf.
The section of the ALSA configuration that controls the VU meter settings should look something like the following:
pcm_scope.pivumeter {
    type pivumeter
    decay_ms 500
    peak_ms 400
    brightness 128
    output_device phat-beat
}
The decay_ms and peak_ms settings set how long the meter pauses when it
peaks and decays respectively in milliseconds. Reducing these will make the
meter more "twitchy" and increasing them will make it smoother but less
reactive.
The brightness setting controls the overall brightness of the meter, and can
range from 0 to 255, with 0 being off and 255 being full brightness.
output_device sets what the output device for the meter is. In this case, it
should be left as phat-beat.
An additional line can be added inside the curly brackets to specify whether the
VU meter bars should be flipped 180 degrees or not. This is relevant if you are
mounting pHAT BEAT in a different orientation than the default (default being
vertically with the power button on the top edge). To flip the meter, add
bar_reverse 1 to the section above.
To save the ALSA configuration, if you've made changes, and return to the
terminal press control and x, then y, then enter.
Controlling the VU meter LEDs separately
The one-line-installer for pHAT BEAT will also install the Python library, in addition to configuring ALSA, allowing you to control the VU meter LEDs and the buttons.
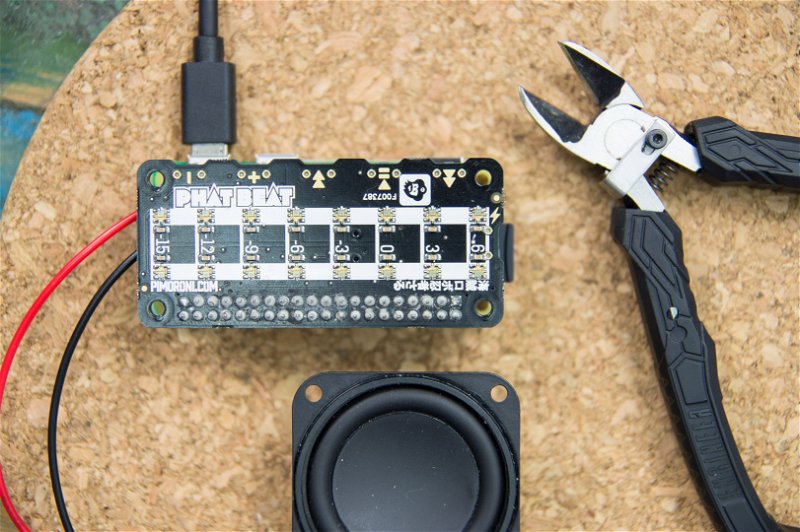
The LEDs are arranged in two columns of eight, beginning at the bottom left
corner and finishing at the top right corner (if you're looking at the board
with the power button on the top edge). They can be set either by their index
between 0 and 15, in one continuous chain, or as two columns indexed 0 to 7 and
specifying channel=0 with 0 being the left column or channel and 1 being
the right column or channel.
We'll set the first pixel on each channel to red. Open a terminal, and then type
python to open a Python prompt. Type the following:
import phatbeat

for channel in (0,1):
    phatbeat.set_pixel(0, 255, 0, 0, channel=channel)

phatbeat.show()
First, we import the phatbeat library.
Then, we have a for loop that allows us to loop through both channels and set
the first pixel (remember that, in Python, things are indexed from 0, so the
first item is actually index 0).
The phatbeat.set_pixel() function needs to be given first the index of the
pixel we want to set (0 in this case), and then three values between 0 and
255 that are the RGB values of the colour we want to set. In this case, we
passed 255, 0, 0 because we want to set the colour to pure red. We also specify
the channel number (note that if we hadn't passed the channel= option then
it would have treated the pixels as one continuous row of 16 pixels).
Finally, we call phatbeat.show() to actually push the data to the pixels and
display it.
To clear those pixels, we can use the phatbeat.clear() function, again
followed by phatbeat.show():
phatbeat.clear()
phatbeat.show()
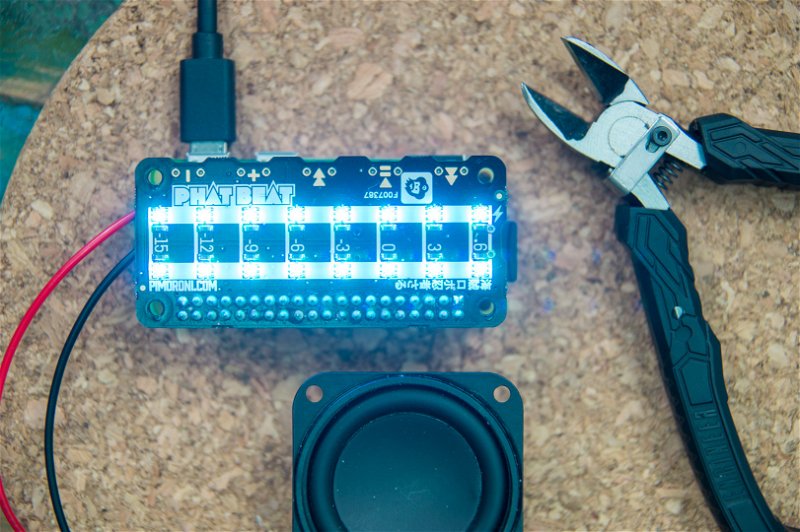
To set them the other way, treating them as a single chain of 16 pixels, try the following. We'll set them all to cyan, a mix between blue and green.
for p in range(16):
    phatbeat.set_pixel(p, 0, 255, 255)

phatbeat.show()

Handling button presses
The buttons on pHAT BEAT can be linked to a function of your choice using decorators. In Python, decorators are functions that are attached to other functions, in this case triggering that function when an event happens - a button press.
Each button is represented by a constant that describes that button's function,
for example phatbeat.BTN_PLAYPAUSE represents the play/pause button as you
might imagine. The six button constants are:
- BTN_FASTFWD
- BTN_REWIND
- BTN_PLAYPAUSE
- BTN_VOLUP
- BTN_VOLDN
- BTN_ONOFF
We'll start with a simple example of how to attach a button decorator to a function that prints out a message when that button is pressed.
@pb.on(phatbeat.BTN_PLAYPAUSE)
def playpause(pin):
    print('Play/pause pressed!')
Once you've typed that, try pressing the play/pause button and see what happens.
You'll notice that the decorator is called @phatbeat.on, and indeed all
decorators in Python use this @ notation. The decorator is passed the constant
for the button to which we want to attach it. Also note that we pass our
playpause function a variable called pin. This pin variable is returned by
the decorator and can be used within our playpause function if we wish.
We'll take it a little further now and make the play/pause buttons light the LEDs on pHAT BEAT when the button is pressed, introducing another function of the LEDs, the ability to light them all at once. We'll set them all to magenta when the volume up button is pressed.
@phatbeat.on(phatbeat.BTN_VOLUP)
def lightleds(pin):
    phatbeat.set_all(255, 0, 255)
    phatbeat.show()
You could add a second function to toggle the LEDs back off when, for example, the volume down button is pressed.
@phatbeat.on(phatbeat.BTN_VOLDN)
def clearleds(pin):
    phatbeat.clear()
    phatbeat.show()
The function of the buttons on pHAT BEAT becomes even more powerful when used
with Python's subprocess library to run shell commands. For example, you could
link the volume up and down buttons to the volume set by alsamixer in the
terminal.
Taking it further
There are loads of opportunities for working pHAT BEAT into other projects. Why not use it to build a little synth or drum machine by combining it with Piano HAT or Drum HAT and use the VU meter LEDs as a step sequencer? Or how about combining it with a little USB microphone to create your own all-in-one Alexa clone?
Search above to find more great tutorials and guides.