Getting Started with pHAT Stack
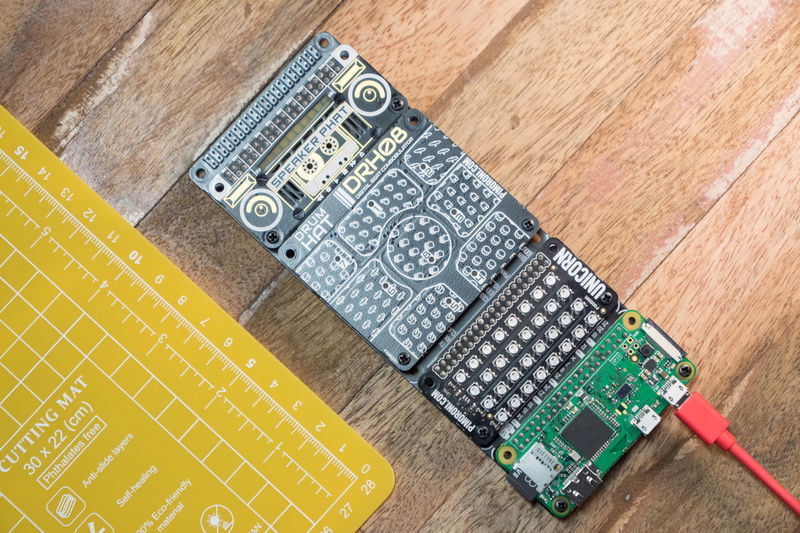
pHAT Stack is the big brother to the Mini Black HAT Hack3r. It has six sets of 2x20 pin headers, one for connecting to your Pi with the included ribbon cable, and the other five for a mix of HATs and/or pHATs.
Use pHAT Stack for specific setups and projects, or just as a handy way to use several HATs or pHATs at once. Here at Pimoroni, we've found that pHAT Stack is just a really handy way to switch in and out different HATs and pHATs, and experiment and tinker with ideas.
It comes in three different versions: fully assembled, solder yourself kit, and PCB only. If you've bought the fully assembled version, then you can skip through the parts about soldering your pHAT Stack.
Checking that boards are compatible
Before you start to put together a setup, it's important to check that the boards that you're using are compatible with each other. Because there are a limited number of pins (40) on the Raspberry Pi, there's a chance that two or more boards that you're using will use the same pin. Many of our boards use I2C and, because I2C is a bus, you can use several boards that all use I2C with no ill effect, providing they all use different I2C addresses.
There are a couple of ways to check that boards don't have pin clashes. The first is to check on pinout.xyz. The second is to use our experimental pHAT Stack configurator, where you can place boards in each slot and it will flag up any pin clashes.
It's also worth bearing in mind that you may have to supply additional power if you're using, for example, five Scroll pHAT HDs running at full brightness, or three Unicorn HATs running at full brightness.
Soldering pHAT Stack
If you've got the solder yourself kit, or the PCB only, then you'll have to solder the pin headers onto pHAT Stack. The way that you solder your pHAT Stack will depend on the way that you plan to use it.
If you're planning to use a mix of HATs and pHATs, then it's probably best just to solder all of the included male 2x20 pin headers to your pHAT Stack. If you need some pointers on soldering, then do check out our Ultimate Guide to Soldering.
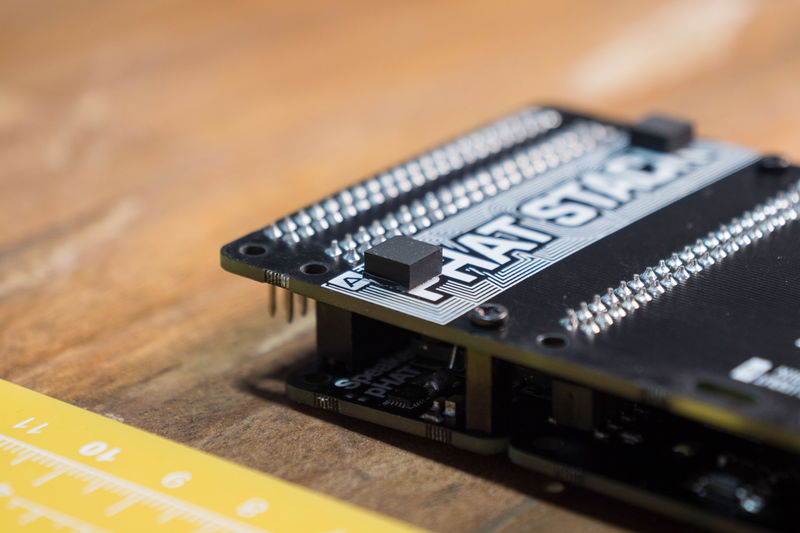
Note that the intended way to use pHAT Stack is with the copper pHAT Stack logo facing upwards!
If you're planning to just use HATs with pHAT Stack, then you can just solder four of the male 2x20 pin headers to the sets of holes marked HAT A, B, and C.
Connecting your pHAT Stack to your Pi
Again, there are a few different ways to do this. If you've bought either the fully assembled or solder yourself kit, then you can use the included 40-way GPIO ribbon cable to connect pHAT Stack to your Pi.
Note that the GPIO ribbon cable should connect and lay across the top of your Pi, so that it runs over the HDMI and power ports rather than out over the top of your Pi!

One neat way to use pHAT Stack that we like is to solder a female header to the underside of a Pi Zero W and then mount it in the bottom pHAT slot on pHAT Stack for a really minimal setup with no ribbon cable getting in the way. Using the bottom slot means that the micro USB power cable routes neatly out of the bottom and doesn't run over the top of any of your HATs and/or pHATs.

Mounting HATs and pHATs
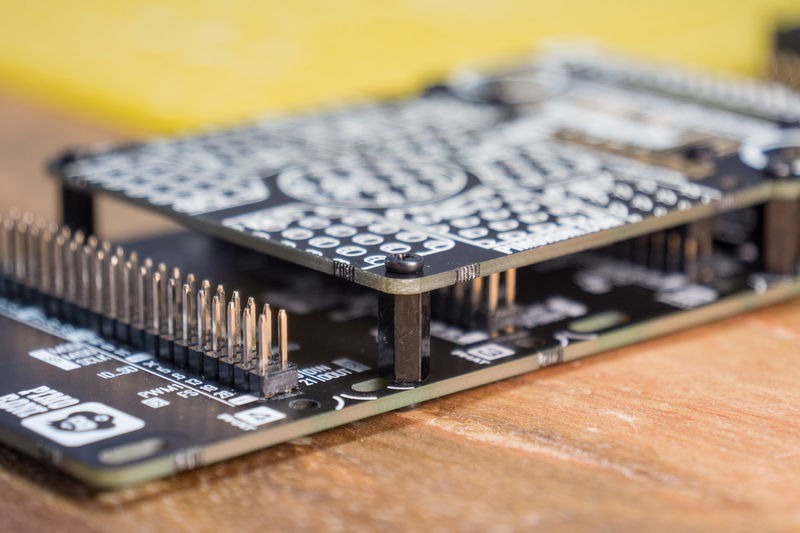
You can use the included metal standoffs to securely mount your HATs and pHATs if you're using pHAT Stack for more permanent setups, or if you're using a HAT that you need to have nice and steady, like Drum HAT or Piano HAT.
The top set of mounting holes nearest the header on your pHAT or HAT won't need any additional support, so just use the bottom set of mounting holes. Pop a couple of the bolts through from the bottom side of the pHAT Stack and then screw the standoffs in. Mount your board, and then use another couple of screws to secure the board to the standoffs.

If you're using the fully assembled kit, or if you've soldered all six of the headers, then you'll need to be aware that some HATs with components on the underside may short out pins on the headers that they sit on top of. A few pieces of insulating tape or a piece of thick gaffer tape on the underside of the HAT can guard against this.
Pop the four little rubber feet on the bottom of your pHAT Stack to stop the solder joints or screw heads from scratching your table or desk.

Tips for putting together pHAT Stack setups
You can put together some pretty fun setups with pHAT Stack by combining HATs and pHATs that act as inputs, or outputs, or both (again, remember to check that they're compatible).
To add inputs to your setup, you can use boards like Touch pHAT, Piano HAT, and Drum HAT. They'll let you add touch-sensitive button inputs to your project.
In terms of outputs, boards like Four Letter pHAT, Scroll pHAT HD, and Unicorn HAT HD are ideal for displaying data in dashboard-type setups. Four Letter pHAT is great for numerical displays like the time, temperature, humidity, and so on. Scroll pHAT HD and Unicorn HAT HD are perfect for graphical displays of data like temperature values over the past x minutes or hours.
We've thought up a few crazy ideas for setups with pHAT Stack - an itty bitty beat box with Speaker pHAT, Piano HAT, and Drum HAT; a radio alarm clock with Four Letter pHAT, Touch pHAT, and Speaker pHAT; and a weather station with built-in dashboard, using Enviro pHAT, Four Letter pHAT, and Scroll pHAT HD - but we'd encourage you to experiment and think up your own!
Search above to find more great tutorials and guides.