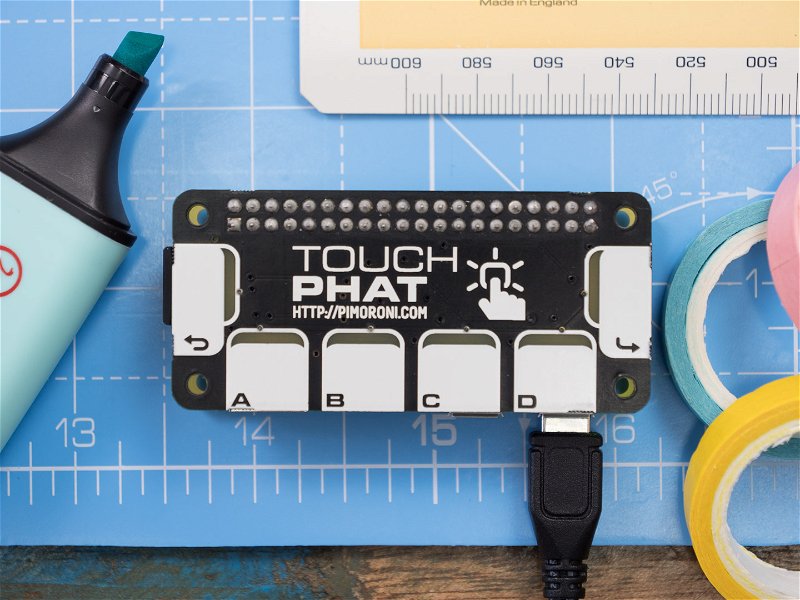
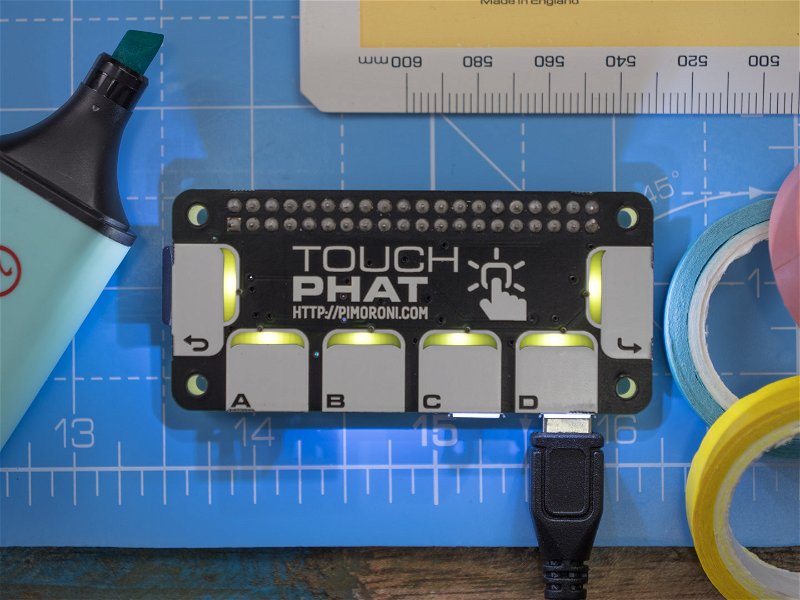
Getting Started with Touch pHAT
This tutorial will show you how to install the Touch pHAT Python library, and then walk through its functionality. You'll learn how to control the LEDs, how to link functions to button presses, and then how to turn your Touch pHAT into a timer, with the buttons starting, stopping, and resetting the timer.

If you haven't already soldered the header to your Touch pHAT, then you can follow our guide to soldering pHATs here.
Installing the software
We always recommend using the most up-to-date version of Raspbian, as this is what we test our boards and software against, and it often helps to start with a completely fresh install of Raspbian, although this isn't necessary.
As with most of our boards, we've created a really quick and easy one-line-installer to get your Touch pHAT set up. We'd suggest that you use this method to install the Touch pHAT software.
Open a new terminal, and type the following, making sure to type y or n when
prompted:
curl https://get.pimoroni.com/touchphat | bash
Once that's done, it probably a good idea to reboot your Pi to let the changes propagate, if the installer doesn't prompt you to reboot.
Using the software
Open a new terminal and type python to open a new Python prompt.
Controlling the LEDs
The LEDs on Touch pHAT are driven by the same chip that drives the capacitive touch buttons, but they can be controlled individually. There are two different methods to control the LEDs - they can be controlled individually or as a group.
Type the following to turn all of the the LEDs on:
import touchphat

touchphat.all_on()

You'll notice that we have to import touchphat to be able to use the functions
in the library. The touchphat.all_on() function does exactly as it says and,
as you might guess, there's also a touchphat.all_off() function that... turns
all of them off again. Try that now:
touchphat.all_off()
The touchphat.led_on() and touchphat.led_off() functions allow you to
control the LEDs individually. First, we'll turn the first LED on. Type the
following:
touchphat.led_on(1)
Note that the LEDs are numbered from 1, and from left to right on the pHAT. We pass the number of the pad we want to turn on or off to the function. As well as referring to them by number, we can use their names on the pads. Try the following to turn that LED (the first one) back off again:
touchphat.led_off("Back")
The pads' names are "Back", "A", "B", "C", "D", and "Enter".
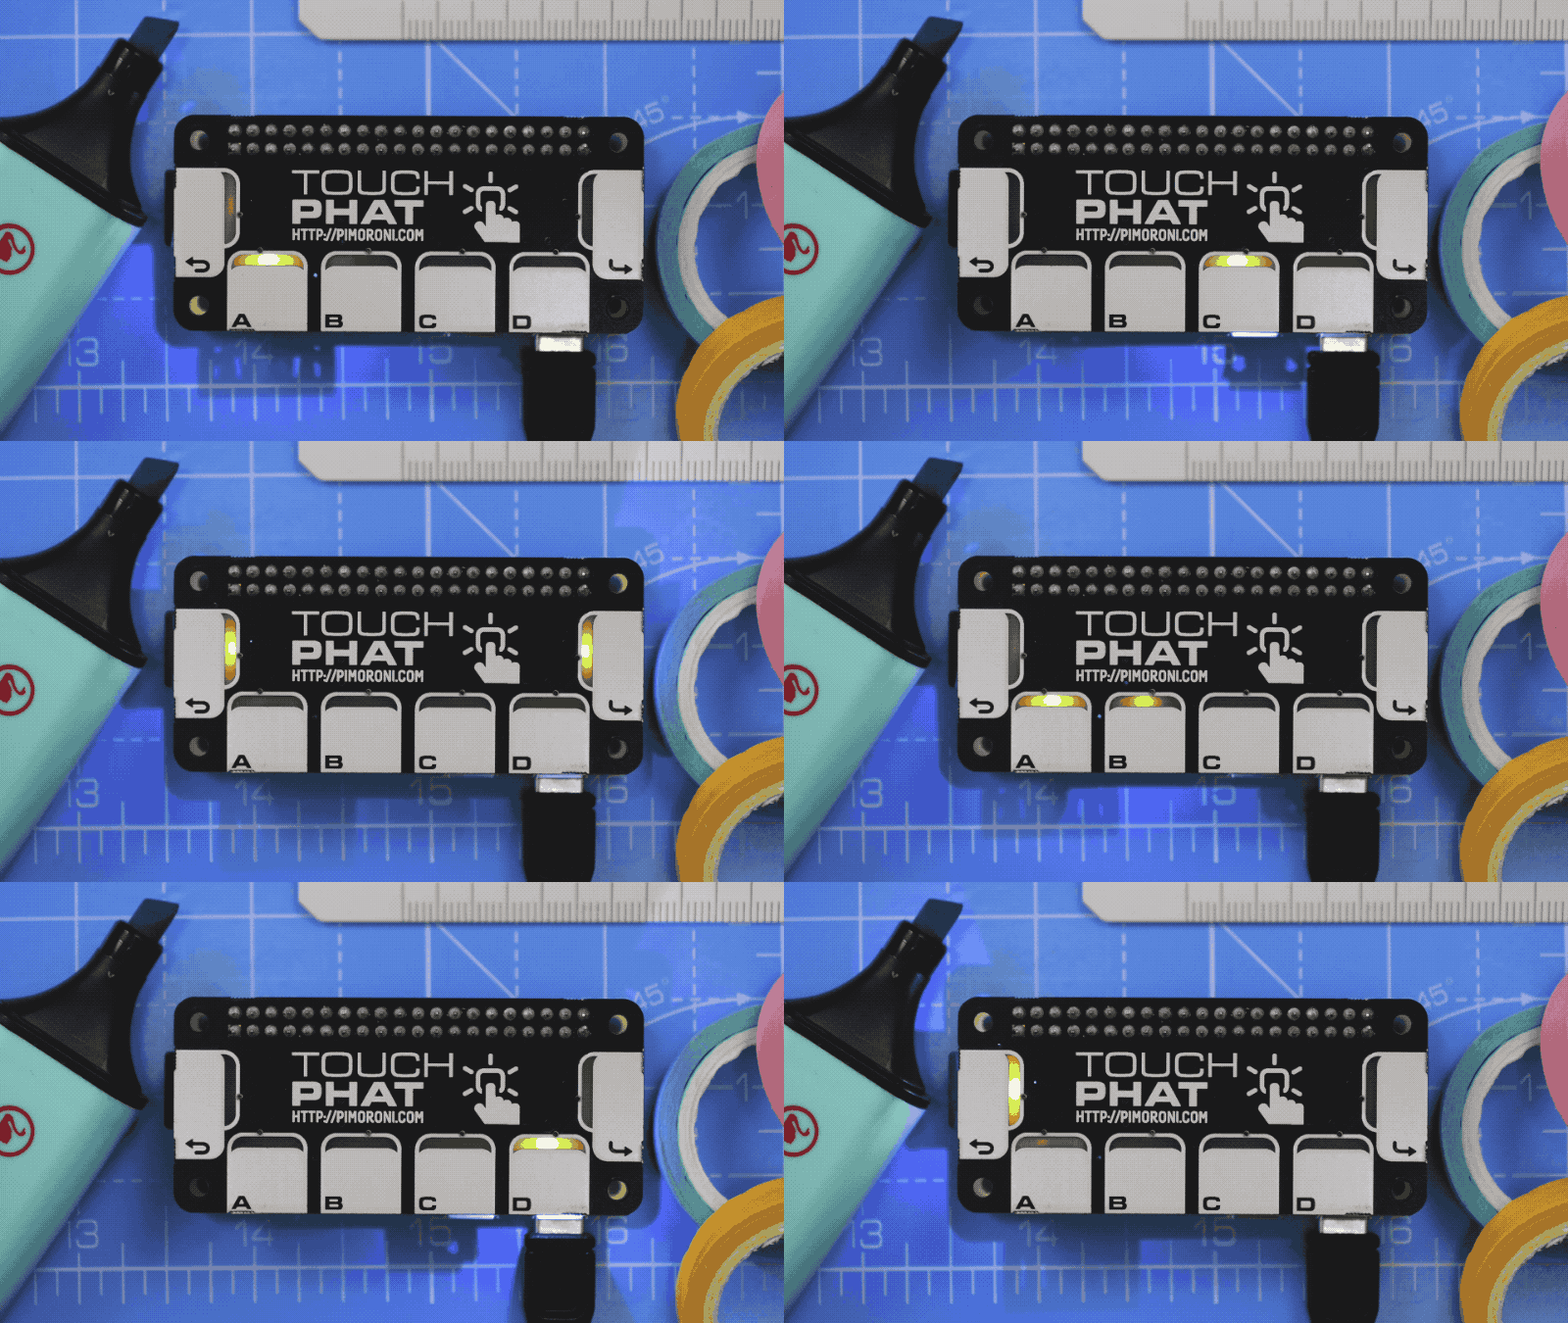
Let's try using a while True: loop now to loop through the LEDs one at a time
and turn them on for a quarter of a second and then off again:
import time

while True:
    for led in range(1,7):
        touchphat.led_on(led)
        time.sleep(0.25)
        touchphat.led_off(led)

You'll see that we imported the time library, which lets us introduce that
quarter second delay - time.sleep(0.25). Then, our loop goes through each LED
in turn with for led in range(1,7):, and turns the LED on, pauses for a
quarter second, then turns it off again. The while True: means that this will
run constantly until we type control and c to break out of it.
Linking functions to button presses
Button presses on Touch pHAT are linked to functions using decorators.
Decorators in Python are a way of linking a bit of code to a function. They
are always placed immediately before the def myfunction(): line, and begin
with an @ symbol, for instance:
@mydecorator
def myfunction():
    # Do something
Decorators are used to add functionality to functions. In this case, they link
a press of one or more of the buttons on Touch pHAT to a particular function.
Let's look at how it works in practice. We'll use the @touchphat.on_touch()
decorator and link it to a function called handle_touch() that will print the
name of the button pressed. Type the following:
@touchphat.on_touch(["Back"`, `"A"`, `"B"`, `"C"`, `"D"`, `"Enter"])
def handle_touch(event):
    print("Button %s pressed!") % event.name

You'll see that we've passed in a list of all of the button names to the
decorator. This could also be a single button, like @touchphat.on_touch("A"),
or a subset of the buttons, like @touchphat.on_touch(["Back", "Enter"]). In
fact, to use all of the buttons we could just have said @touchphat.on_touch(),
and it would implicitly have linked all of the buttons.
The event variable that we pass in to our handle_touch() function is an
object that represents the event that happens, in this case a button press.
event.name will give us the name of the button that has been pressed.
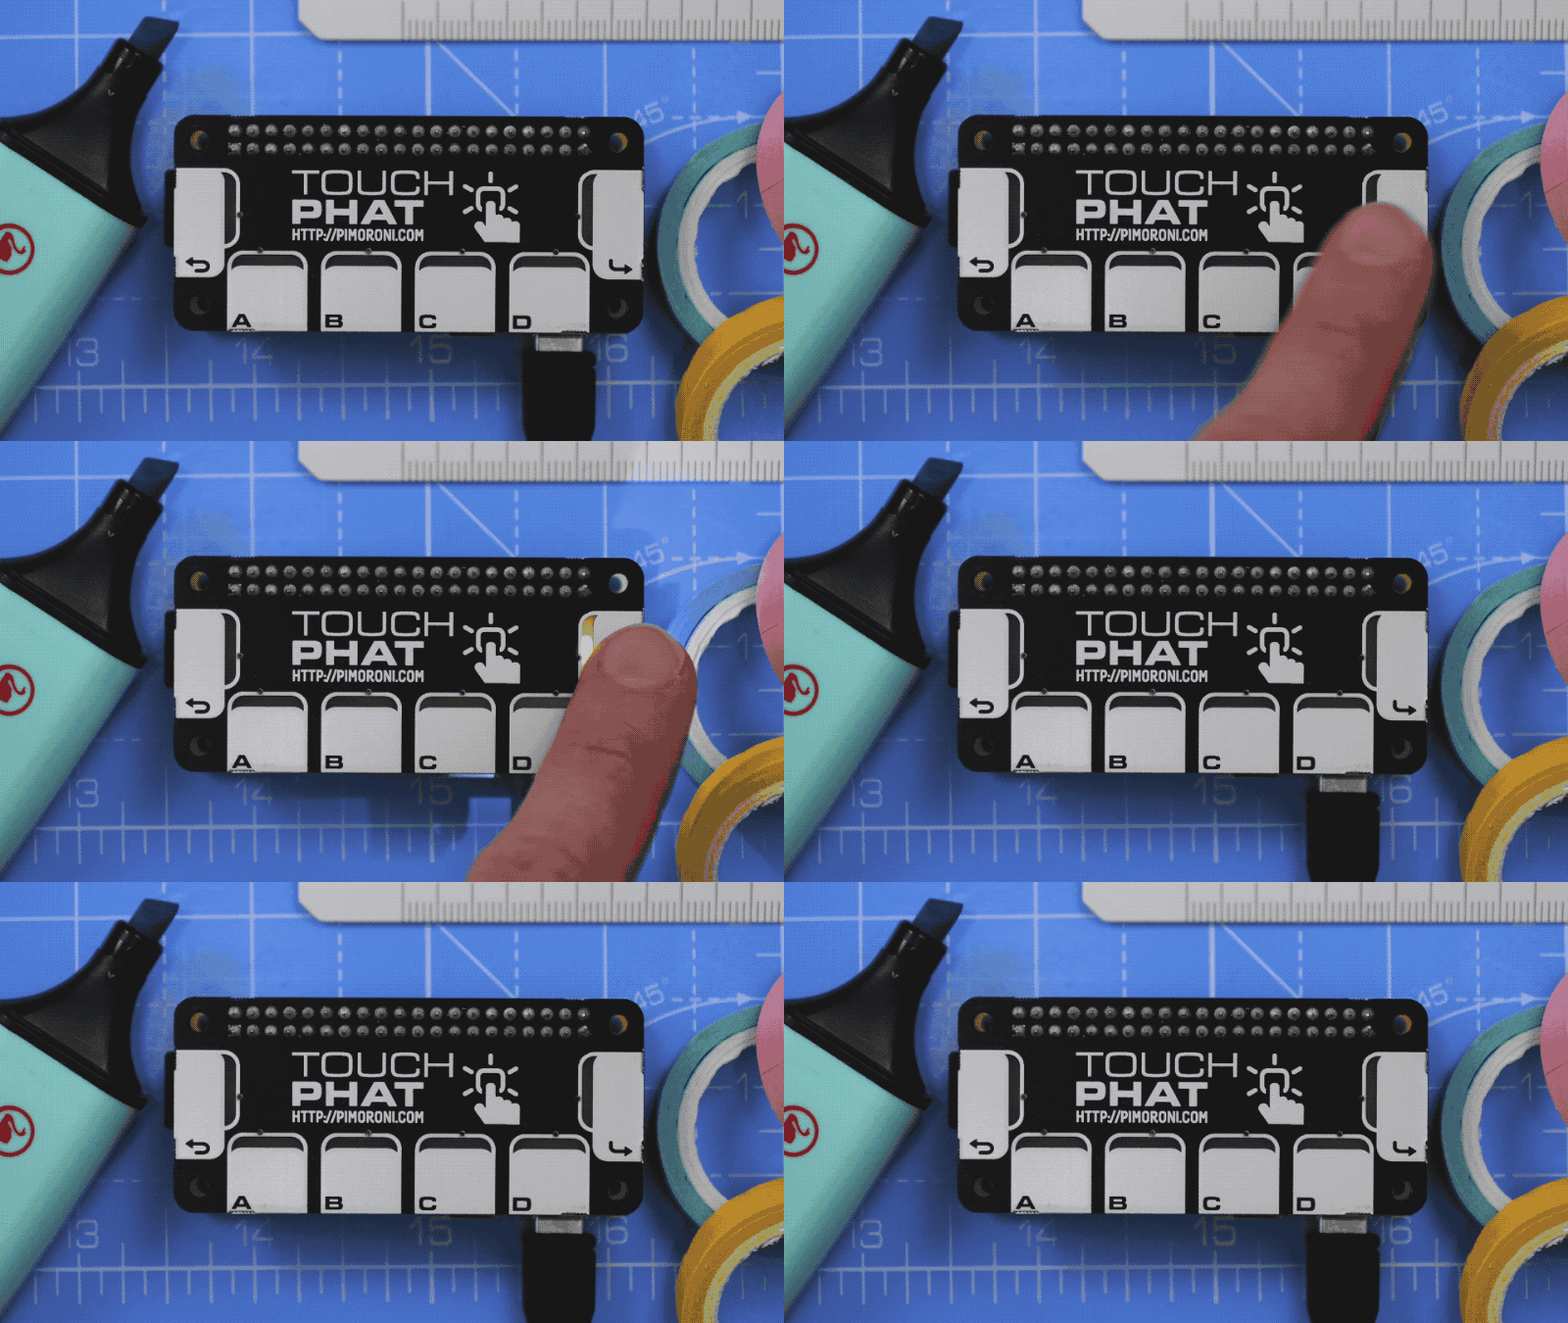
Try pressing the buttons and see what happens. This is the basis of using the buttons on Touch pHAT to trigger events, and they could be used to trigger anything that you could achieve with a Python function, from starting or stopping a timer, to triggering a sound to be played, to switching a remote plug socket or light on.
Creating a timer with Touch pHAT
Now, we're going to use Touch pHAT to create a timer, with the "Enter" button
starting and stopping the timer, and the "Back" button resetting it.
This is a pretty complex example, but we'll go through what all of the code does, so that you know exactly how it works!
The best way to run this example is to open a new text document and then paste
the code below in. Save it as something like timer.py and in your home
directory, /home/pi. To run the example, open a terminal and type
python /home/pi/timer.py. To stop it, press control and c.
import sys
import time
import touchphat

stopped = True
runtime = 0

@touchphat.on_touch("Enter")
def start_stop():
    global start
    global stopped
    global runtime
    if stopped:
        start = time.time()
        stopped = False
    else:
        stopped = True
        runtime += (time.time() - start)

@touchphat.on_touch("Back")
def reset():
    global runtime
    runtime = 0

blanks = " " * 25 + "\r"

try:
    while True:
        if stopped and runtime > 0:
            sys.stdout.write(blanks)
            sys.stdout.write("Timer stopped: %i seconds\r" % runtime)
            sys.stdout.flush()
        elif stopped:
            sys.stdout.write(blanks)
            sys.stdout.write("Touch enter to start!\r")
            sys.stdout.flush()
        else:
            sys.stdout.write(blanks)
            sys.stdout.write("Timer running: %i seconds\r" % (runtime + (time.time() - start)))
            sys.stdout.flush()
        time.sleep(0.1)
except KeyboardInterrupt():
    sys.exit()
Python libraries that you need to import always get imported at the very top of
the program, since a Python program runs in order from top to bottom. We're
using the touchphat library, the sys library (we'll use that to display the
output of the program), and the time library to do the actual timing.
Next, we create a couple of variables that we'll be using.
The first is one called stopped and it's a Boolean. Booleans can either be
True or False. In this case, we set our variable stopped to be True, so
that our timer is stopped initially. We'll be using this variable to keep track
of when our timer is running or stopped.
The other is called runtime. It'll keep track of the number of seconds that
our program has been running, so that we can display it. It's an integer (a
whole number) and we'll create it with an initial value of 0.
The easiest way to link the press of a button to a function, as we've seen, is
to use the decorator function @touchphat.on_touch(). Here, we'll be using
the "Enter" button to start and stop the timer, and the "Back" button to reset
it to 0.
Our program will use two functions, one called start_stop() that starts and
stops the timer, and one called reset() that resets it. The reset() function
is really simple and just sets the runtime variable back to 0. You'll also
see that it has global runtime in it. This means that any changes we make to
this variable will have effect throughout our program; normally variables that
are changed within a function have to be passed back out of (or indeed into) the
function to be used elsewhere.
The larger function start_stop() keeps track of whether the timer is running,
and also updates the runtime variable. We have to use global again on the
start, stopped, and runtime variables, because they'll be used in our
main while loop at the end of the program.
If the timer is currently stopped (the stopped variable is True) and the
start_stop function is triggered by a press of the "Enter" button, then we
want to start the timer. So, we use if stopped: (this is the same as
if stopped is True:) to then record the time that the timer has started,
start = time.time(). The time library has a bunch of functions, and the
time.time() function conveniently gives us the current time in seconds. We
also set stopped to False with stopped = False, since our timer is now
running.
Our else: statement will apply if the timer is running and the function is
triggered again by another press of the "Enter" button. It sets stopped back
to True, with stopped = True, as the timer has now been stopped. We also
get the time that the timer ran for, (time.time() - start), and add it to our
runtime variable with the handy += notation (a += b is the same as
a = a + b).
The main part of our program, that will run constantly, is a while True: loop.
We put this inside a try: block, so that we can add an
except KeyboardInterrupt: that will exit the program cleanly when we press
control and c.
We have three different cases that could apply: the timer could be stopped with
it not yet having been run, it could be stopped when it has been run one or
more times already, or it could be running. To check for these cases, we'll use
an if, elif, and else.
Our if stopped and runtime > 0: applies when the timer is stopped and it has
previously been running (runtime > 0). To write the current status of the
timer, we're using the sys.stdout.write() function rather than the usual
print() function. This is because we can overwrite each time on the same line
rather than printing out hundreds and hundreds of separate lines as the timer is
running. To clear the line each time, we write some blank space with
sys.stdout.write(blanks) before we write the status of our timer with
sys.stdout.write("Timer stopped: %i seconds\r" % runtime). That will print
out the number of seconds that our timer has previously been running. Last, we
flush out the standard output (standard output is what displays messages in the
terminal) with sys.stdout.flush().
Our elif stopped: will apply when the timer hasn't previously been run or has
been reset to 0, so that stopped is True and runtime is equal to 0.
We simply display a little message saying that the user should press "Enter" to
start the timer: sys.stdout.write("Touch enter to start!\r"). Again, we write
some blanks before and flush the standard output after.
The last case, the else:, will apply when the timer is running. If it is, we
use (runtime + (time.time() - start)) to get the total time that the timer
has been running for. We display it the same way with
sys.stdout.write("Timer running: %i seconds\r" % (runtime + (time.time() - start))).
At the very end of our while loop, we introduce a little delay so that it
doesn't run too frequently, with time.sleep(0.1). After all, our timer is
only updating every second so, in fact, we could probably increase this value
a little.
Taking it further
With a Mini Black HAT Hack3r you could add a Four Letter pHAT to give a physical readout of the time, or one of our other LED display pHATs like Micro Dot pHAT, Scroll pHAT HD, or Unicorn pHAT.
Touch pHAT is great for adding a physical interface to all sorts of projects, far too many to list here. It's perfect for using as a lighting controller, in conjunction with some cheap Wi-Fi-enabled smart lights. You could use it as a controller for a Pi-powered turtle robot, where the buttons are used to program the robot's route. Or why not use it as controls for a Pi-powered camera booth that creates animated GIFs and then tweets them?
Search above to find more great tutorials and guides.