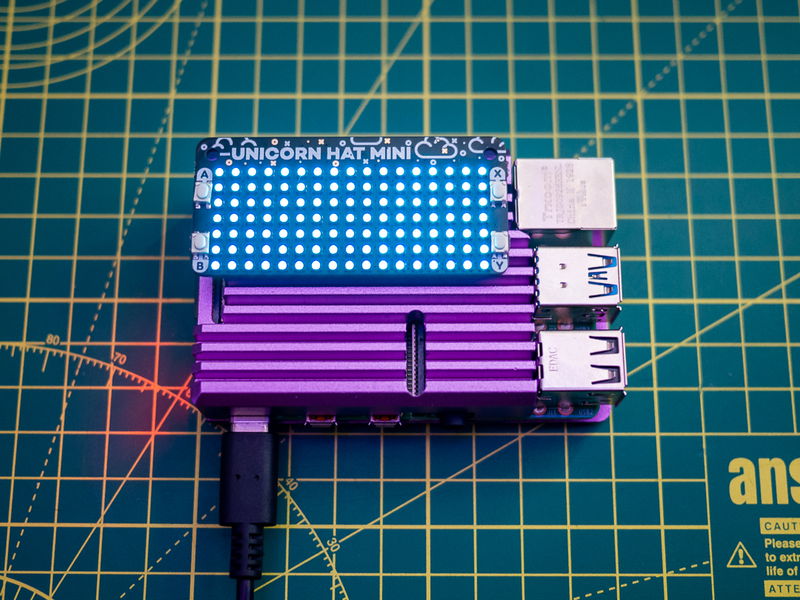
Getting Started with Unicorn HAT Mini
This tutorial will show you how to install the Unicorn HAT Mini Python library and then walk through its functionality - how to light pixels, control colour and brightness, and then finish with an example of how to MAKE IT RAINBOW!
Please note the LEDs on Unicorn HAT Mini are not Neopixels/WS2812 addressable LEDs - they are ordinary RGB LEDs made 'smart' with a pair of Holtek matrix driver chips. All this means is that they use a different library to Unicorn HAT and pHAT so you'll need to make sure you download the right one. If you have one of our older boards you can find a tutorial for Unicorn pHAT here.
Unicorn HAT Mini comes with a pre-soldered header so, as long as you've got headers attached to your Pi, you won't need to do any soldering. Woop!
Installing the software
We always recommend using the most up-to-date version of the full desktop version of Raspberry Pi OS, as this is what we test our boards and software against, and starting with a completely fresh install is usually a good idea. We'll assume you've got a monitor, keyboard and mouse plugged into your Pi, although it's also possible to do all the steps in this tutorial 'headlessly' if you prefer (that's connecting to your Pi over SSH from another computer).
First of all, you'll need to enable SPI on your Pi (this is the protocol your Pi uses to communicate with the mini HAT).
Open a new terminal (click on the icon in the taskbar that looks like a little black box) and type the following, followed by enter.
sudo raspi-config nonint do_spi 0
Alternatively, you can also turn on SPI using the Preferences menu if you prefer - you can find the option to turn on SPI under Preferences > Raspberry Pi Configuration > Interfaces.
Next, we'll need to download the library from Github, and run the installer. For this bit your Pi will need to be connected to wifi (there should be a wifi icon in the taskbar at the top right you can click on to do that if you're not connected).
In the terminal, type the following, pressing enter after each line:
git clone https://github.com/pimoroni/unicornhatmini-python
cd unicornhatmini-python
sudo ./install.sh
The installer will give you the option to copy our examples to your Pi, we'd suggest typing 'y' to do that.
Once that's done, it probably a good idea to reboot your Pi to let the changes propagate, if the installer doesn't prompt you to reboot.
If you'd like to tidy up the installer files, you can now delete the directory you cloned from Github:
sudo rm -r ~/unicornhatmini-python
If you'd like to give our examples a go you can navigate to them by going to:
cd ~/Pimoroni/unicornhatmini/examples
ls
and then running them like this:
python3 demo.py
Using the software
We'll be programming our Pi via REPL (that's typing our Python commands directly into the Python interpreter, one line at a time). If you'd rather have a slightly more friendly interface, the code below should also work in a Python IDE such as Thonny. Open a new terminal and type python3 to open a new Python prompt.
Lighting individual pixels
We'll begin by doing the simplest thing you can do, lighting a single pixel red. This will show you how the pixels are organised and the commands needed to light them in a particular colour.
Before we start anything, we have to type the following to import the
unicornhatmini library:
from unicornhatmini import UnicornHATMini
uh = UnicornHATMini()
The second line is assigning Unicorn HAT Mini a shorter, friendlier name and means we don't have to type UnicornHATMini() each time we want to call a function, just uh.
We'll also set the brightness to 50%, since Unicorn HAT Mini will scorch your retinas at 100% brightness (you were warned!)
uh.set_brightness(0.5)
To light a pixel on Unicorn HAT Mini in a particular colour, we have to do two
things: first, we have to use the set_pixel() function to specify which pixel
we want to light and in what colour and, second, we have to use the show()
function to update the Unicorn HAT Mini and actually display the pixel that we set.
Pixels on Unicorn HAT Mini are organised by their x/y coordinates from the top left
hand corner, so the top left pixel is 0, 0 and the bottom right pixel is
16, 6. Remember that, in Python, things are numbered from 0 rather than from 1.
The colours of pixels are specified by an RGB colour value. Each colour can be
represented by mixing a particular amount of Red, Green, and Blue, from 0 to 255,
meaning that you can get over 16 million different colours!! As an example, pure
red is 255, 0, 0 and white is 255, 255, 255.
Let's light the top left pixel red. Type the following:
uh.set_pixel(0, 0, 255, 0, 0)
uh.show()

To clear any pixels that you've set, you can use the clear() function,
followed by show():
uh.clear()
uh.show()
Lighting all of the pixels using a for loop
To light all of the pixels on Unicorn HAT Mini, it's just a matter of repeating the
process we just did once for each of the 119 pixels. We can make this really
quick and easy by using two for loops: one to loop through each column, and
another to loop through each pixel in each of those columns.
The rough process is: for x in range(17): and then for y in range(7):,
because we have 17 pixels along the x axis and 7 along the y axis.
This time, we'll light the pixels cyan, which is a mix of pure blue and pure
green and so can be represented by the RGB colour 0, 255, 255.
Type the following (making sure the indents look the same as below, with four spaces in front of the second line and eight spaces in front of the third line):
for x in range(17):
    for y in range(7):
        uh.set_pixel(x, y, 0, 255, 255)
You might need to press enter twice to tell the interpreter you're done with your for loop and get the >>> prompt back. Then type:
uh.show()

All of the pixels on your Unicorn HAT Mini should just have lit up cyan!
Making it blink!
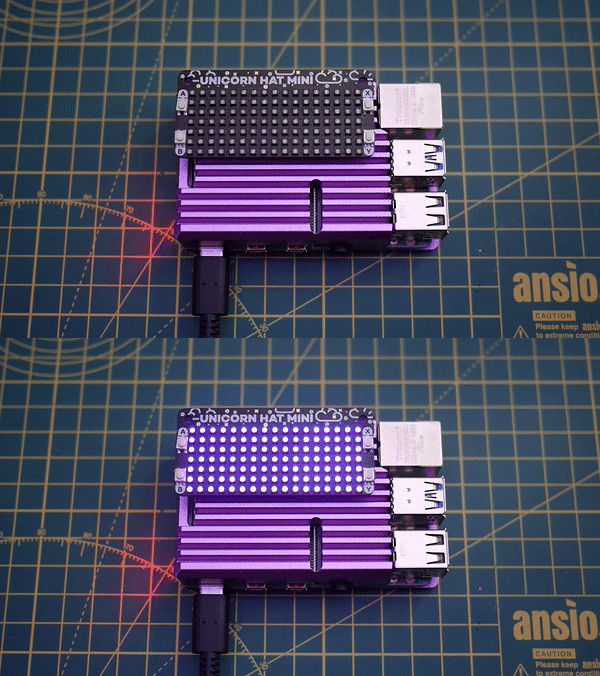
Now we're going to use a while loop to make your Unicorn pHAT blink pink. All
we have to do is continuously light all of the pixels pink, using the technique
we just learned, and clear them again, with a short delay, maybe a quarter of a
second in between.
Type the following:
import time

while True:
    for x in range(17):
        for y in range(7):
            uh.set_pixel(x, y, 255, 0, 255)
    uh.show()
    time.sleep(0.25)
    uh.clear()
    uh.show()
    time.sleep(0.25)

Again, you might need to press enter twice to break out of the loop, if your cursor shows ... instead of >>>. You can stop your code running by pressing ctrl-c.
This is just the same as in the example where we made all of the pixels light in
cyan, except we changed the RGB colour to 255, 0, 255 and we added a couple of
lines to sleep for a quarter of a second - time.sleep(0.25) - and to clear all
of the pixels - uh.clear().
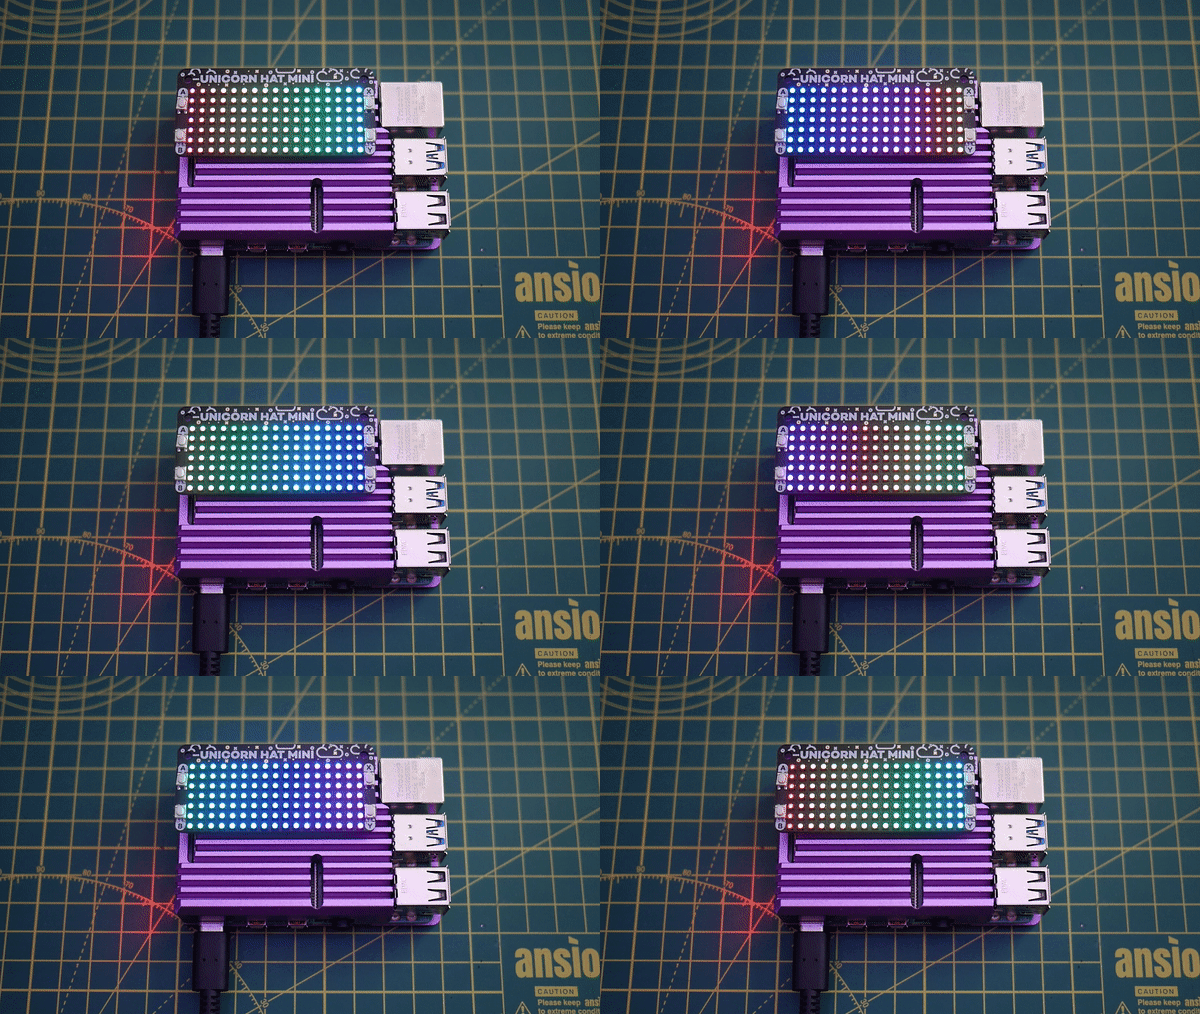
Making it rainbow!
For our last example, we'll get a little more complex and make a rainbow animate across your Unicorn HAT Mini. As well as representing colours in RGB, we can also use a system called HSV (hue, saturation, value) that uses the colour wheel to determine the hue of a colour. The colour wheel begins and ends at red, and progresses through all of the other colours of the rainbow in order. Each position on the colour wheel is represented by a compass position in degrees, with red being at 0/360 degrees.
Fortunately, there's a Python library called colorsys that lets you convert
HSV colour values to RGB colour values that we can feed into the set_pixel()
function. So, to animate our rainbow we just have to continuously cycle around
the colour wheel through all of the colours of the rainbow.
Here's all of the code for our animated rainbow. We'll break down what all of it does after. Type the following:
import time
import colorsys

spacing = 360.0 / 34.0
hue = 0

while True:
    hue = int(time.time() * 100) % 360
    for x in range(17):
        offset = x * spacing
        h = ((hue + offset) % 360) / 360.0
        r, g, b = [int(c * 255) for c in colorsys.hsv_to_rgb(h, 1.0, 1.0)]
        for y in range(7):
            uh.set_pixel(x, y, r, g, b)
    uh.show()
    time.sleep(0.05)

First, we import the time and colorsys libraries. We'll need the colorsys
library to convert our HSV colour into an RGB colour.
spacing = 360.0 / 34.0 means that we'll space half of the colour wheel across
the 17 pixel width of Unicorn HAT Mini at any one time. You can reduce the 34.0 to
get more of the colour wheel across your Unicorn HAT Mini or increase it to get less
of it.
hue = 0 initialises the hue variable with a starting value of 0.0. It will
be changed through time inside our while True: loop, but we have to initialise
it outside our loop.
Our while True: loop does several things. Most importantly, it sets the hue by
taking the time (in epoch seconds, no need to worry about what that is),
multiplying it by 100 to scale it up a little, and then taking the modulo 360 of
that result (the remainder after dividing the time x 100).
Then, we have two for loops. The first calculates an offset from the pixel
number x and our 22.5 degree spacing that we calculated earlier. This
offset is added to the hue, the modulo 360 is taken again, and the value is
divided by 360.0 to get a number between 0.0 and 1.0 that will be accepted
by the colorsys.hsv_to_rgb() function. The rather complicated line that begins
r, g, b = is a list comprehension that converts the RGB values returned by
colorsys.hsv_to_rgb(), which are values between 0.0 and 1.0 to RGB values
between 0 and 255.
The second for loop just sets all of the pixels in each column (y) to the
same colour that we just calculated for each x pixel, using the uh.set_pixel()
function.
Finally, we call uh.show() outside of our two for loops but still inside the
while loop, and then introduce a small delay of 0.05 seconds to set the
animation speed with time.sleep(0.05).
Taking it further
Why not try to take our rainbow example further and set a different colour for the pixels in each column too? Or just clamp the range to a portion of the colour wheel that you like?
Try setting the colour of your Unicorn HAT Mini to the current Cheerlights colour, or use your Unicorn HAT Mini to display your mood on Twitter based upon the sentiment of your recent tweets. You could also hook up your Pi to Google Calendar, Zoom or Teams APIs to make a busy light for your office door!
Search above to find more great tutorials and guides.