Making a Festive Greetings Card
With that season approaching, it might be time to get the little ones busy making cards to send to your nearest and dearest - and who doesn't love a shiny light!? At around 70p a card, it's even cheaper than the pound shop, and you get to make your own design.
Note that this project contains small parts. Not suitable for children 3 years or younger. This is not a toy. Keep coin cell batteries out of reach of children. If ingested, seek medical help immediately.
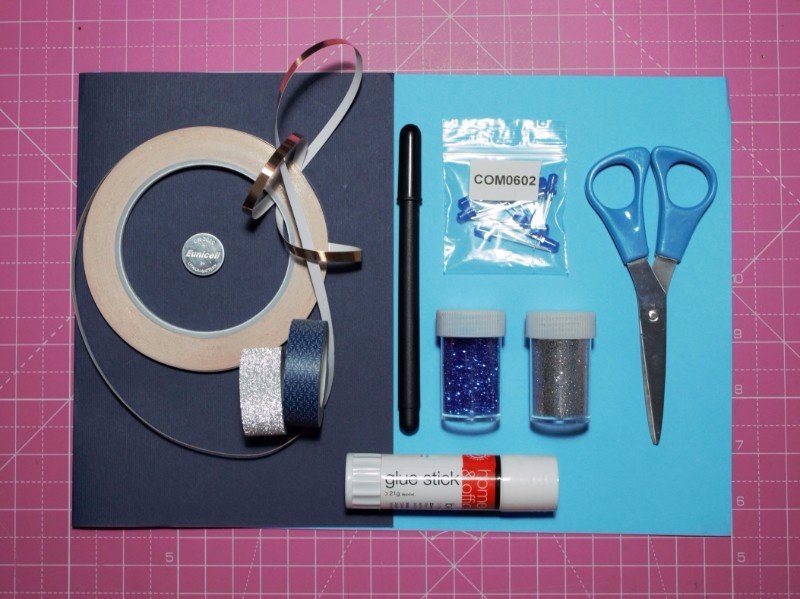
First, you'll need some card - we just folded some A4 in half. You'll need some paper for decorating and for making the battery holder. Scissors, glue, glitter, and a pen are also useful.
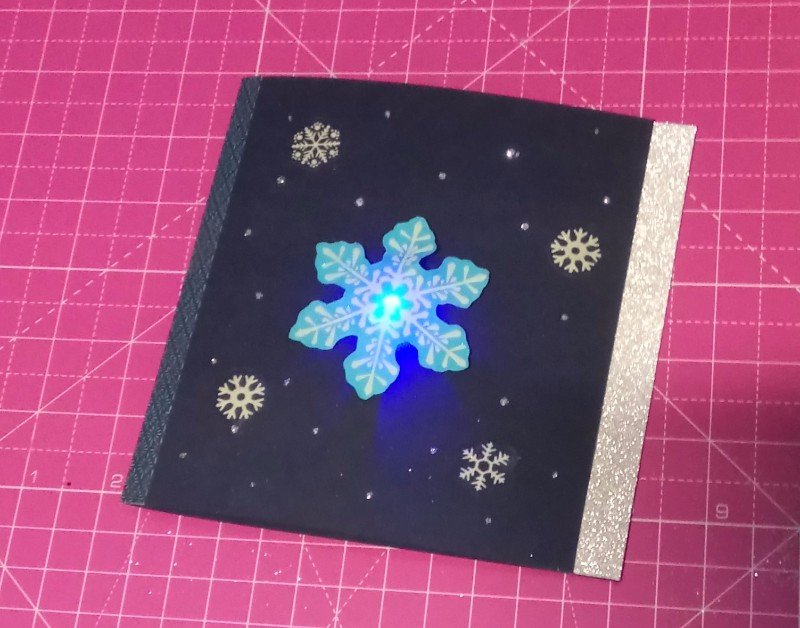
For our card, we made a glittering snowflake with a blue LED in, but you could let your imagination run riot and have a shark with lasers, a warm bonfire, or even a birthday cake with an LED candle!

First, draw or glue your design onto a piece of thick paper or card. This will be the thing that hides the actual LED on the front of the card. We used a snowflake sticker on some blue card, and then cut it out.
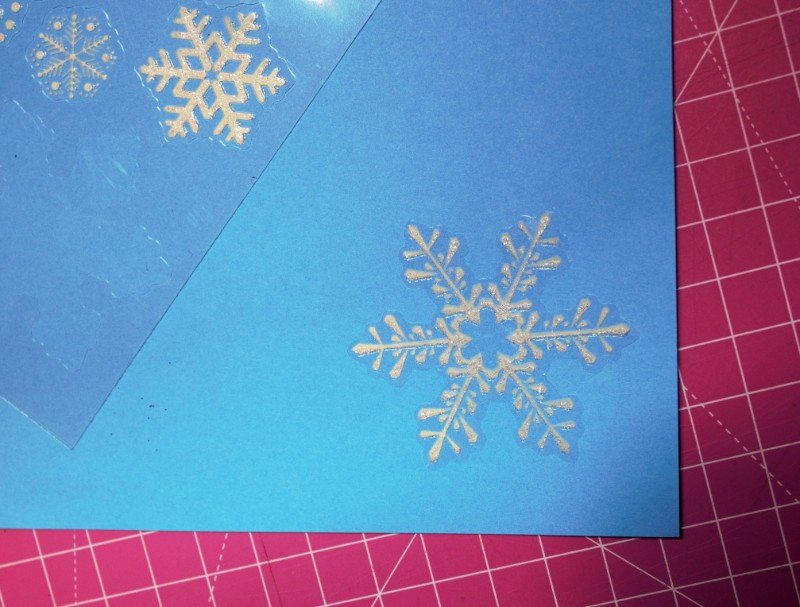
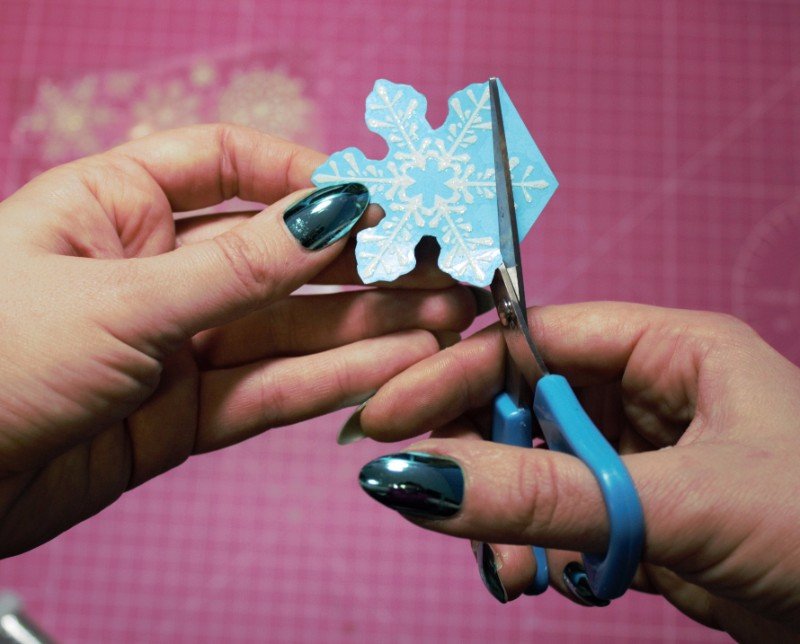
Next, place the cut out decoration on the front of your card, and mark where you want the LED to be.
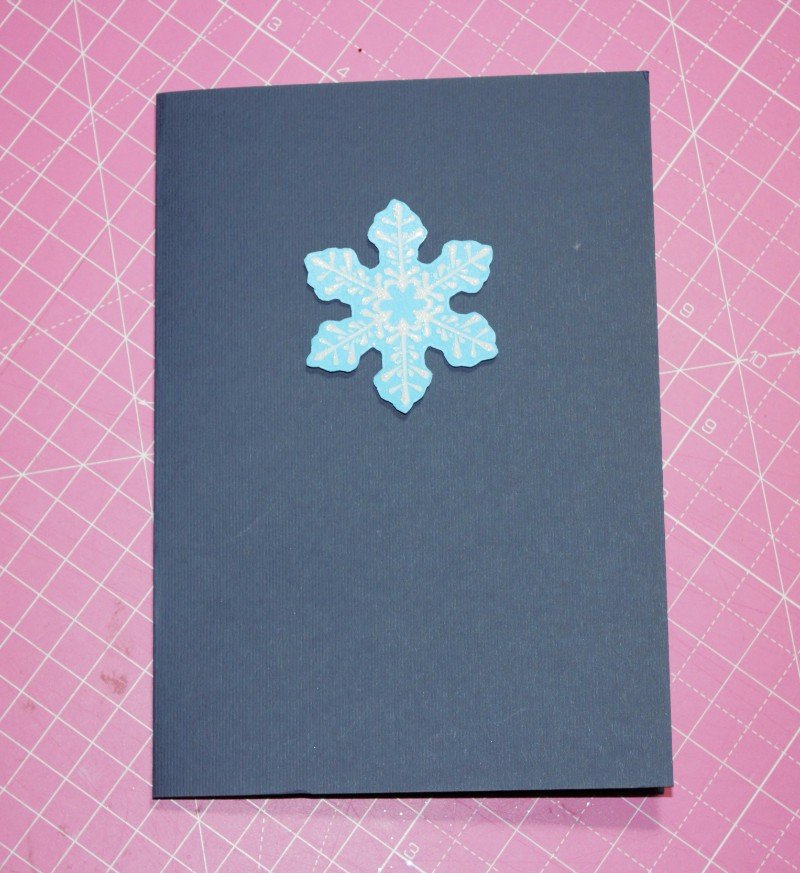
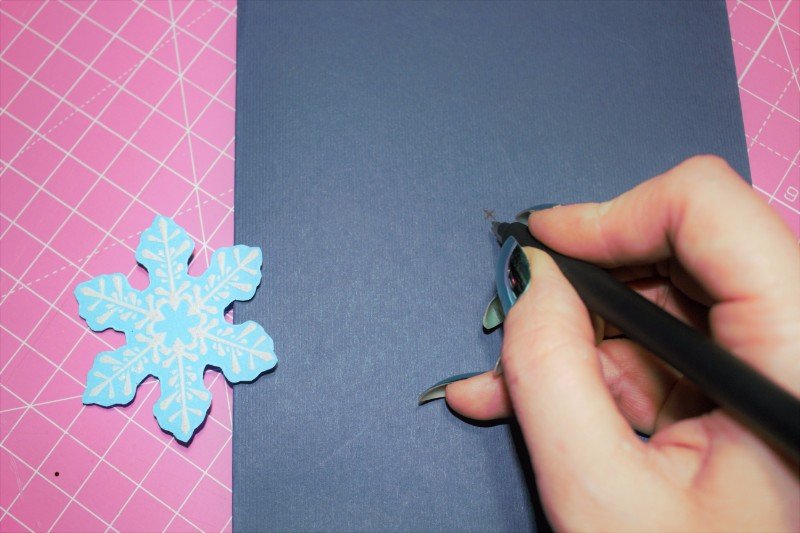
Put some Blu Tack or an old eraser behind the mark, and use a pencil to push a hole in the card where the LED will go. SPOINK!
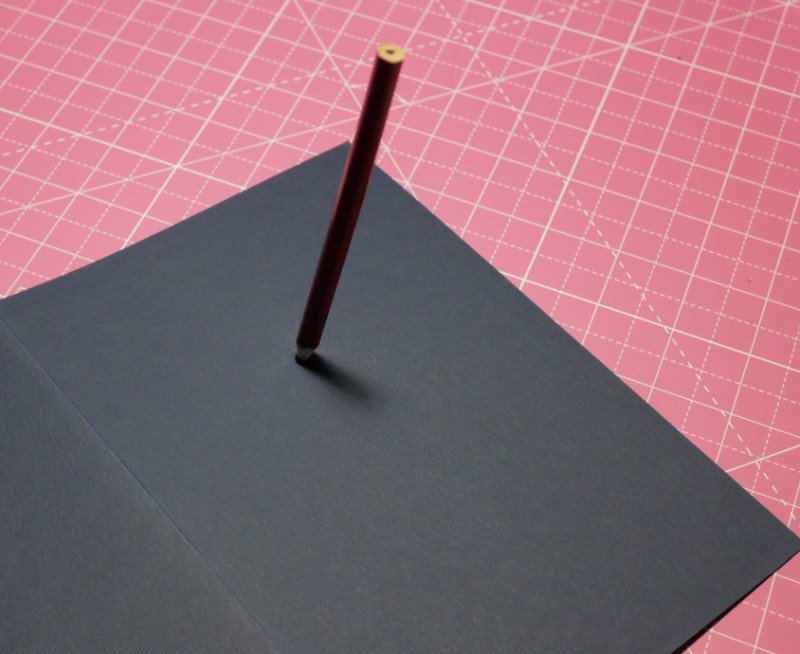
Now we have a space for the LED, push the legs through from the front of the card. You can bend the top of the legs to make the bulb lie flat if you like.
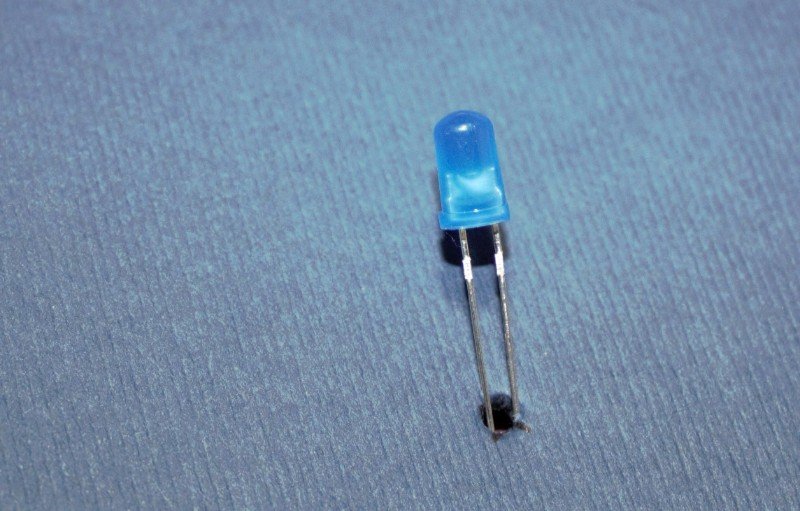
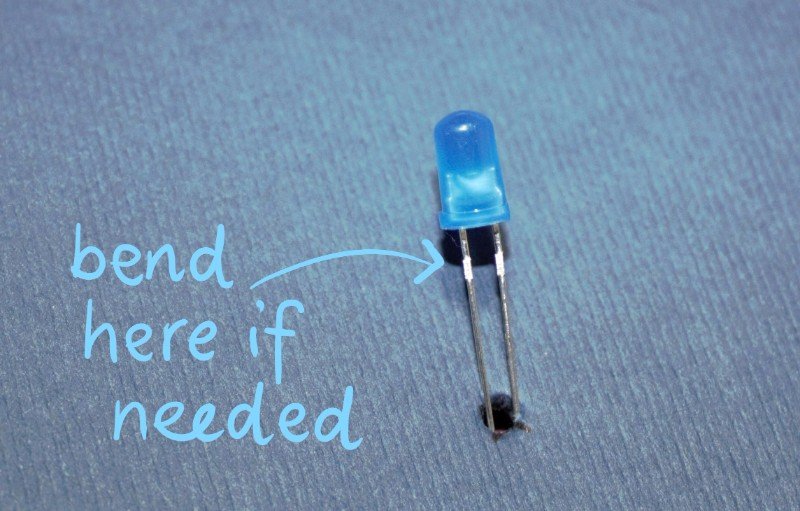
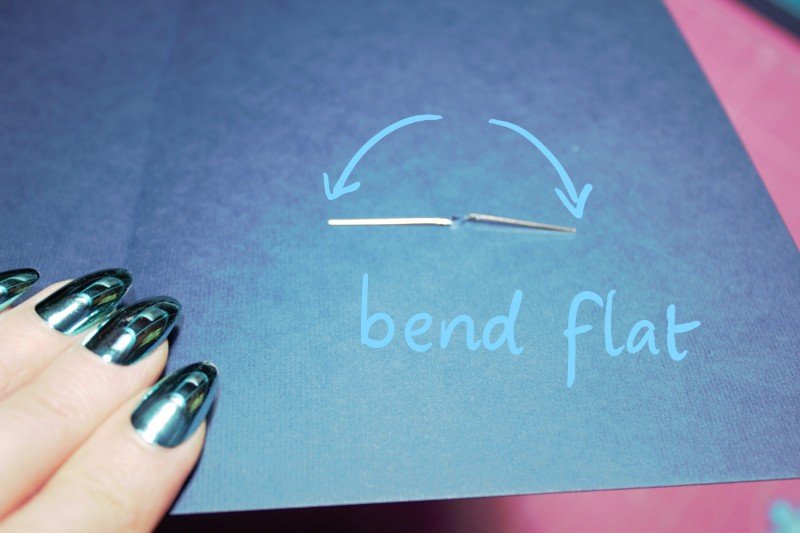
On the back of the card, you should see the legs of the LED poking through. Bend them out sideways so they lie flat and then twist the LED so that the long leg (positive side) is on the RIGHT.
Now we have to connect the LED to the battery, but make a switch so that it isn't always on.
What we want to do is to make a breakable loop.
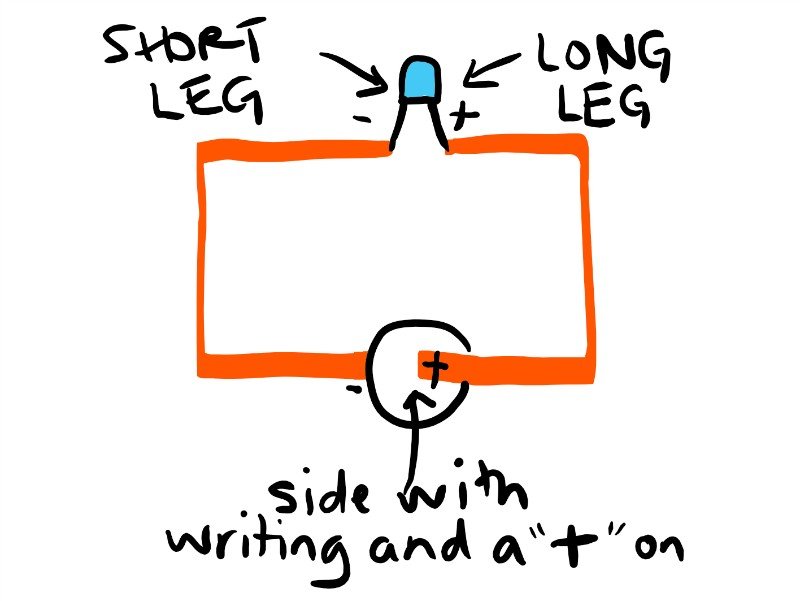
If we make the part that touches the positive (top) side of the battery able to flap on and off it, we can use it as a switch.
Cut out a little rectangle of paper and glue one half of it to the card under where the LED legs are, so the other half is sticking up.
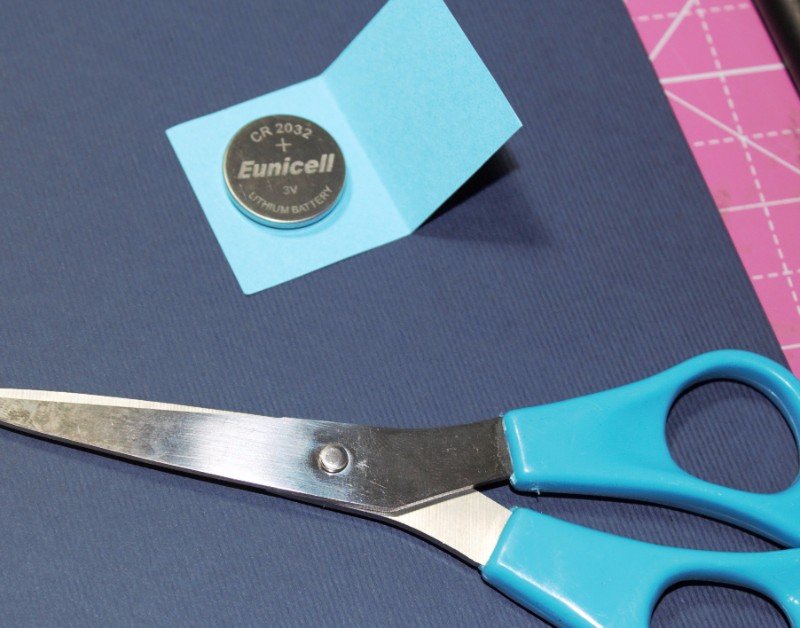
Now, use copper tape to tape the short leg to the left side of the flap, so we can sit the battery on top of it.
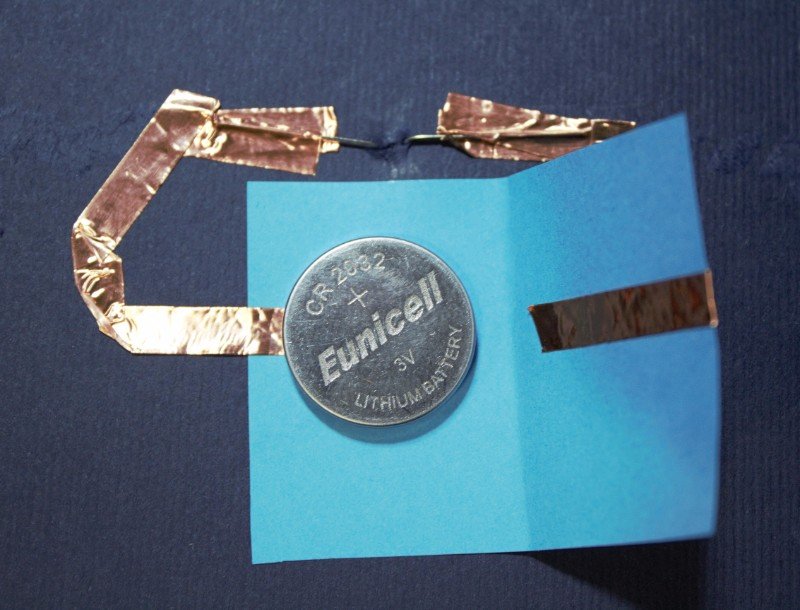
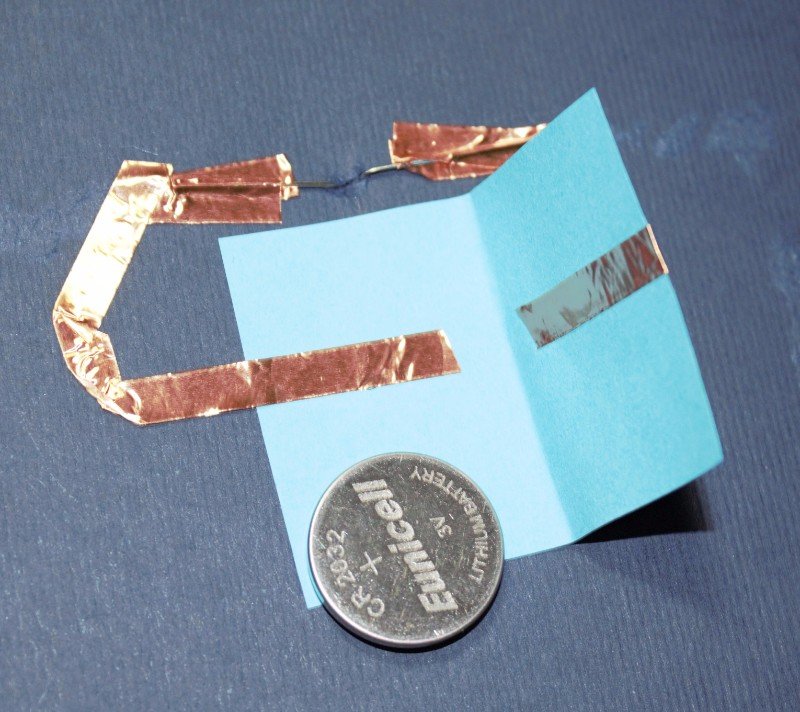
Tape the long leg over the top of the flap (side marked on), open up the flap, and carry it on around the flap (side marked off).
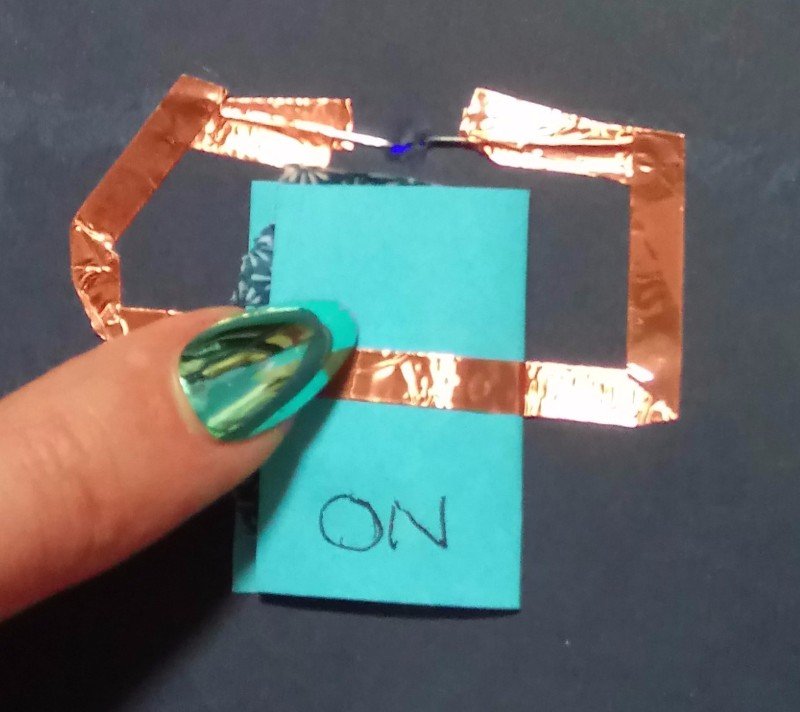
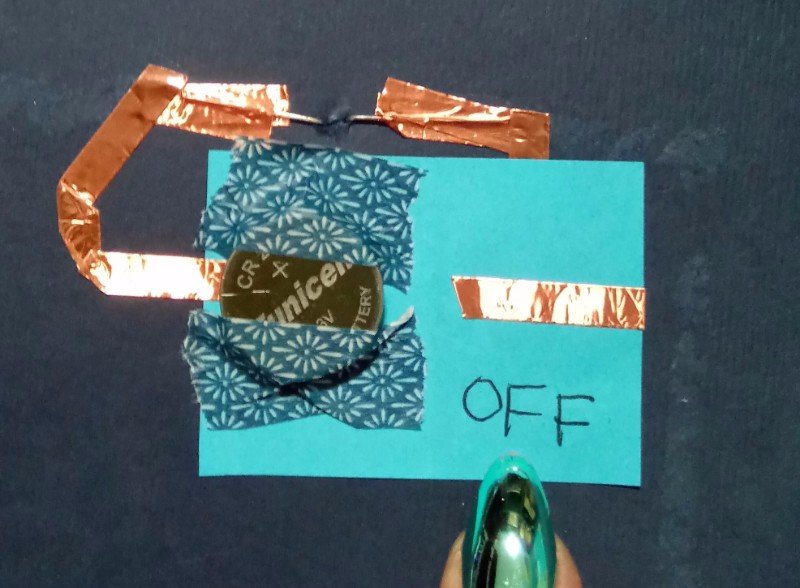
Make sure the tape doesn't join in the middle of the paper.
We used paper tape to hold the battery on the card, leaving the middle bare so that the copper tape switch can touch it.
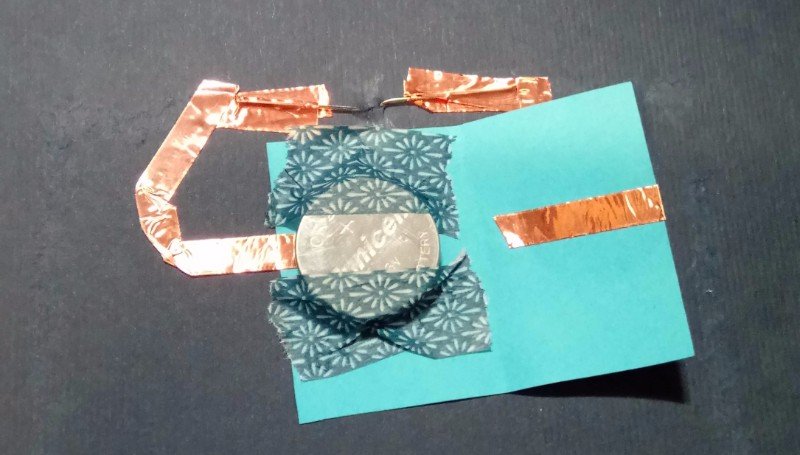
Check the circuit works. Sometimes the copper tape will need smoothing down, or you might have to check your battery is in the right way around.
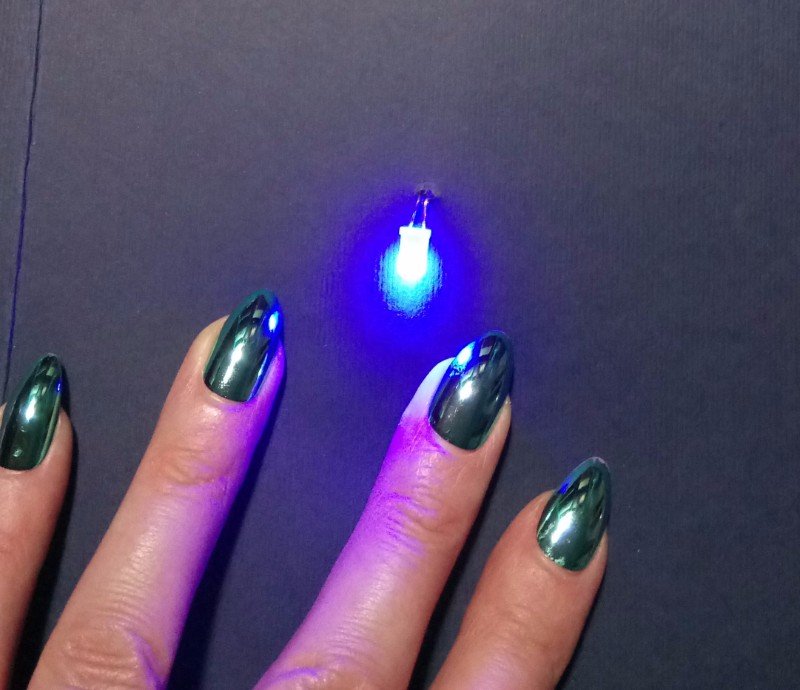
Now, all that remains is to cover up the LED on the outside with your design.
We used sticky foam pads from the craft shop, but you can glue the edges of the design and press it over the LED.
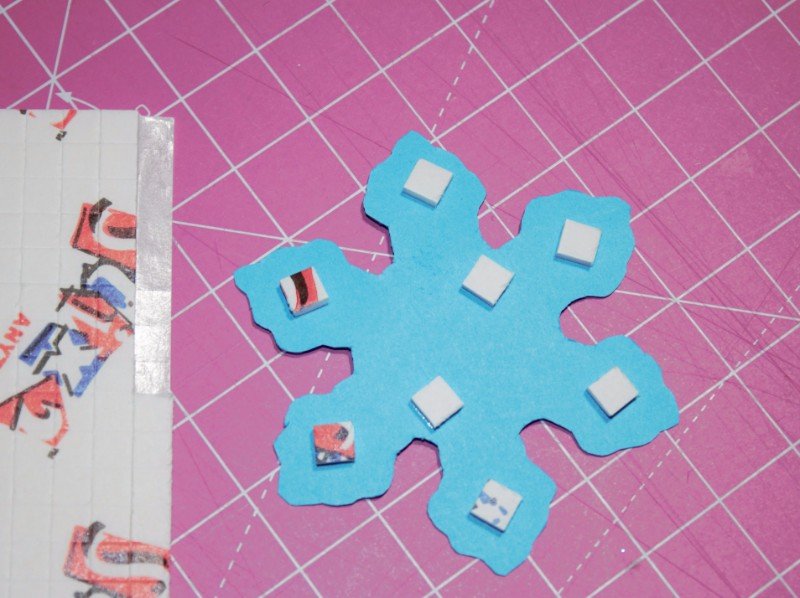
Use the switch you made to turn it on, and admire your glowy card!

Go crazy with the glitter and sequins!

Search above to find more great tutorials and guides.