Setting up a Headless Pi
This quick tutorial will show you how to set up a Raspberry Pi that's completely headless. That means that you won't need a display, keyboard, or mouse attached to your Pi to use it or even to set it up! If you're used to using a laptop or desktop computer at home, and don't want the hassle of connecting everything up to your Pi to use it, then this is the ideal solution.
You'll need a little familiarity with the terminal, as this is how you will connect to your Pi, using SSH. SSH stands for Secure Socket Shell, and is a remote way of accessing a terminal on another machine. If you've ever used one of our one-line-installers for our Pi HATs and pHATs, then you'll have used the terminal.
Because we're connecting remotely to the Pi, you'll need a Pi with with built in wifi, such as the Pi Zero W or Pi 4 (or you could use a wifi dongle). If your computer doesn't have a SD card or micro SD card slot, you'll also need a USB adaptor to be able to plug it in.
Downloading Raspberry Pi Imager
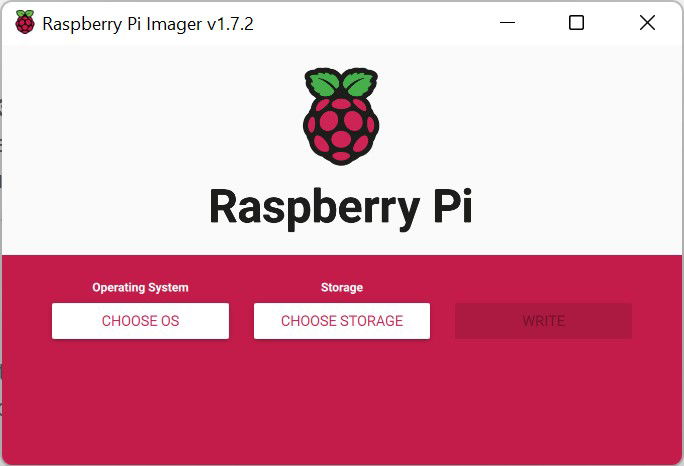
We'll be using Raspberry Pi Imager to flash Raspberry Pi OS to your SD card, which makes this process super easy. It's available for Windows, Mac and Linux.
Once it's installed, fire it up!

Choosing Raspberry Pi OS version
Clicking on the first box will let you choose what OS you want to install on your SD card.
If you're a beginner, we'd suggest using the recommended image - 32 bit Raspberry Pi OS. This is the full version of Pi OS (previously known as Raspberry Pi OS with Desktop). Using the Full/Desktop image means you can plug your Pi into a monitor and navigate around using the GUI if you need to. The 32 bit version should work on any kind of Pi.
For a completely headless Pi, you might want to consider using Raspberry Pi OS Lite - a minimal image that comes without a desktop environment. The Lite image is smaller so will burn to your SD card faster, and most of the extra stuff in full Raspberry Pi OS is related to the GUI - the desktop, etc. - which you'll have no need for since you're using the terminal.
⚠️If you use the Lite image, it won't include as many software libraries by default, so you might find you might need to install some common dependencies (like git and pip3) manually to be able to install software.
Select your SD card in the middle box. Before you hit write, click on the cog to open up the advanced menu - this is where we'll input our wifi details and set up SSH.
Setting advanced options
You'll need to select the following options -
- 'Set hostname' - this is the name that your Pi will show up as on your wi fi network. We're using
testpi.local. - 'Enable SSH - Use Password Authentication' - enter the username and password you want to use to log into your Pi.
- 'Configure wifi' - enter your wifi details here. Double check your SSID and password are entered correctly, both fields are case sensitive.

Once that's all done, click save, close the advanced menu, write your SD card and pop it into your Pi.
Connecting to your Pi
Once you've powered up your Pi, give it a couple of minutes to start up and start broadcasting its hostname (the first boot can take a while, especially if you're using a Pi Zero).
Assuming that all worked, your Pi should now be connected to your Wi-Fi and visible on your network. We're going to use SSH to connect to the Pi now.
Open a terminal on your Mac, Windows, or Linux computer. Alternatively, you can use a client like PuTTY on Windows to connect, or you can get SSH client apps for iOS and Android if you want to connect from your phone!
As well as having an IP address assigned to it, your Pi will appear with the
hostname testpi.local. If you're not able to find the IP address of your
Pi (you should be able to find it on your router admin page, or with a tool
like Angry IP Scanner or Fing) then you can use the hostname instead. We'll do
that here.
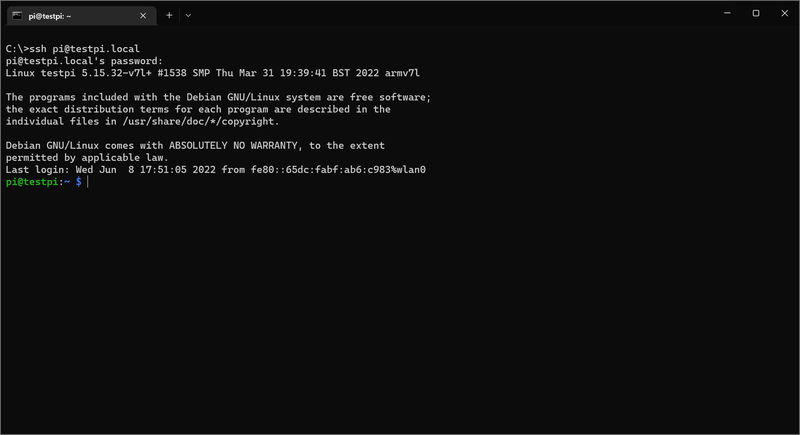
Type the following to SSH into your Pi:
ssh pi@testpi.local
Press enter, and then type yes when it prompts you as to whether you want to
connect, and then input the password you chose in the last step, followed by enter.
Assuming that was successful, you should land in a terminal that is running on your Pi! You can now do things like install software, program HATs and pHATs, etc, all without having a display, keyboard, or mouse attached to your Pi!

To shutdown your Pi, simply type sudo shutdown -h now, or press control and
d if you want to disconnect but leave your Pi running.
Note that if you have a program running over SSH and you disconnect, then the
program will likely stop as soon as you disconnect. The best way round this is
to use screen, but we'll save that for another tutorial!
Search above to find more great tutorials and guides.