Getting Started with Four Letter pHAT
This tutorial will show you how to solder the 14-segment displays, install the Four Letter pHAT Python library, and then walk through its functionality. You'll learn how to display four letter words (not that sort!!), numbers, and a neat little example of how to use it as a clock.
Soldering the 14-segment displays
Four Letter pHAT comes with 2x two digit 14-segment displays that require soldering to the Four Letter pHAT PCB. We'll walk through how to do that now.
First, take your Four Letter pHAT and hold it so that the side with the large chip on is facing downwards and the Four Letter pHAT text is at the left hand side.

Now, take one of the 14-segment displays and turn it so that the decimal points after each digit are towards the bottom. Carefully, line up the pins on the display with those in the left hand rectangle and push them through, so that the display sits flush to the PCB, as in the images below. You might notice that there is some protective film on the displays; don't peel this off until the very end!
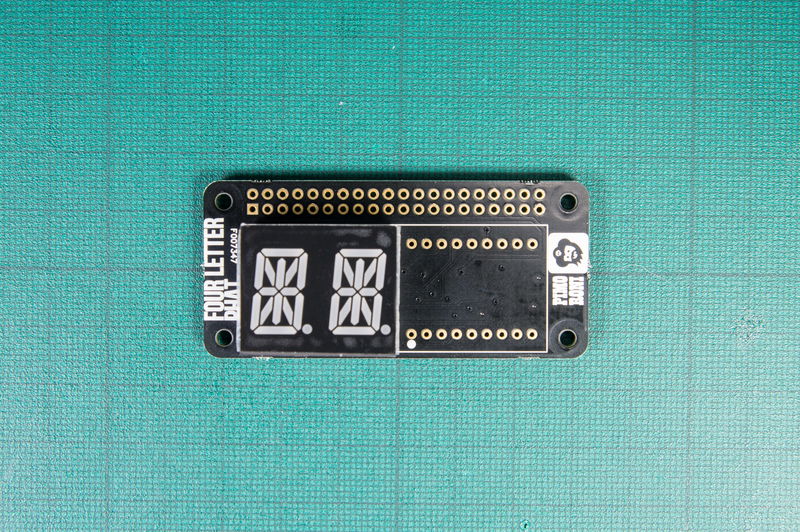
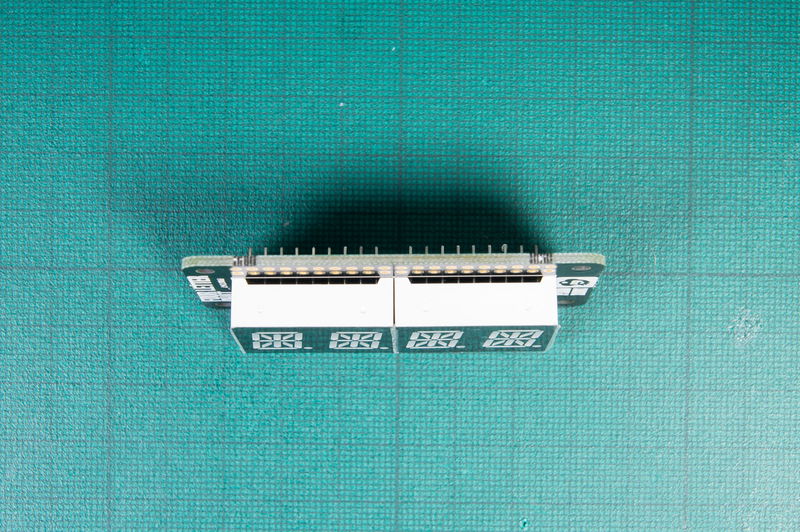
Once you've seated both of the displays correctly on the PCB, flip the whole thing over and solder all of the pins. Using a pair of tin-snips, trim any excess from the pins that protrude through the back of the PCB. This is important, as if you don't then they might short out on components on the top of your Pi.
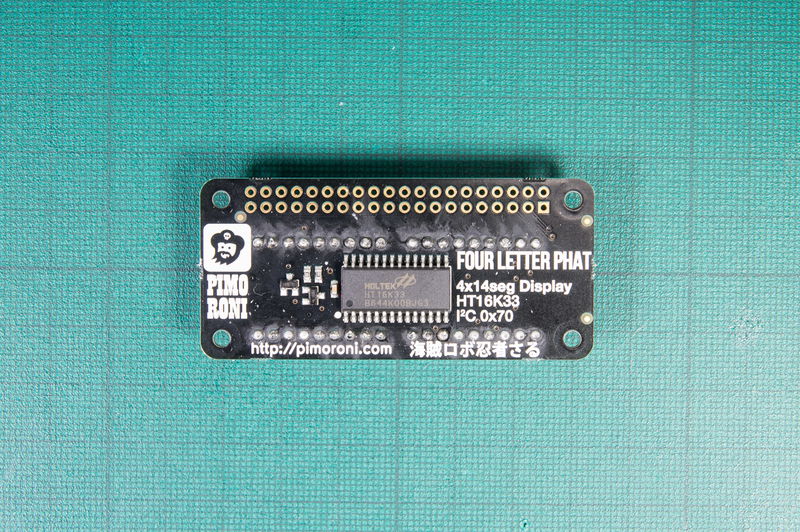
You'll also need to solder the header to your Four Letter pHAT, then you can follow our guide to soldering pHATs here.

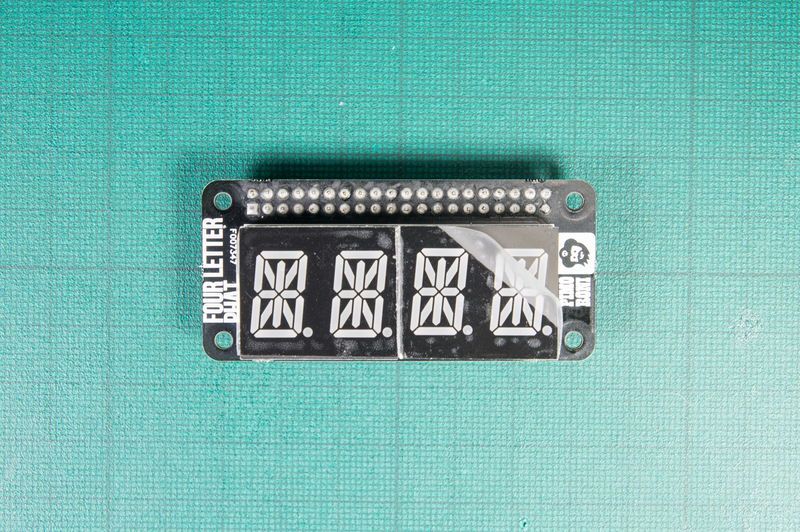
Lastly, peel the protective films off the two displays.
Installing the software
We always recommend using the most up-to-date version of Raspbian, as this is what we test our boards and software against, and it often helps to start with a completely fresh install of Raspbian, although this isn't necessary.
As with most of our boards, we've created a really quick and easy one-line-installer to get your Four Letter pHAT set up. We'd suggest that you use this method to install the Four Letter pHAT software.
Open a new terminal, and type the following, making sure to type 'y' or 'n' when prompted:
curl https://get.pimoroni.com/fourletterphat | bash
Once that's done, it probably a good idea to reboot your Pi to let the changes propagate, if the installer doesn't prompt you to reboot.
Using the software
Open a new terminal and type python to open a new Python prompt.
Displaying characters
To begin, we'll see how to display characters on Four Letter pHAT. Before we do
anything, we'll have to import the fourletterphat library. Type the following:
import fourletterphat as flp
We'll look at the set_digit() function first, that allows you to set individual
digits. You pass it a position (the digit from 0 to 3) and the character that
you want to display, be it a number, letter, or other character. We'll set the
first digit to A:
flp.set_digit(0, 'A')
flp.show()
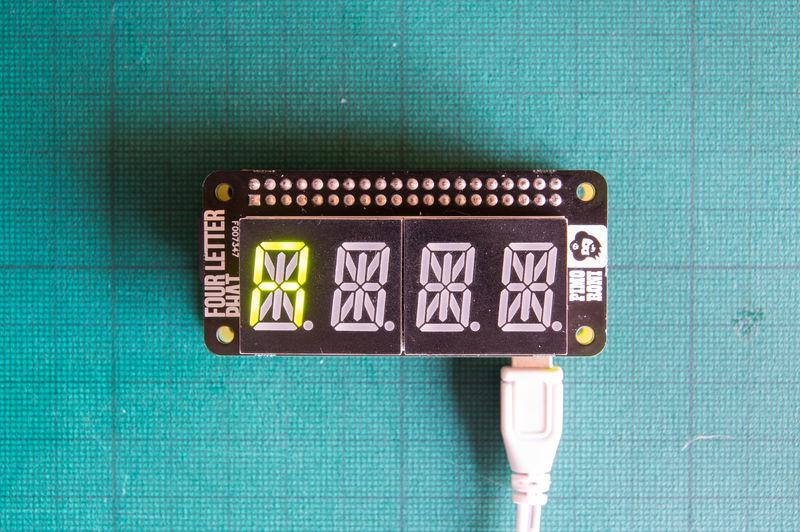
Notice that we had to call the show() function after we set the digit. You
have to call show() whenever you want to update the display with the data that
you've set. You could have called the set_digit function another three times
to set digits 2, 3, and 4 to B, C, and D, before calling show(), but
there's an easier way to do that...
The print_str() function allows you to write to all four digits at once (or
also fewer than four). We'll write the word YARR to the displays now:
flp.print_str(`YARR`)
flp.show()
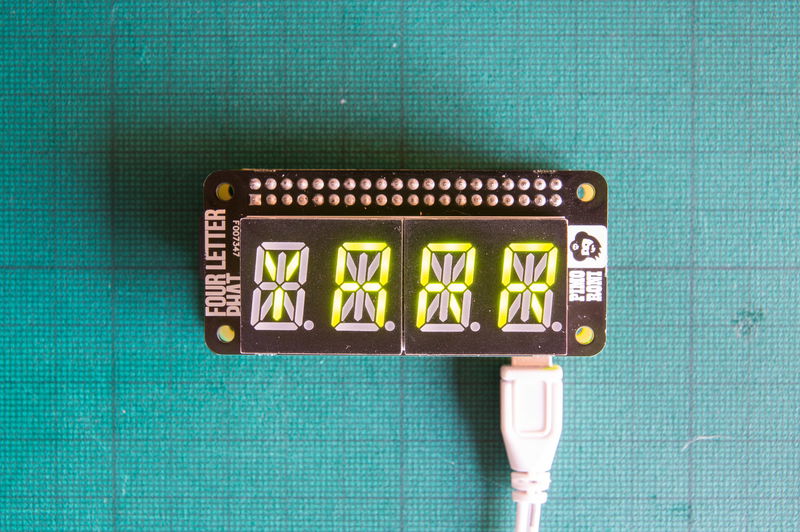
If you're writing fewer than four characters and want to left or right justify
the characters, then there's an additional option you can pass to print_str(),
justify_right=False or justify_right=True, to left or right justify
respectively.
Setting the decimal points
The decimal points to the right of each digit on Four Letter pHAT can be set independently of setting the digits themselves. This is handy if you're doing something like setting a time and blinking the decimal point on and off to indicate the seconds, as we'll see later.
The set_decimal method sets the decimal points on and off, and it needs to be
passed the index of the decimal point (from 0 to 3, left to right) that you want
to set, and a Boolean value - True / 1 or False / 0 - to set it on or off
respectively.
Type the following to set the decimal point after the second digit (index 1)
on:
flp.clear()
flp.set_decimal(1, True)
flp.show()
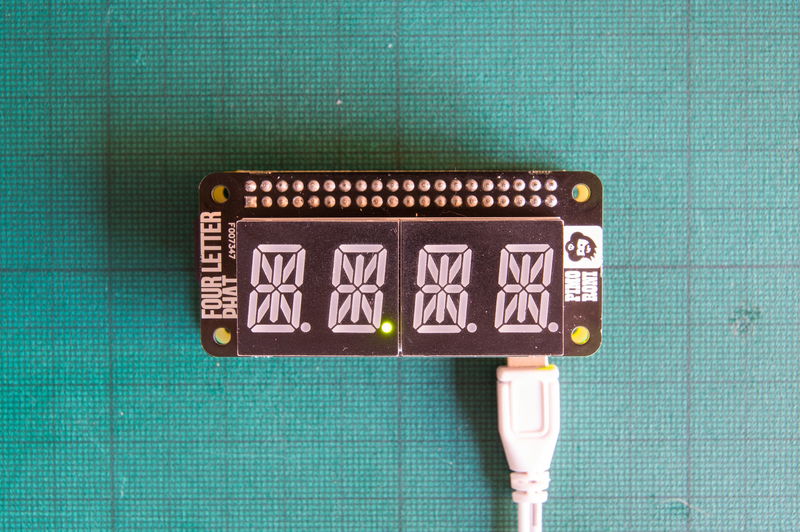
Displaying numbers
There are two different functions for displaying numbers - print_number_str()
and print_float(). Each has its advantages. print_float() has the advantage
that you can display a positive or negative floating point (decimal) number
without converting it to a string and you can specify the number of digits after
the decimal point. print_number_str() is more straightforward, and can be
used for displaying integers or floating point numbers with a set number of
digits after the decimal point. We'll try both here:
First, we'll display the number 3.141. Type the following:
flp.print_number_str("3.141")
flp.show()

You'll notice that the decimal point at the appropriate place lights
automatically. If you have a number that was less than 4 digits, for example
3.14, then it would be right justified by default. However, if you pass
justify_right=False, i.e. flp.print_number_str("3.14, justify_roght=False")
then it will be left justified.
Now let's try the print_float() function. You can use this directly on a
floating point number without first having to convert it to a string. Type the
following:
flp.print_float(-1.23)
flp.show()
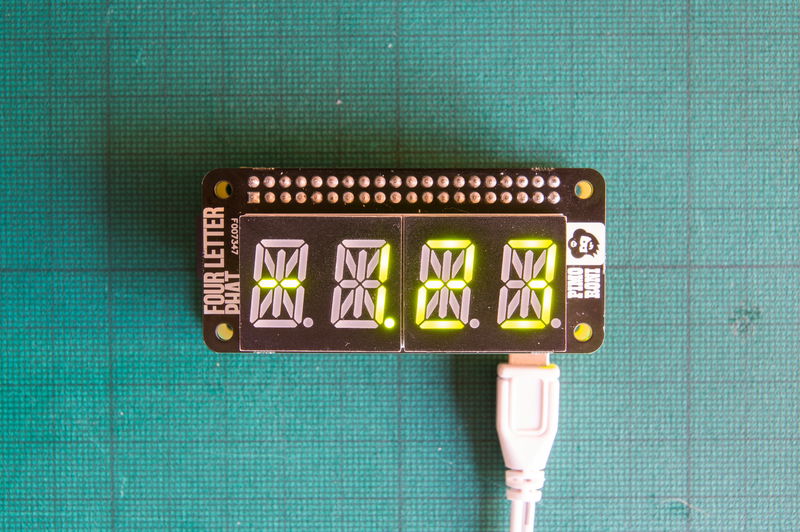
Again, note that it is right justified by default if your float is less than
4 digits (or a negative number with 3 digits in this case). Again, the
justify_right=False option will allow you to left justify a number. The
print_float() function has another option to specify the number of digits
displayed after the decimal point. Try printing the above number again, but this
time use flp.print_float(-1.23, decimal_digits=1).
Using Four Letter pHAT as a clock
We'll look now at how to build a simple little digital clock that even blinks the decimal point separator on and off to show the seconds, in just 12 lines of code!
Here's the code, and after, we'll break it down bit by bit to see what it does:
import time
import fourletterphat as flp

while True:
    flp.clear()
    str_time = time.strftime("%H%M")
    flp.print_number_str(str_time)
    if int(time.time()) % 2 == 0:
        flp.set_decimal(1, 1)
    else:
        flp.set_decimal(1, 0)
    flp.show()
    time.sleep(0.1)
As well as importing the fourletterphat library, we import the time library,
as we'll use it to get the current time.
Our program runs continuously inside a while True: loop. Each time the loop
runs, the first thing it does is to clear the display with flp.clear().
To get the time in hours and minutes, we use a handy function of the time
library, time.strftime() that allows us to format the date and time in lots of
different ways. In this case, we use "%H%M" which will give us the hours and
minutes in 24 hour format, for instance 1627 for 4:27pm. We use
flp.print_number_str(str_time) to set those digits on the display.
We'll use an if/else to blink the decimal point after the second digit
(index 1) on and off with the seconds. We can check whether the time in
seconds, time.time(), is divisible by two with if int(time.time()) % 2 == 0:.
Every second second will be, so use flp.set_decimal(1, 1) to set the decimal
point on, and have an else: that sets the decimal point off -
flp.set_decimal(1, 0) - otherwise.
Finally, we call flp.show() to show the digits on the displays, and add a
small delay of 0.1 seconds with time.sleep(0.1).

Note that you'll need to have connected your Pi to an internet connection to sync. the correct time.
Taking it further
Why not combine Four Letter pHAT with our Speaker pHAT to make a proper bedside alarm clock? You could pull the current outside temperature from a weather server and display it, or why not add a digital temperature sensor and display your room temperature? Four Letter pHAT is the ideal board to add a digital readout to your projects that use sensors, or on its own to display remote data.
Search above to find more great tutorials and guides.