Pibow Zero and Zero W Assembly
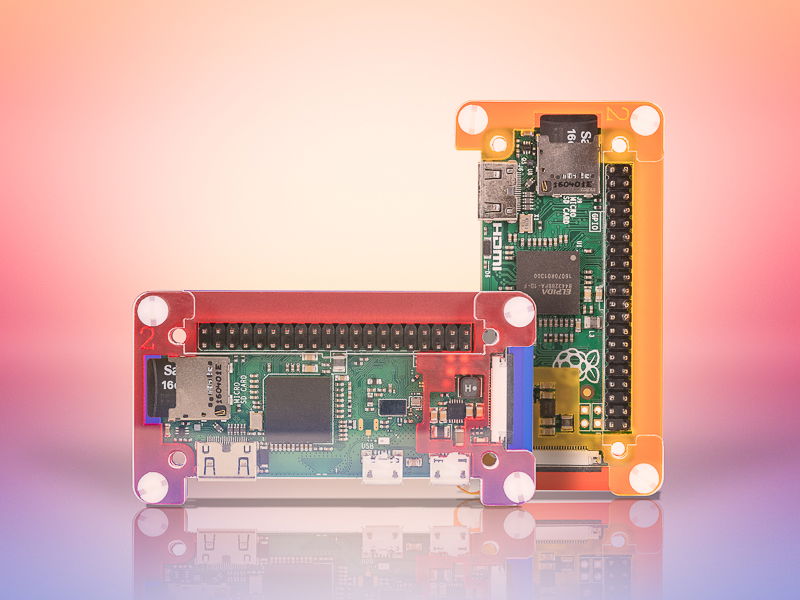
Our Pibow Zero and Pibow Zero W cases keep your Pi safe and secure and give it some colourful razzmatazz. Let's learn how to build them!
The photos here mostly cover the Pibow Zero assembly (the red/orange/yellow case), but we'll show you a couple of photos of the Pibow Zero W (the blue/purple, red case) too, and tell you what colour its layers are.
Preparation
There are a couple of important things you should do before starting to assemble your Pibow.
The first is to pop the micro-SD card with operating system on into your Pi Zero or Zero W. If you don't do that now, then you'll have to disassemble the case again to fit it!
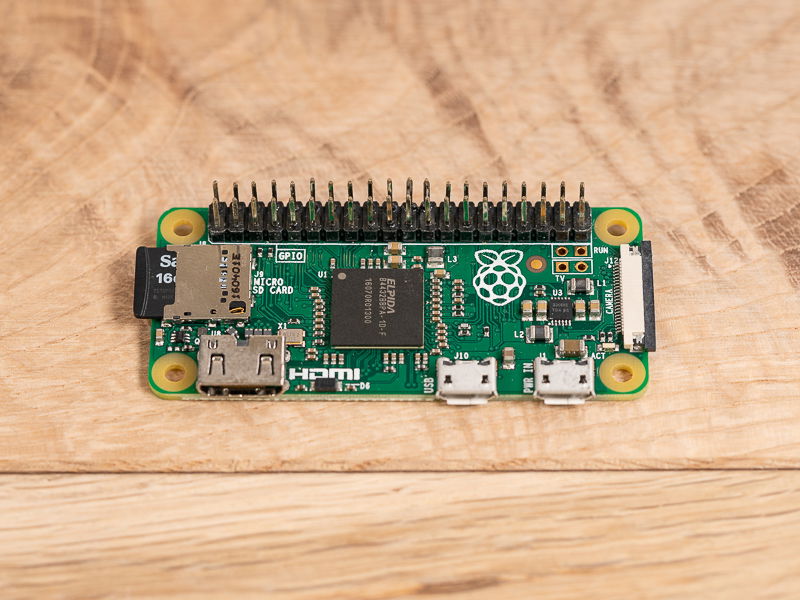
The second thing to do is to peel the protective film off carefully from all of the Perspex pieces. The thicker layers all have white film on, and the thin shim layer has a clear film on. If you don't do this, then the case won't fit as nicely as it should.
Stacking the bottom layers (layers 0, 1, and shim)
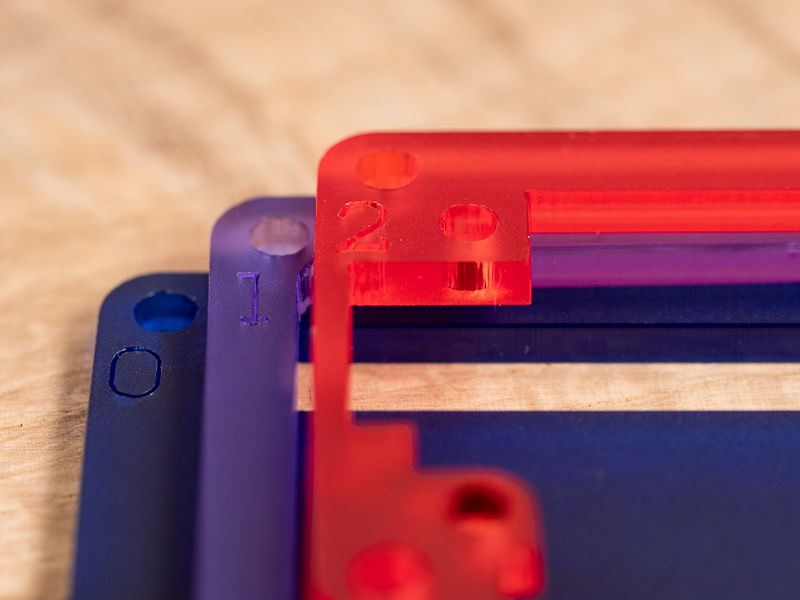
Each layer of your Pibow Zero or Zero W is numbered with a little number in the top-left corner, with the exception of the shim layer and clear top layer.
Here you can see the numbers on the layers of the Pibow Zero W.
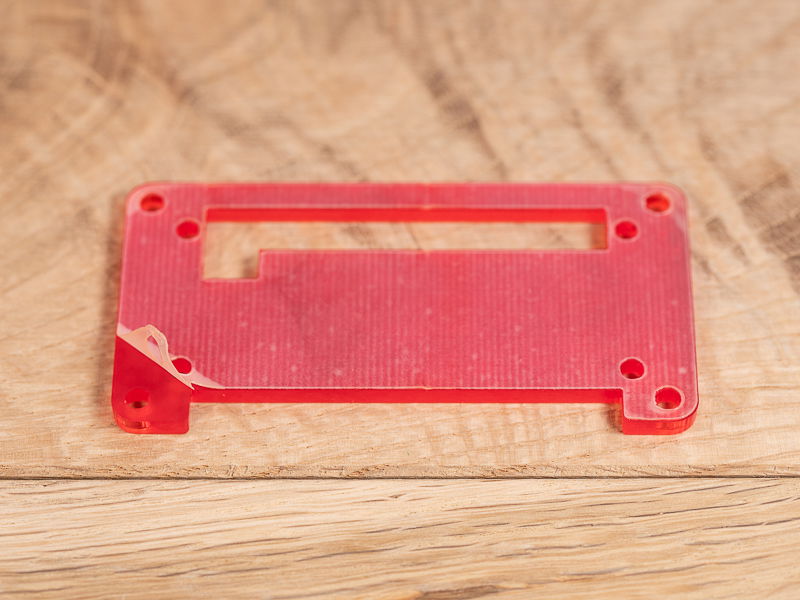
The bottom-most layer is layer 0, and is red for the Pibow Zero and blue for the Pibow Zero W. Lay layer 0 down as shown in the picture below, noting the way the L-shaped cutout is oriented.
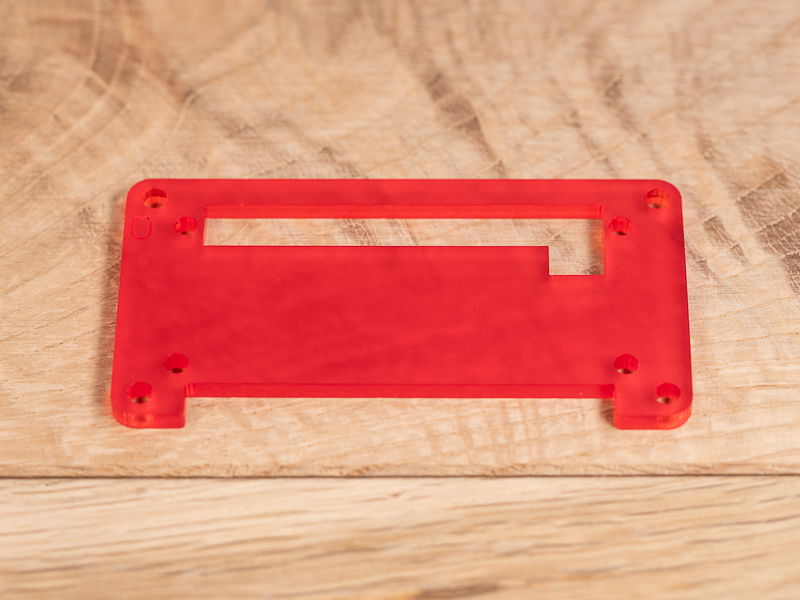
Place layer 1 next, again with the number towards the top-left corner as you look at it. It's orange for the Pibow Zero and purple for the Pibow Zero W.
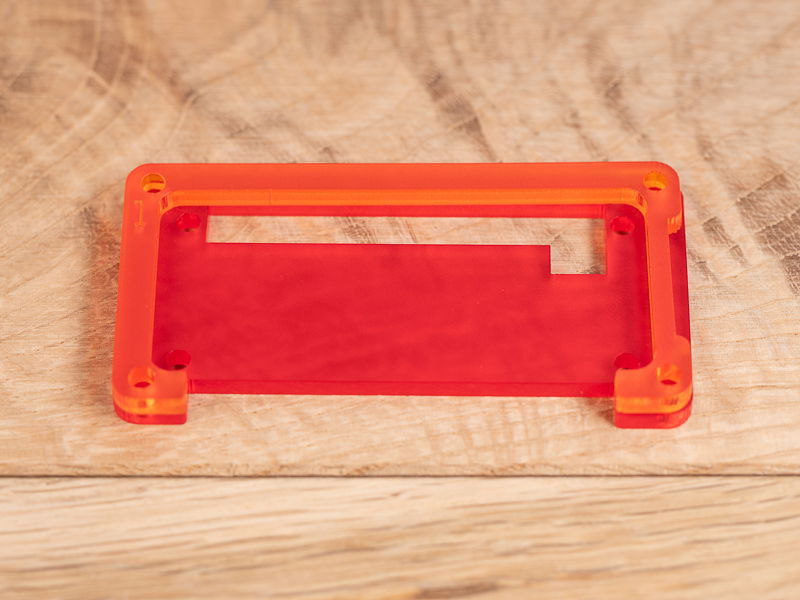
The thin, clear shim layer goes next. It's really important you get this the right way round, and the easiest way to place it is to match up the L-shaped cutout on layer 0 with the L-shaped cutout on the shim, as in the image below.
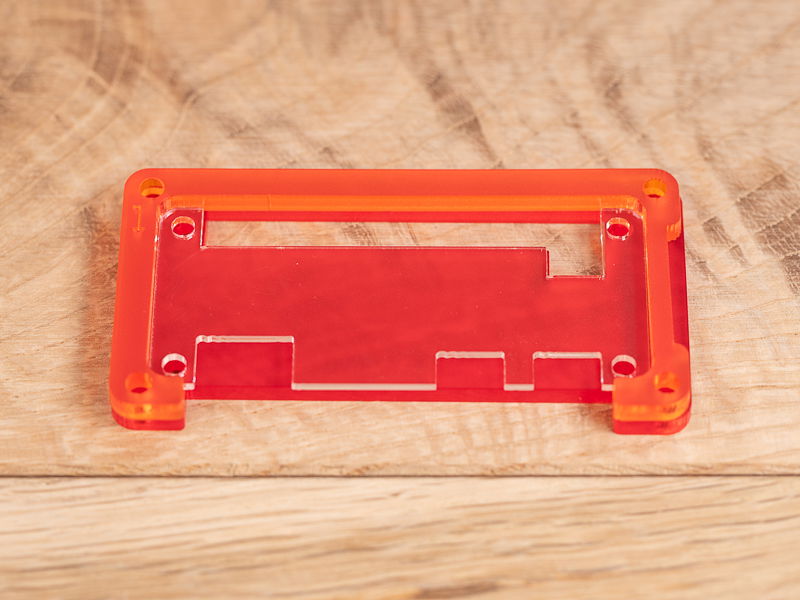
Placing your Pi
Now it's time to nestle your Pi Zero or Pi Zero W into the layers you've stacked so far. Remember to fit the micro-SD card if you haven't already!
Your Pi Zero or Zero W should sit nicely on the clear shim layer and be surrounded and held in place by layer 1 (the orange or purple one).
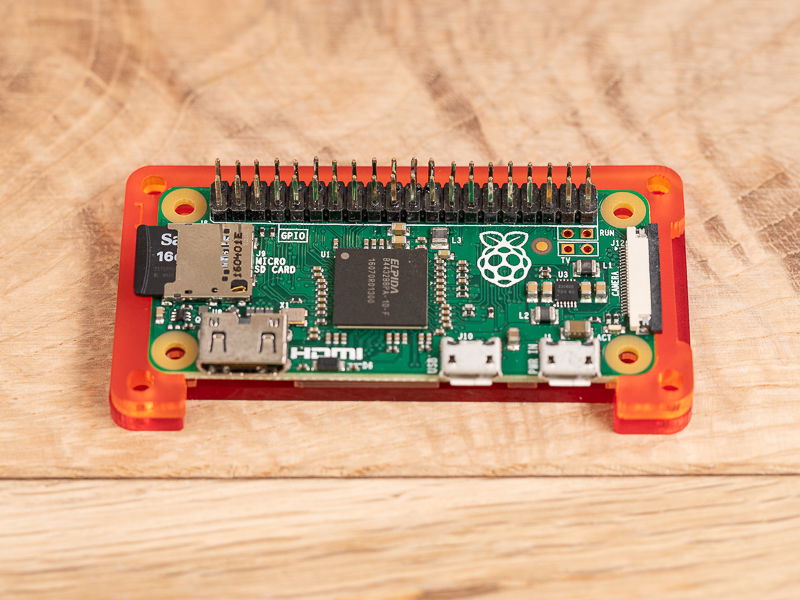
Layers 2 and 3
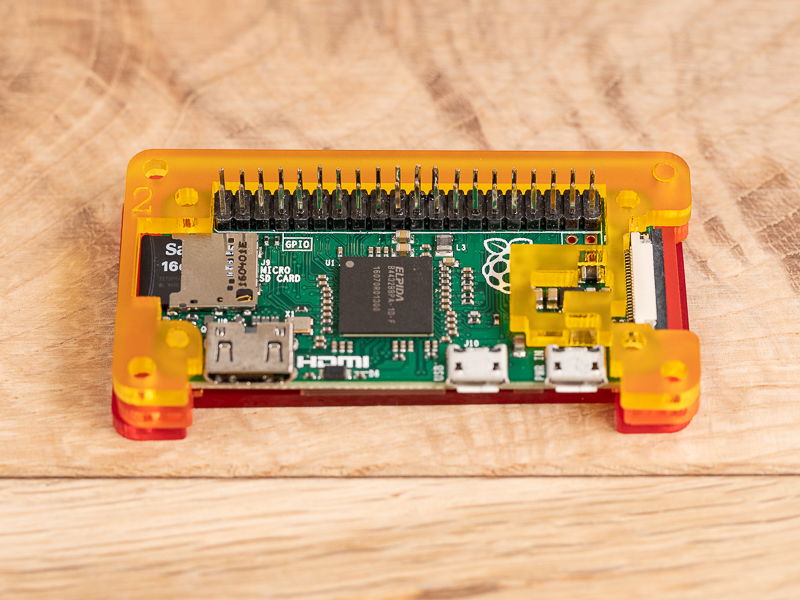
Just two layers left! Place layer 2 (yellow for the Pibow Zero, red for the Pibow Zero W) on top of the Pi Zero or Zero W.
This layer is a little fragile, so take care when placing it, and don't try to force it if it isn't fitting. A gentle wiggle should help it to fall into place, and it should sit flat on your Pi Zero or Zero W's PCB.
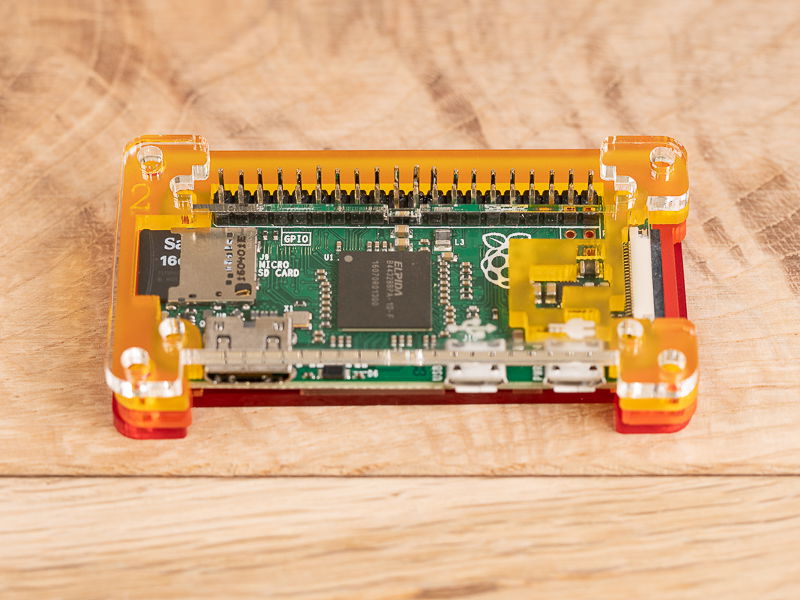
Last of all, place the clear top layer 3 on top, using the etched micro-USB and power icons to orient it correctly; they should line up with the two micro-B ports on your Pi Zero or Zero W.
Securing your Pibow Zero
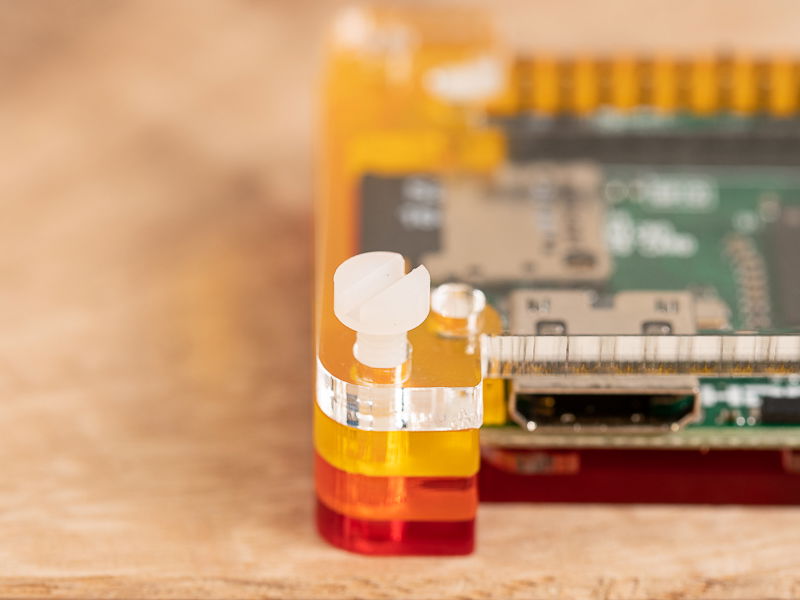
The final step is to secure your Pibow with the nylon bolts and nuts. Push the bolts through the four holes in the very corners of the Pibow Zero, from the top.
Screw on each of the nuts on the bottom of the Pibow Zero.
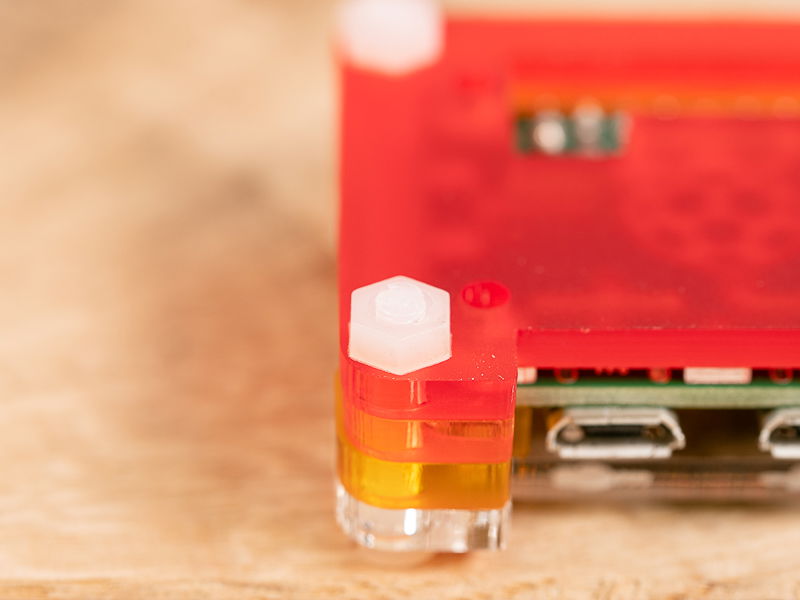
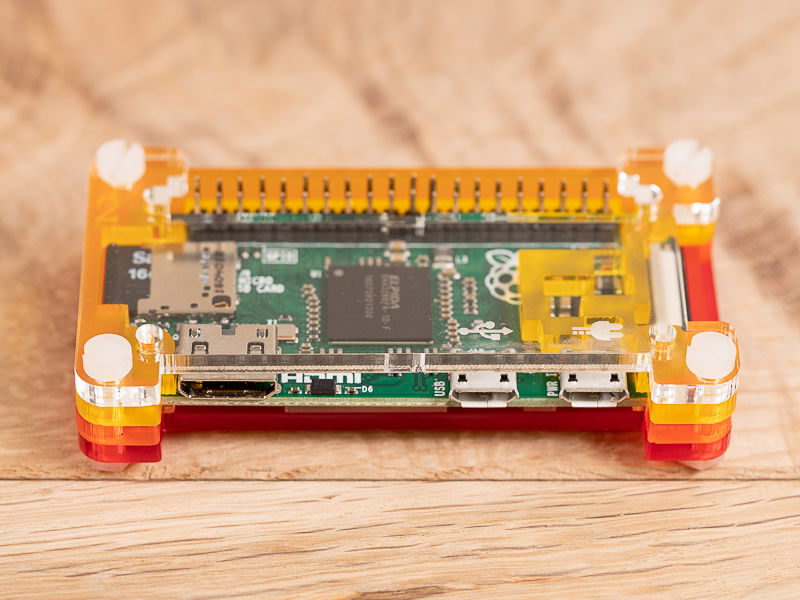
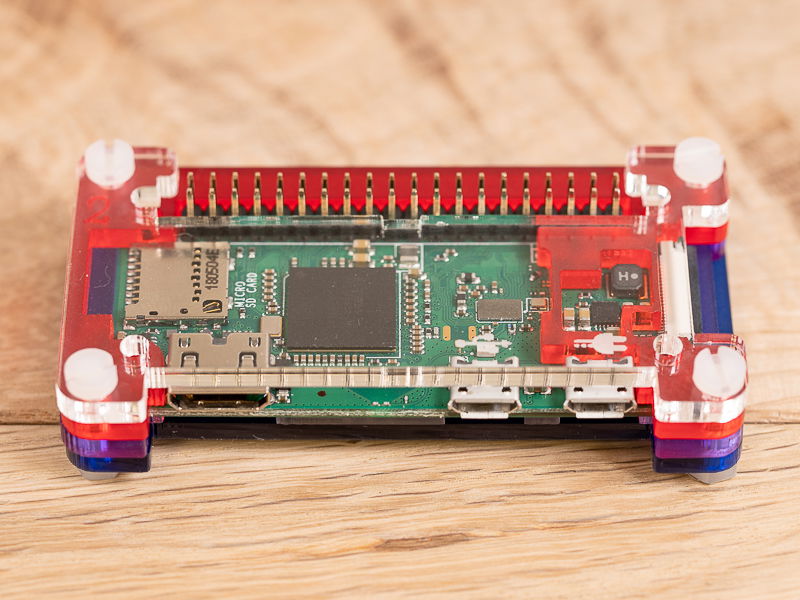
All of the layers of your Pibow should sit flat and flush with each other, as in the picture below. If they aren't, then loosen the nuts and bolts, give the layers a gentle wiggle until things settle, and tighten them back up again.
Here's how your completed Pibow Zero or Zero W should look:
Search above to find more great tutorials and guides.