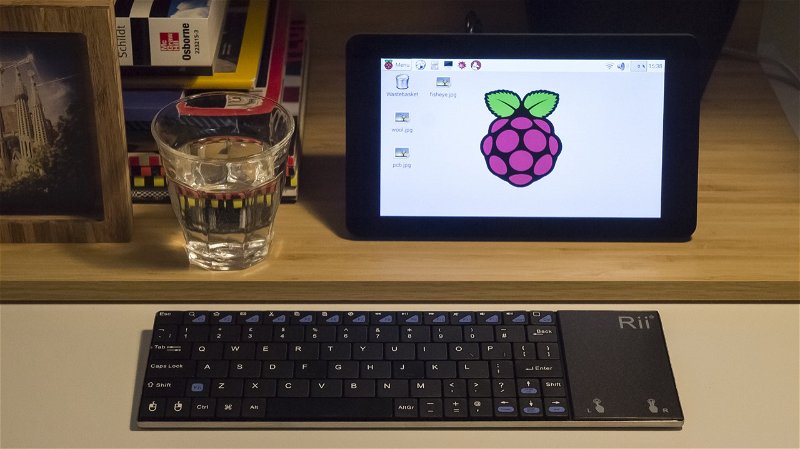
Wireless keyboards
This guide will show you how to set up the Rii wireless keyboards with your Raspberry Pi. There are two different versions - a 2.4 GHz wireless keyboard with trackpad, and a Bluetooth wireless keyboard - which both require slightly different setups.

2.4 GHz wireless keyboard with trackpad
The wireless keyboard with trackpad is insanely easy to set up. You'll need to charge it for a good couple of hours before use, with the included USB to micro-USB cable, or use it while plugged in.
Make sure that you've switched it on with the little toggle switch on the top edge of the keyboard and then take out the wireless USB dongle that's stashed on the back of the keyboard and plug it into a spare slot on your Raspberry Pi.
And that's it. It should just work.
It's worth noting that this keyboard, and the other one, go into sleep mode after a couple of minutes of inactivity and you'll need to wake it up by pressing one of the keys. However, this means that if you're carrying the keyboard in your bag, you'll want to switch it off with the on/off switch to prevent it from registering keypresses all the time and draining all its charge.
Bluetooth keyboard
Setting up the Bluetooth keyboard is a bit more involved. You'll need a little USB Bluetooth dongle like this one as there isn't one bundled with the keyboard. As with the other keyboard, give it a good charge up with the included cable before you use it.
Obviously, you'll need to do all of the following with a wired USB keyboard.
Before pairing your keyboard, you'll need to install some software to get everything working. Open up a terminal, and type the following:
sudo apt-get update && sudo apt-get upgrade
sudo apt-get install bluetooth bluez-utils blueman
It's probably sensible to reboot now and then plug in your Bluetooth dongle.
Now, you'll need to find the MAC address of your keyboard. Make sure that it's switched on and then put it into pairing mode by pressing the pairing button on the bottom of the keyboard. In the terminal, type the following:
hcitool scan
You should see something like:
11:22:33:44:55:66 Bluetooth keyboard
Copy that MAC address (the 11:22:33:44:55:66 bit), as you'll need it for the
next part. Now type (remembering to change the MAC address):
bluez-simple-agent hci0 11:22:33:44:55:66
It'll then ask you for a PIN code. Just enter something like 0000, first in
the terminal and then on the keyboard itself. You'll need to add the keyboard
as a trusted device by typing the following (again, with your own MAC address):
bluez-test-device trusted 11:22:33:44:55:66 yes
Finally, connect the keyboard by typing:
bluez-test-input connect 11:22:33:44:55:66
If everything went smoothly, your keyboard should now be paired and working!
Search above to find more great tutorials and guides.