Assembling NVMe Base Case for Raspberry Pi 5
Our NVMe Base Case will accommodate a Raspberry Pi 5 plus Active Cooler with a NVMe Base or NVMe Base Duo. Here's how to assemble it, in its various formations.
What You'll Need
- A NVMe Base Case
- A NVMe Base or NVMe Base Duo
- A Raspberry Pi 5
- A small cross head / Philips screwdriver (we used a PH0 bit).
Optional, but recommended:
- An Active Cooler to keep your Pi nice and cool.
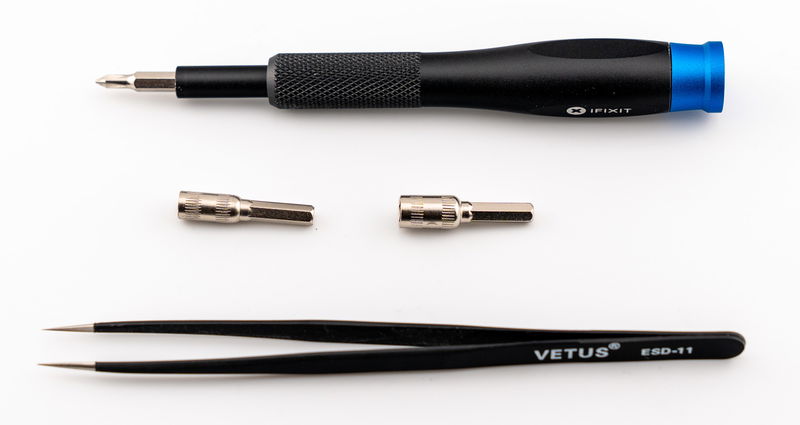
- Tweezers (Useful for plugging in the PCIe ribbon cable and tightening up the standoffs).
- The 4mm and 5mm nut driver / hex socket bits from our iFixit driver kit were also helpful for tightening up the standoffs.
Preparation
First of all, power off and unplug your Pi. This case is made of anodised aluminium which is resistant to conductivity but you should still take care not to short components against the case whilst it's plugged in.
Before you do anything with the case, prep your NVMe Base / NVMe Base Duo by installing the drive/s and plugging the PCIe ribbon cable in at the Base end, as these steps will be tricky to do later.

Step by step instructions on how to do this can be found at the links below.
- Learn: Getting Started with NVMe Base for Raspberry Pi 5
- Learn: Getting Started with NVMe Base Duo for Raspberry Pi 5
If you've already assembled your Base and have feet stuck to the bottom of your NVMe Base or NVMe Base Duo you'll need to remove them. You'll also need to remove the four screws and threaded standoffs that attach the Base to the Pi - we'll be replacing them with the ones that come with the case.
Attaching the Base to the bottom of the case
Open up the box. The aluminium case comes in two parts. You should also have a bolt pack, a plastic power button and some self-adhesive rubber feet.
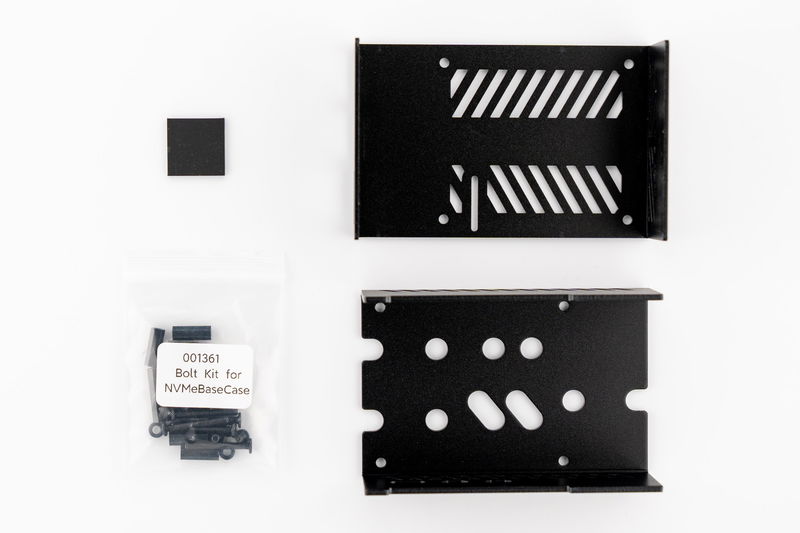
Identify the bottom half of the case. It's the part that has cutouts for the micro HDMI and USB-C ports down one of the longer sides.
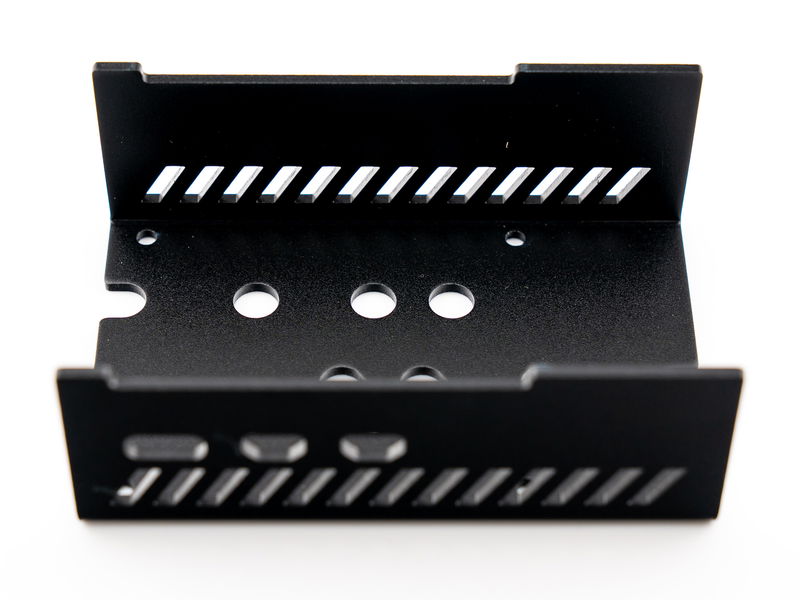
Put the Base inside the case, so that the four mounting holes line up. We'll be installing a standard NVMe Base, but you can follow exactly the same steps if you have a Duo.
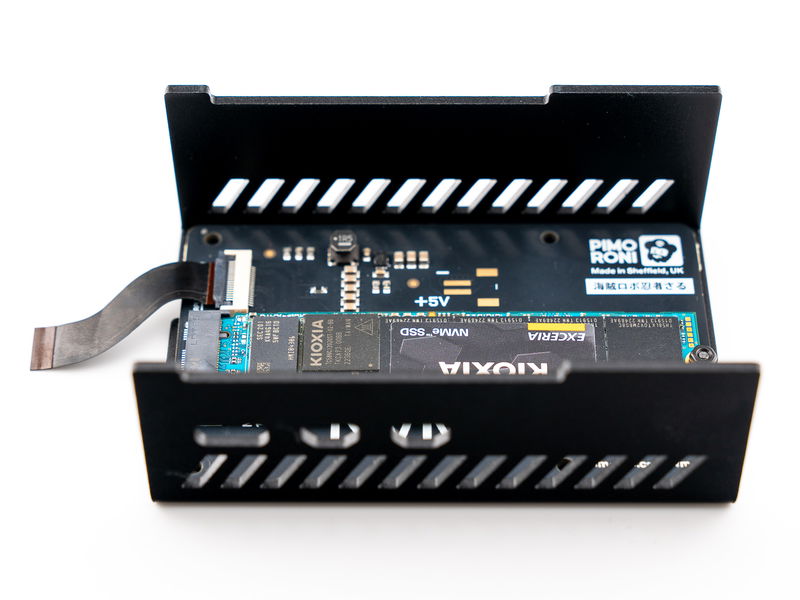
Next, we'll be securing the Base in place, with the long bolts and 12mm standoffs (they're the shorter, thinner ones) that come with the case.
Thread the long bolts through the four holes in the bottom of the case and the holes in the Base, from the outside.
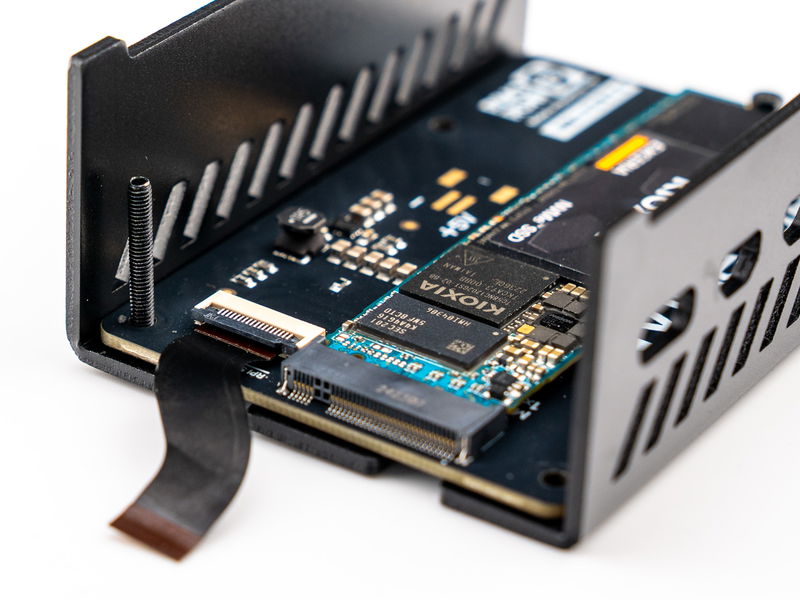
Screw the 12mm standoffs down onto the bolts. Don't tighten them all the way yet, stop screwing when the screw thread starts to poke out of the end of the standoff. This will make the next step easier :)
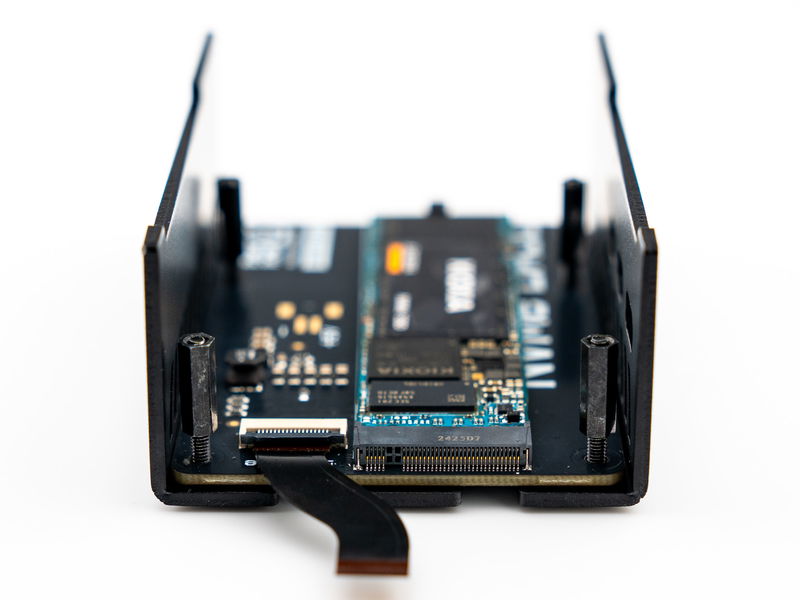
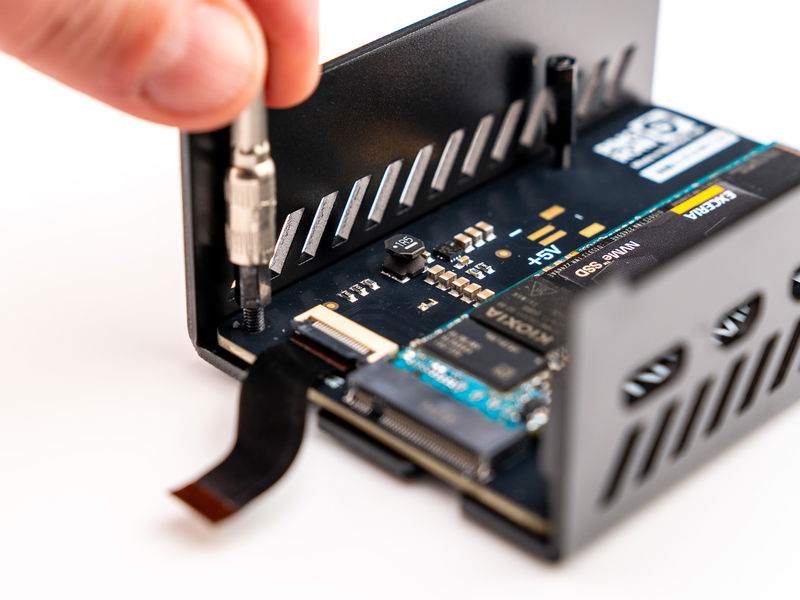
We found a 4mm nut driver bit helpful when tightening up these standoffs.
No Base?
If you're not using an NVMe Base or NVMe Base Duo, poke the long screws through the bottom of the case and then put the little round spacers on top of them. Then screw down the 12mm standoffs on top of them as above. The spacers are the same thickness as the Base, so they will make sure the rest of the assembly remains at the right height.
Installing the Pi in the case
If you're planning on using an Active Cooler with your Pi and it's not already attached, we'd recommend doing that now. Assembly instructions can be found at the link below.
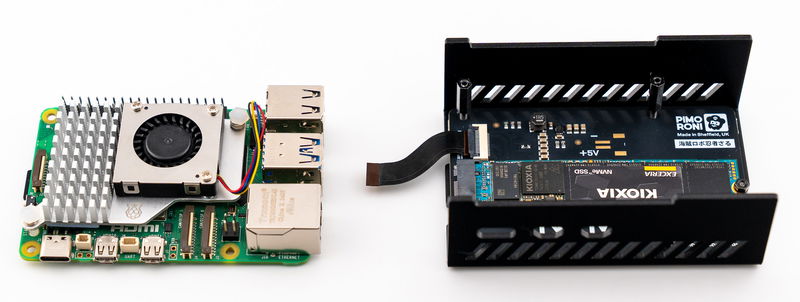
Find the USB-C and micro HDMI connectors on the side of your Pi. These stick out a little, so you'll want to insert them into the cutouts first with the Pi at an angle. Don't force it into place as this can bend your connectors - if you lift the case up so that the heads of the bolts poke out of the bottom, you should have plenty of wiggle room to manouvre the Pi safely into position on top of the standoffs.
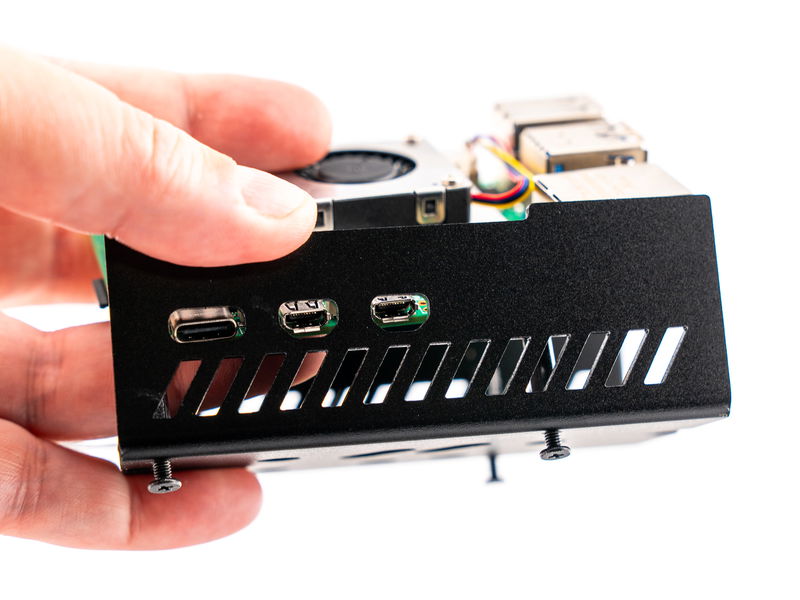
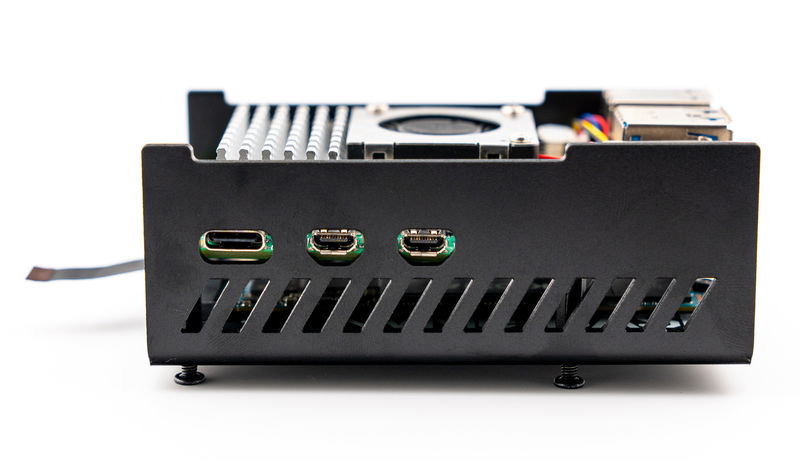
Once the Pi's sitting nice and horizontal, you can tighten up the screws / standoffs all the way, so that the screw threads poke out of the holes in the Pi.
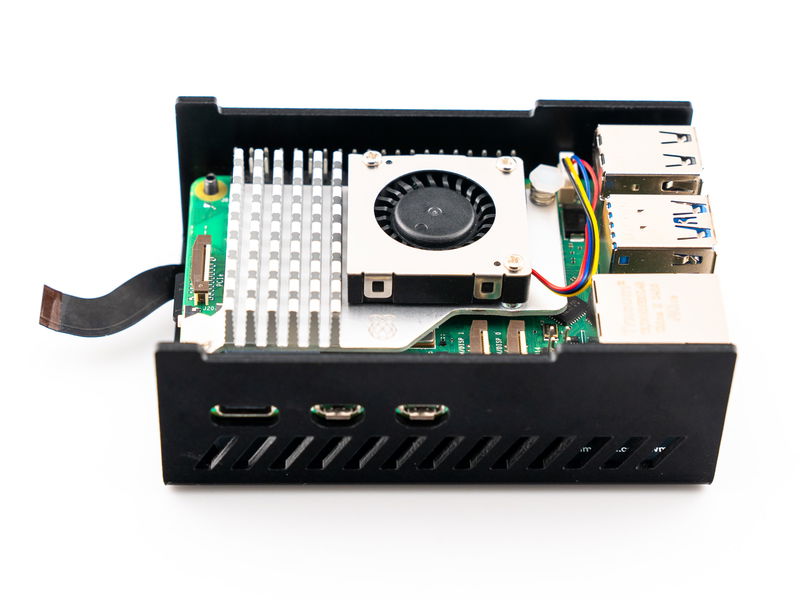
Now is a good time to plug the other end of your PCIe ribbon cable into your Pi! Tweezers are helpful here.
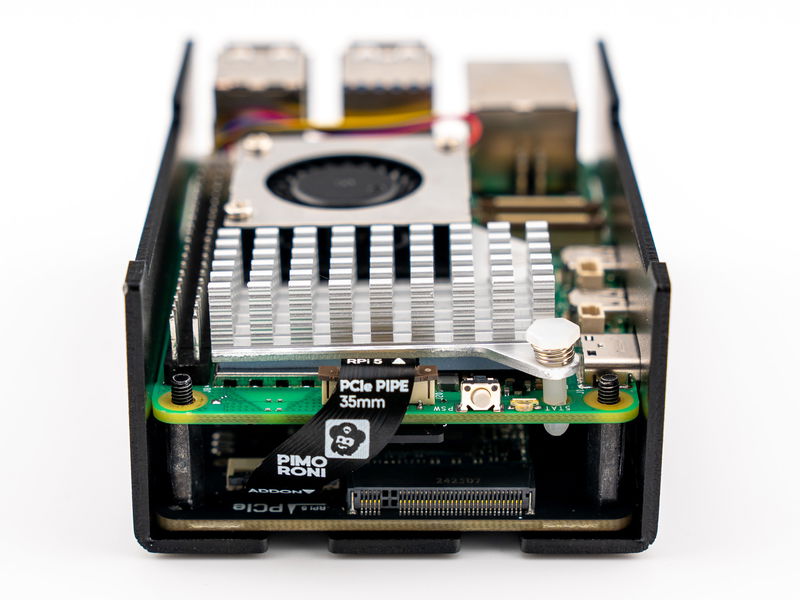
Adding the long standoffs
Screw the long standoffs onto the screw threads that are sticking out of the Pi. Again, we found that a 5mm hex socket from our driver set to be helpful in tightening up these standoffs, or you could use tweezers to hold them in place while you turn the bolts.
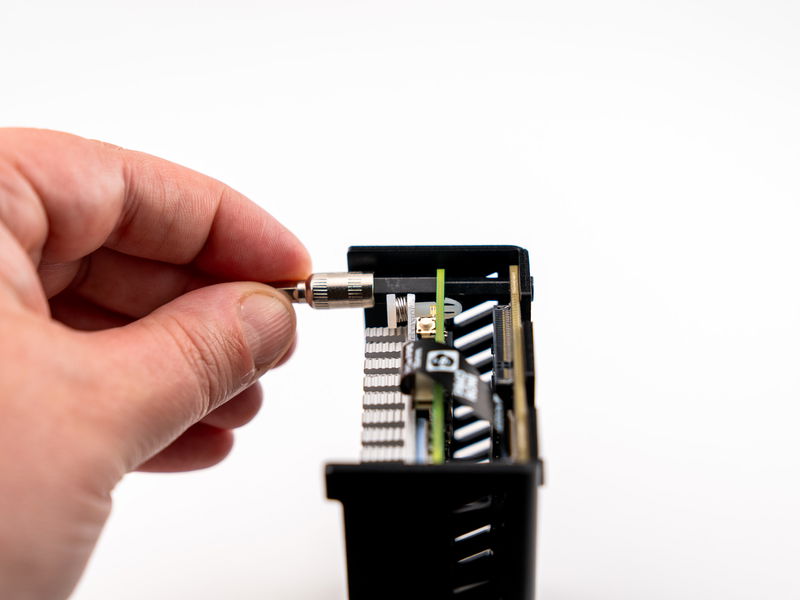
If everything's gone together correctly the tops of the standoffs should be flush with the top of the case. You're nearly ready to add the top!
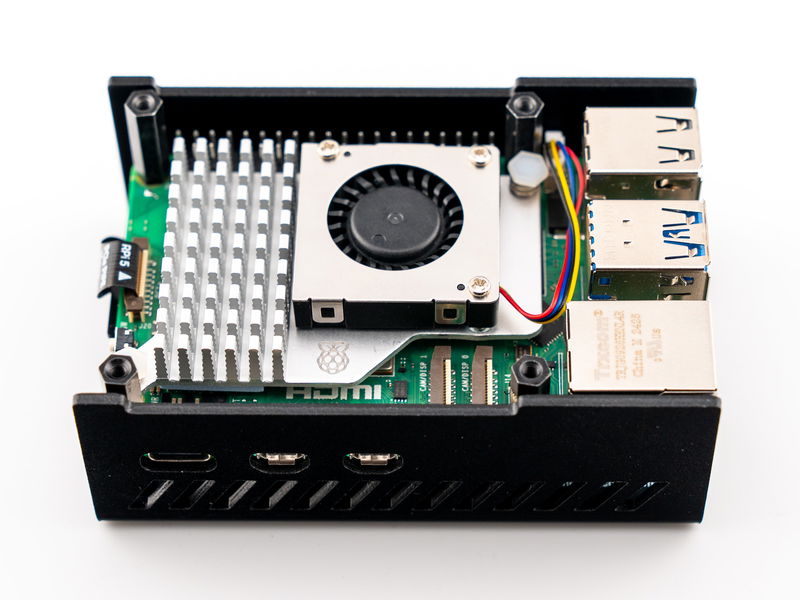
But before you do
Consider that you won't have easy access to the SD card slot or any of the connections once you've attached the top, so it's a good idea to finish setup of your NVMe Base, update the firmware on your Pi 5 and check everything's working OK now.
If you're passing any cables from the inside of the case to the outside of the case (like a camera cable, perhaps) you'll also want to plug those in to the Pi now.
Adding the top
Find the power button (it's shaped like a tiny plastic top hat) and put it into the round hole in the top of the case. The wide part of the button should be on the inside of the case.
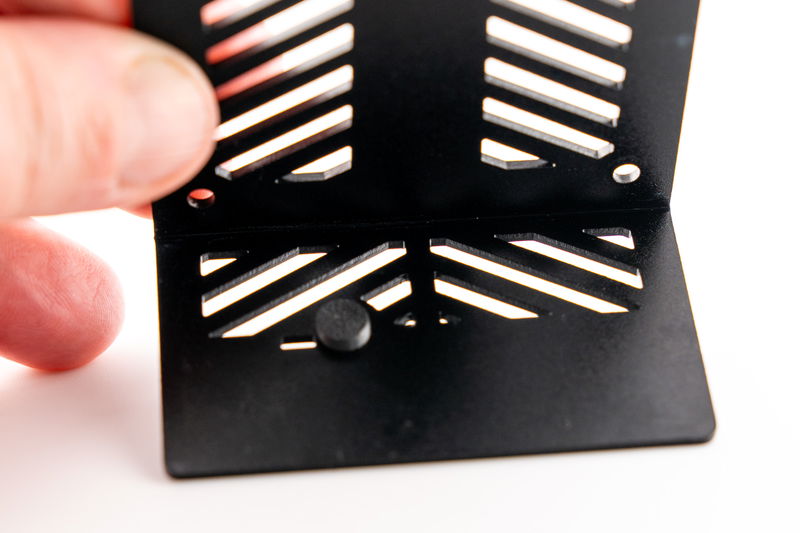
Then fit the top half of the case on top of the bottom half, making sure the cutouts for the USB ports are at the correct end and taking care not to pinch the PCIe ribbon cable.
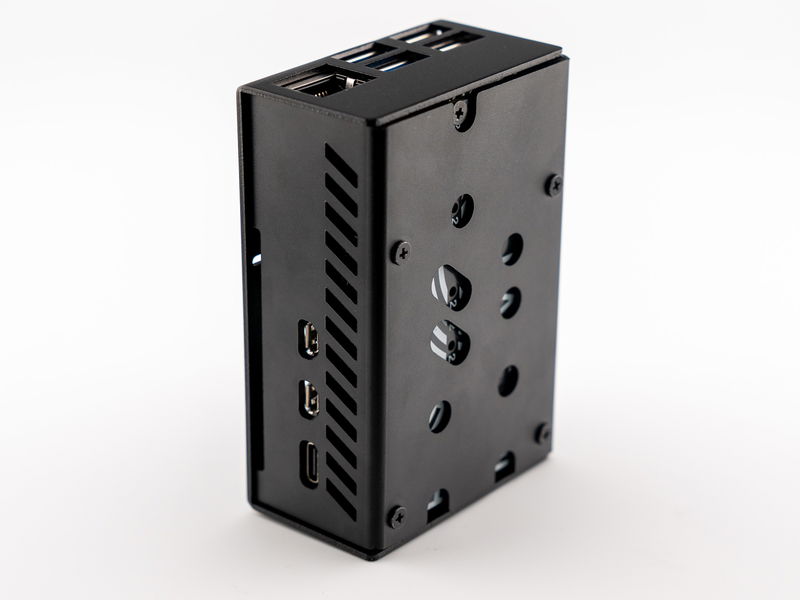
Use the four short bolts to fix the top in place.
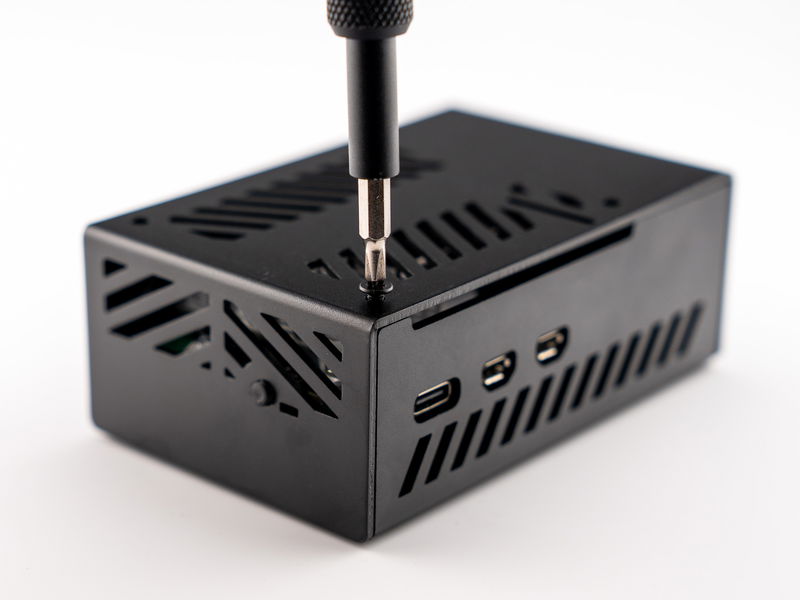
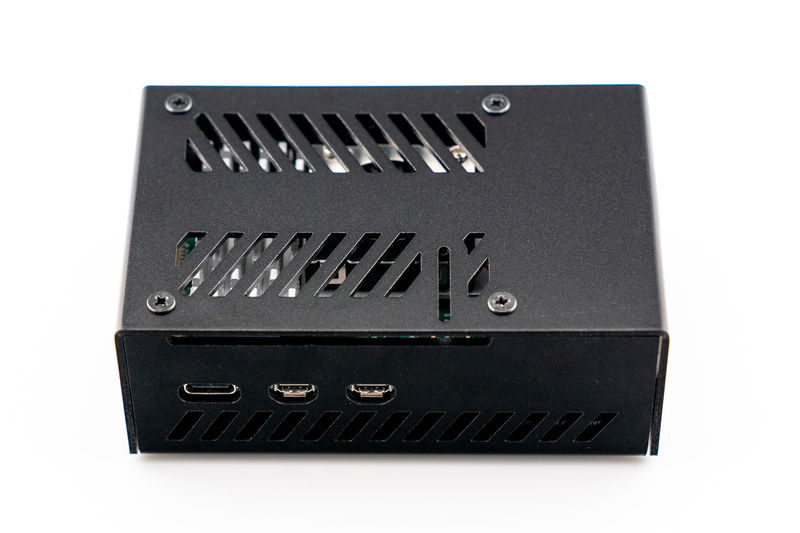
Adding the feet
Nearly done! Flip the case over and stick on the rubber feet, one near each corner.
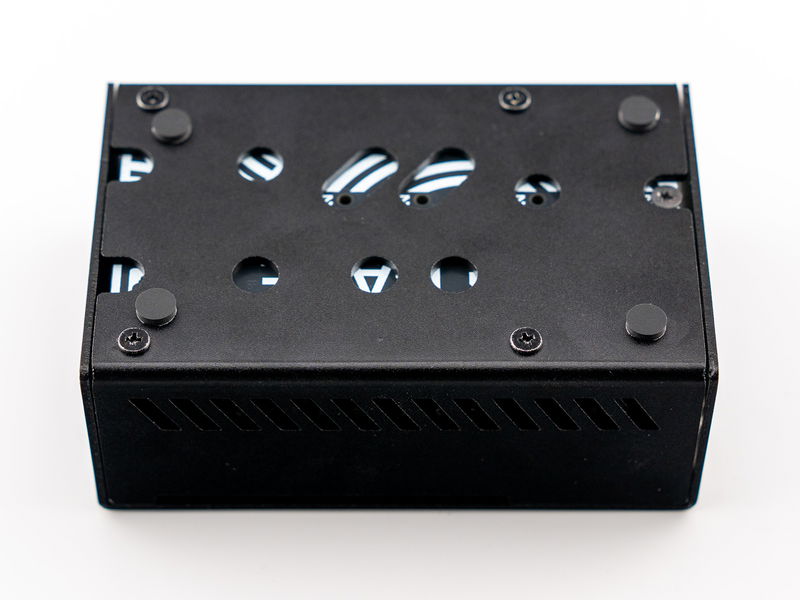
Next steps
Your case is fully assembled and ready to go! Should you feel inclined, tag us on Bluesky and let us know what you're using your Pi 5 for - we're using ours as a Home Assistant box :)
Search above to find more great tutorials and guides.