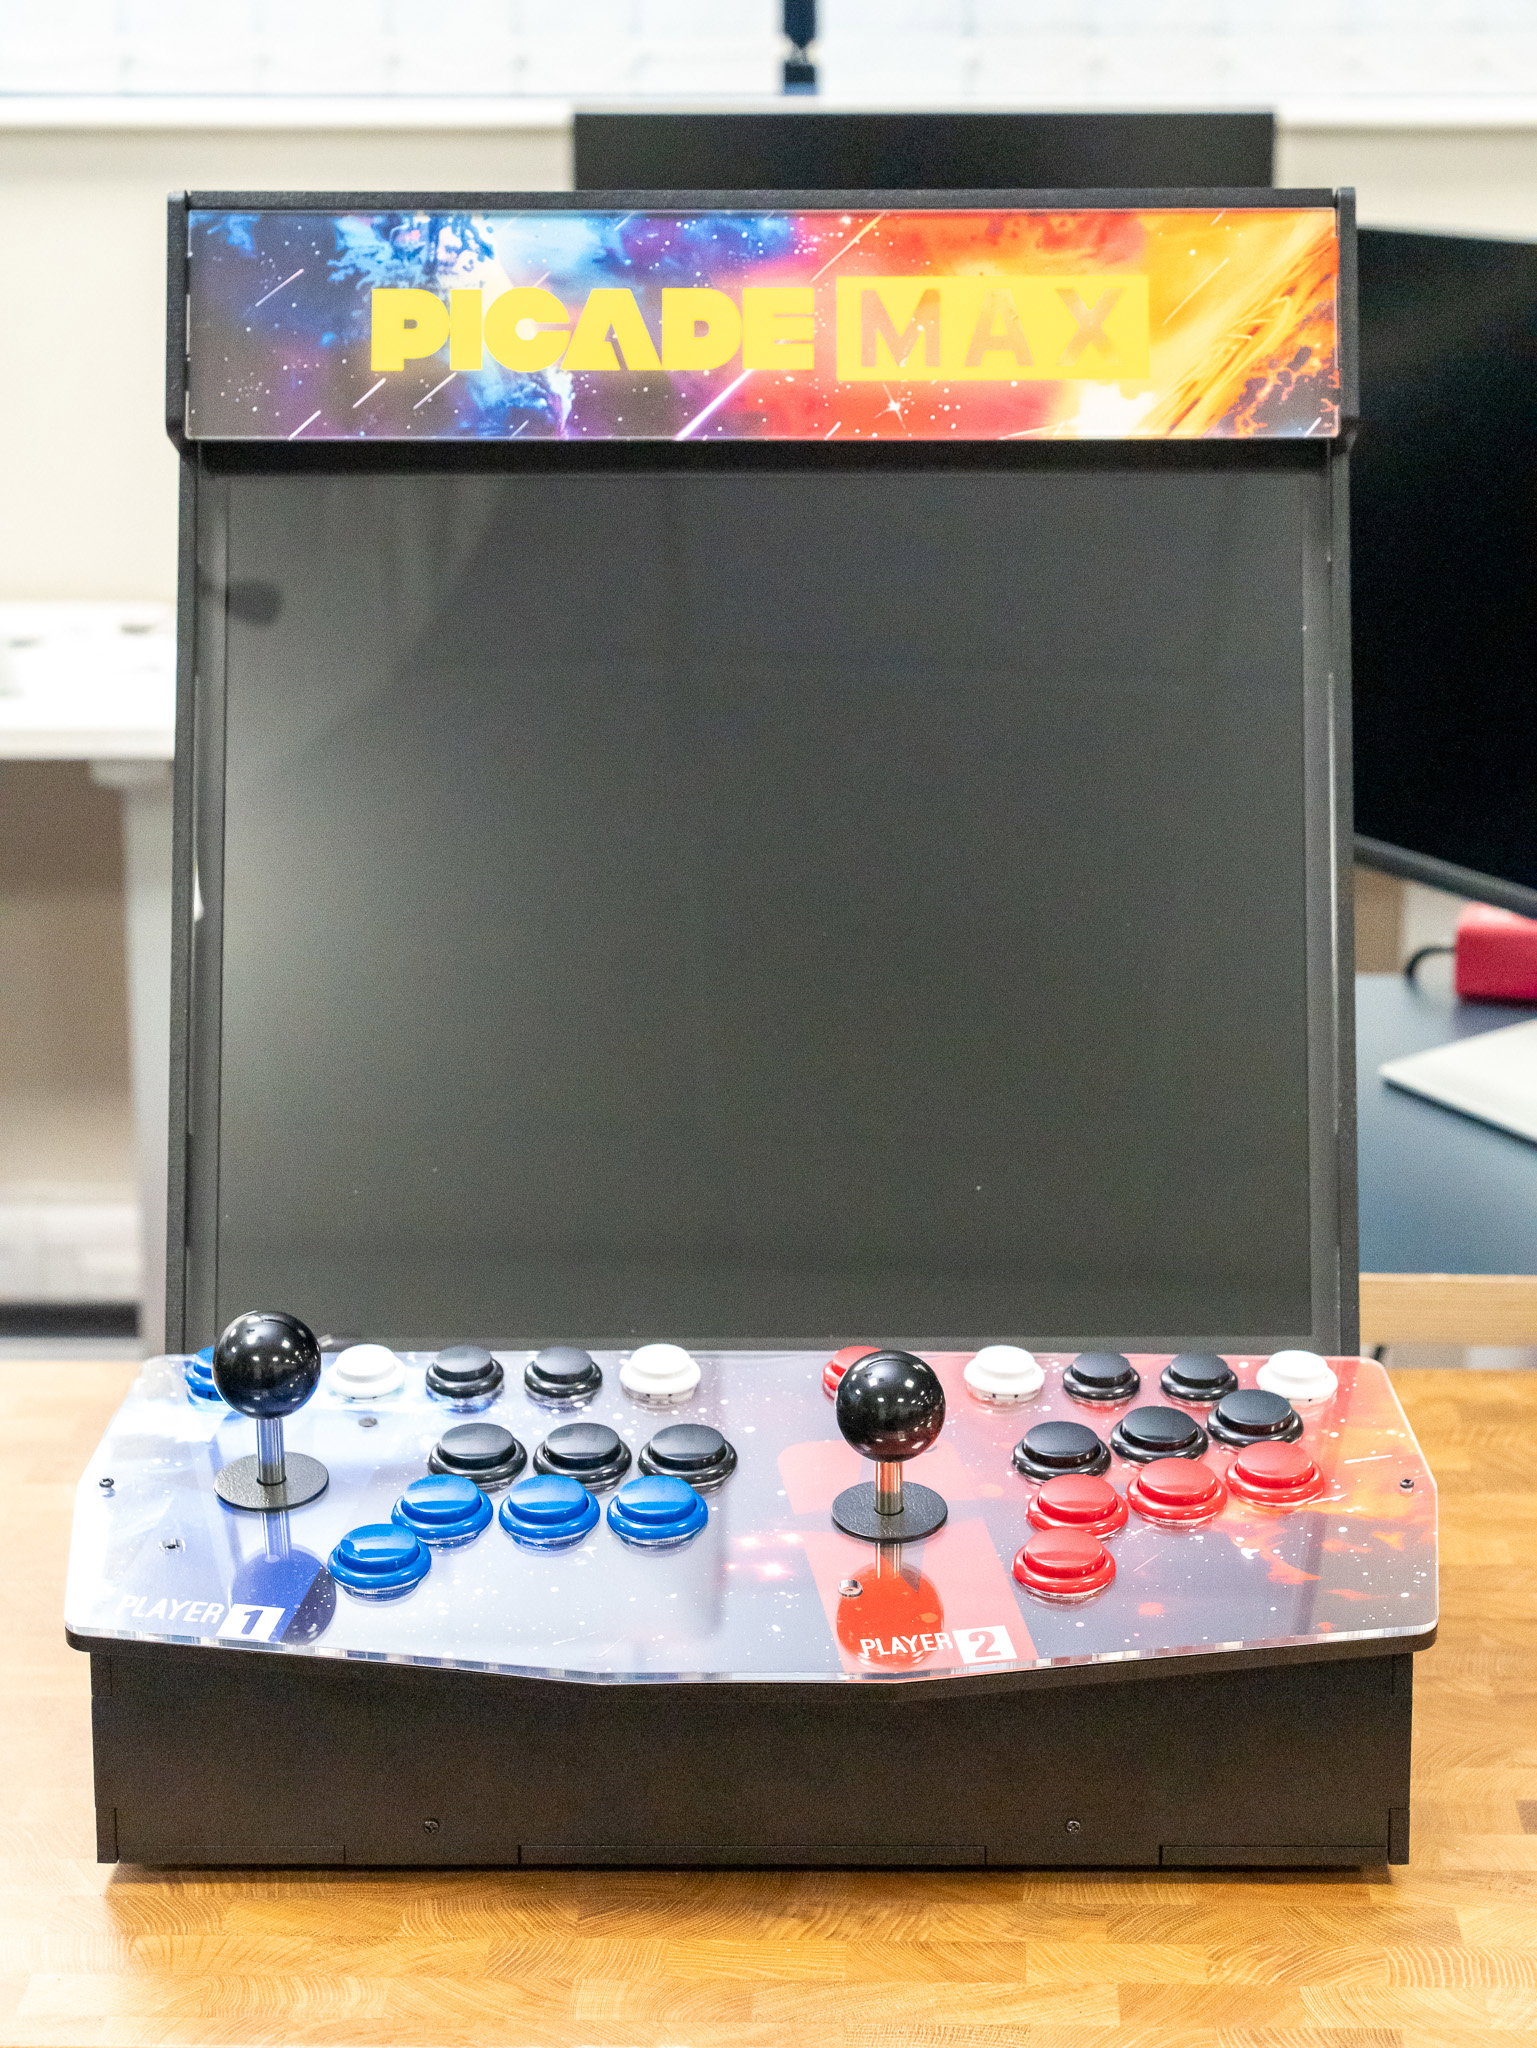
 Intermediate
Assembling Picade Max
Learn how to assemble and set up Picade Max!
Mounting the Raspberry Pi
In this guide, we'll be installing a Raspberry Pi inside our Picade Max. You may have noticed though, that there are a lot of other mounting holes in panel A, so if you want to mount a mini PC or other hardware inside the cabinet instead, that should be possible. Scroll down to Appendix A at the end of this article for some suggestions!
We'll be using a Raspberry Pi 5 but you can use another kind of Pi if you want, as long as it's a model that has a 40 pin header. We'll be assuming you're just using a microSD card for storage here - if you want to add a NVMe Base to your Picade Max setup then follow the instructions in the next section.
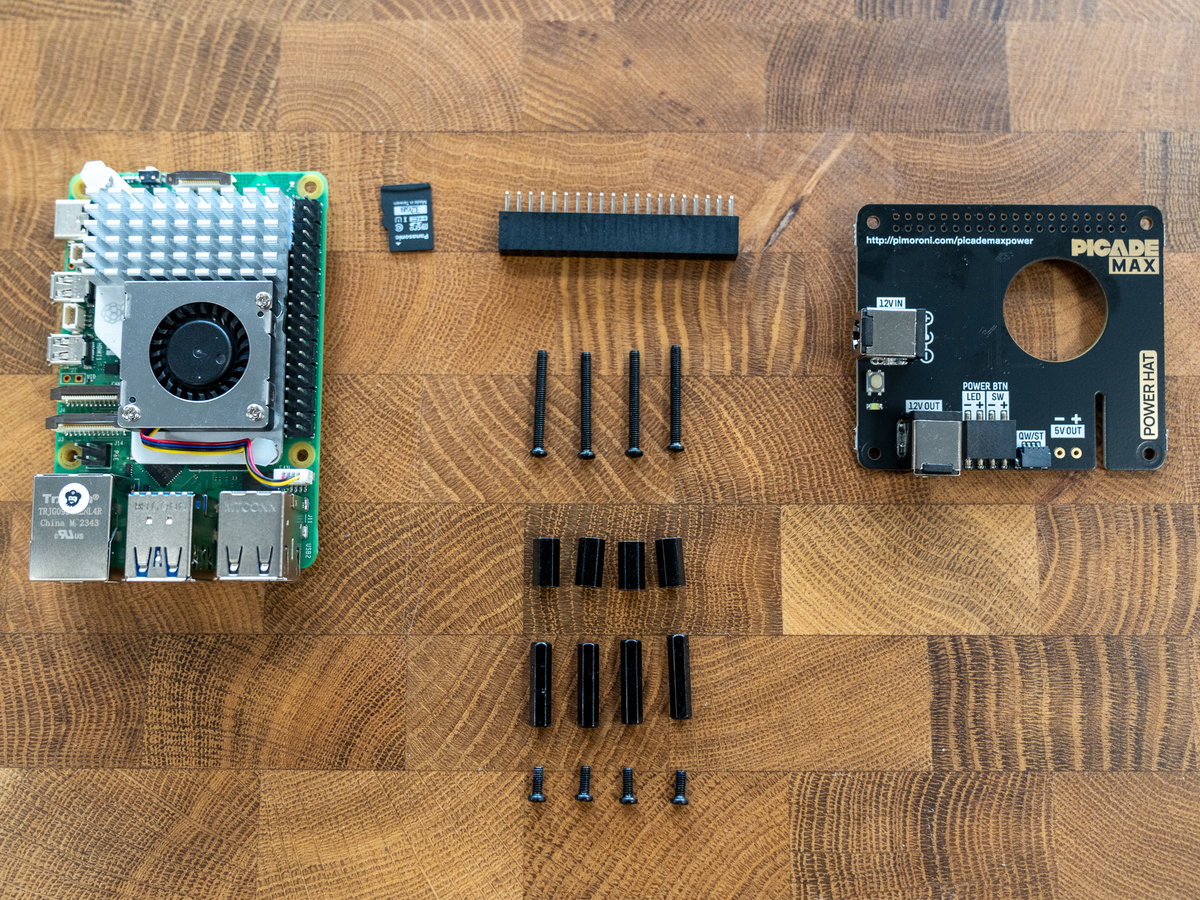
You'll need:
- a Raspberry Pi 5 (ours already has its Active Cooler fitted),
- the booster header
- Picade Max Power HAT
- 4x 10mm M2.5 standoffs (the medium ones)
- 4x 17mm M2.5 standoffs (the longest ones)
- 4x 22mm M2.5 screws (the longest ones)
- 4x 6mm M2.5 screws (the shortest ones).
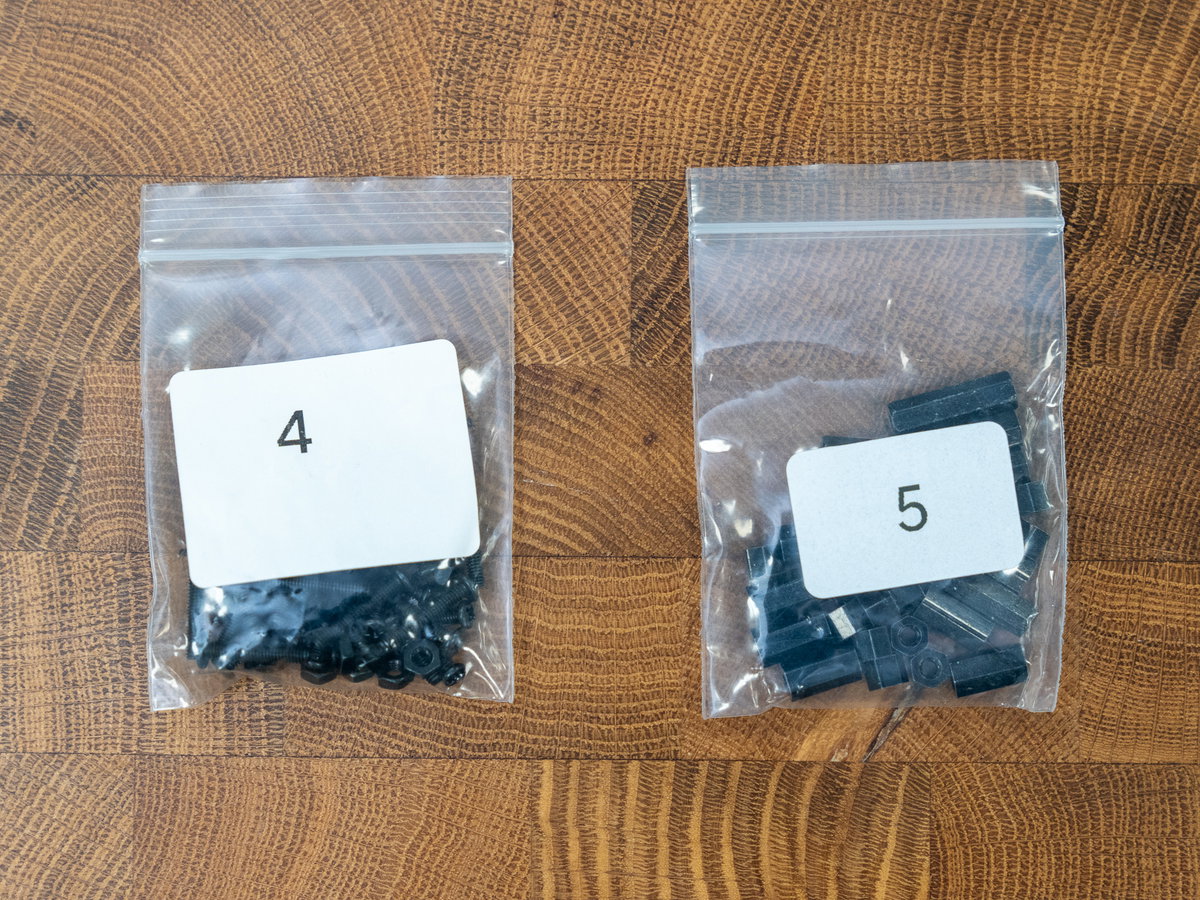
You will find the screws you'll need for this part in bags 4 and 5.
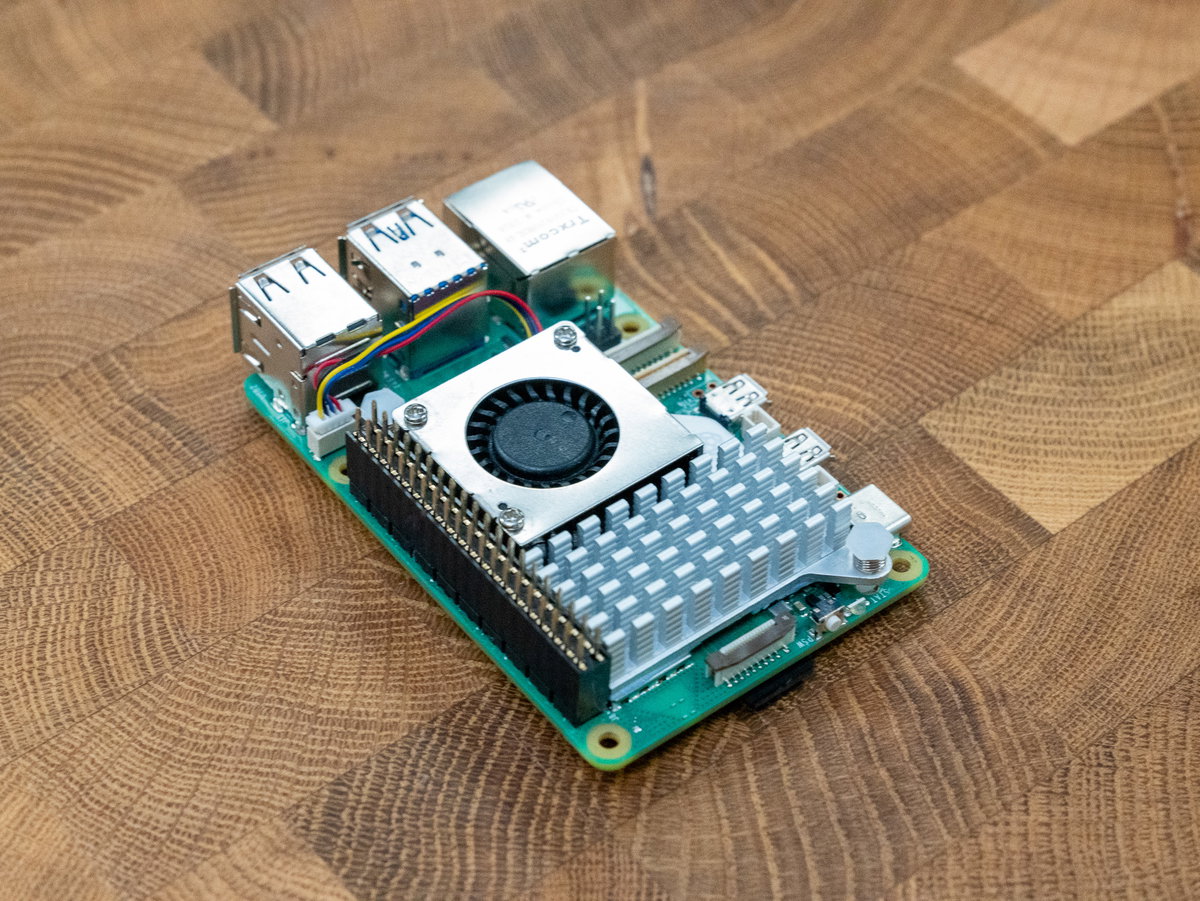
If you're using an Active Cooler and you've not attached it already, fit it to your Pi 5 now. If you need help with that, check out Raspberry Pi's documentation.
We'd also recommend fitting the booster header now, before you fasten the Pi to the cabinet. Push the booster header down onto the Pi's GPIO pins (make sure it's correctly lined up and not 'off by one').
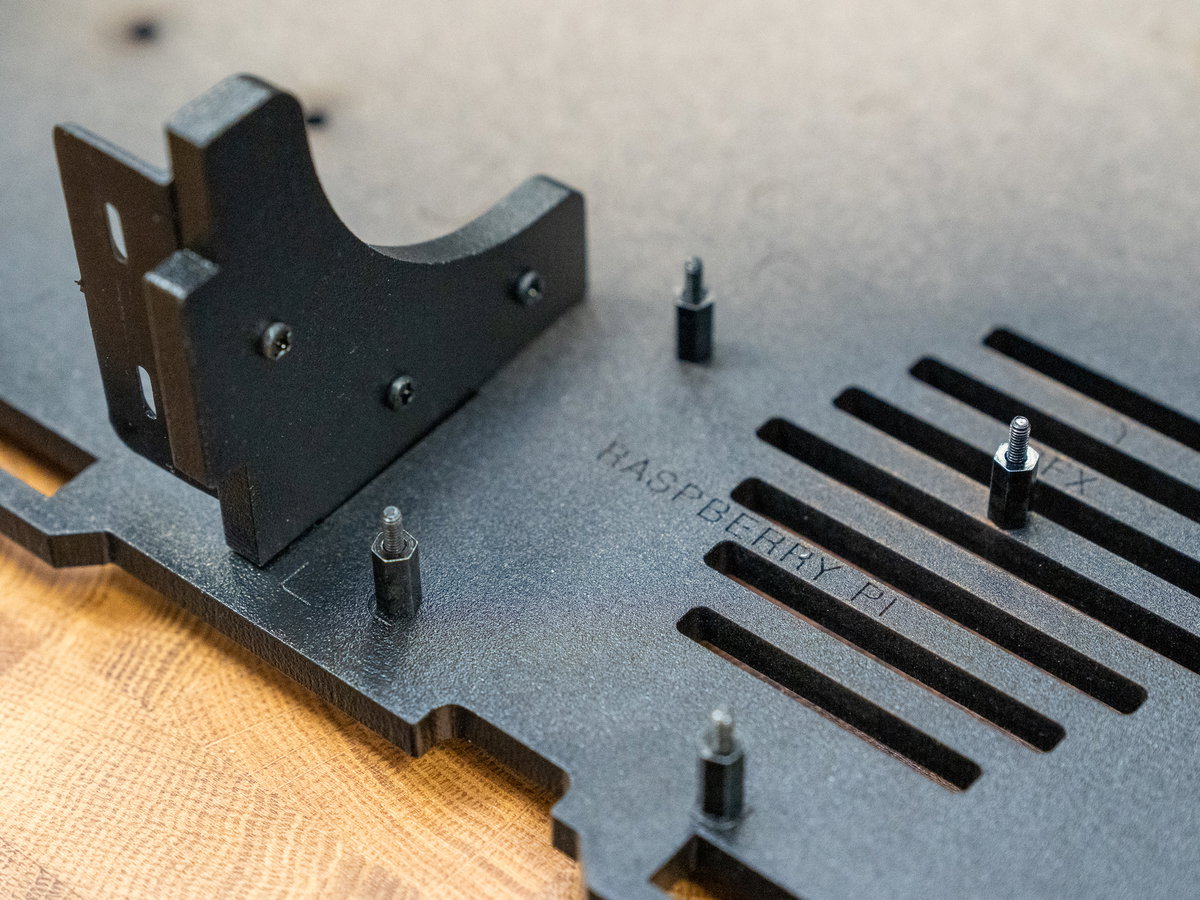
Poke the long 22mm M2.5 screws through the holes in the bottom of panel A (with the ends pointing upwards). Then add the 10mm standoffs to the screw threads.
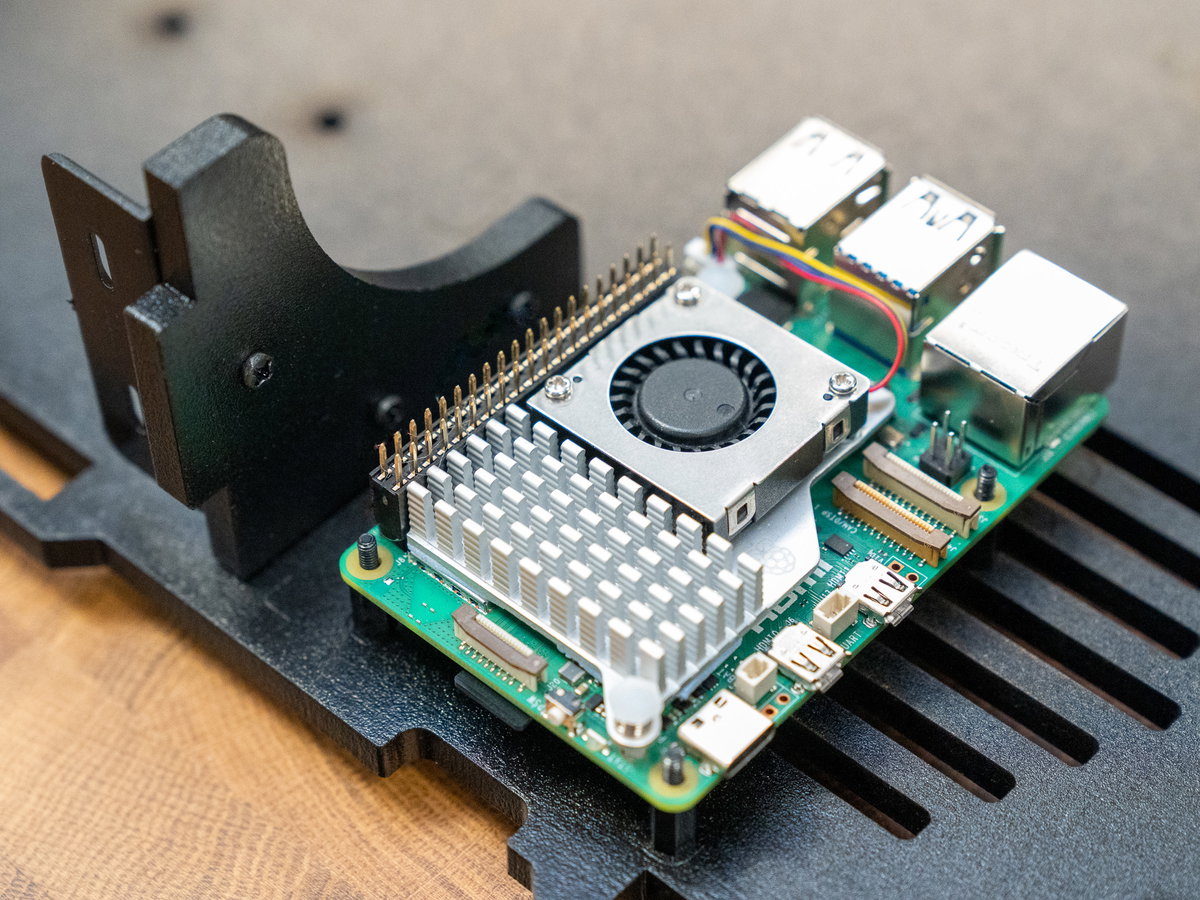
Place your Pi on top of the standoffs, oriented so that the Pi's GPIO pins are next to panel B.
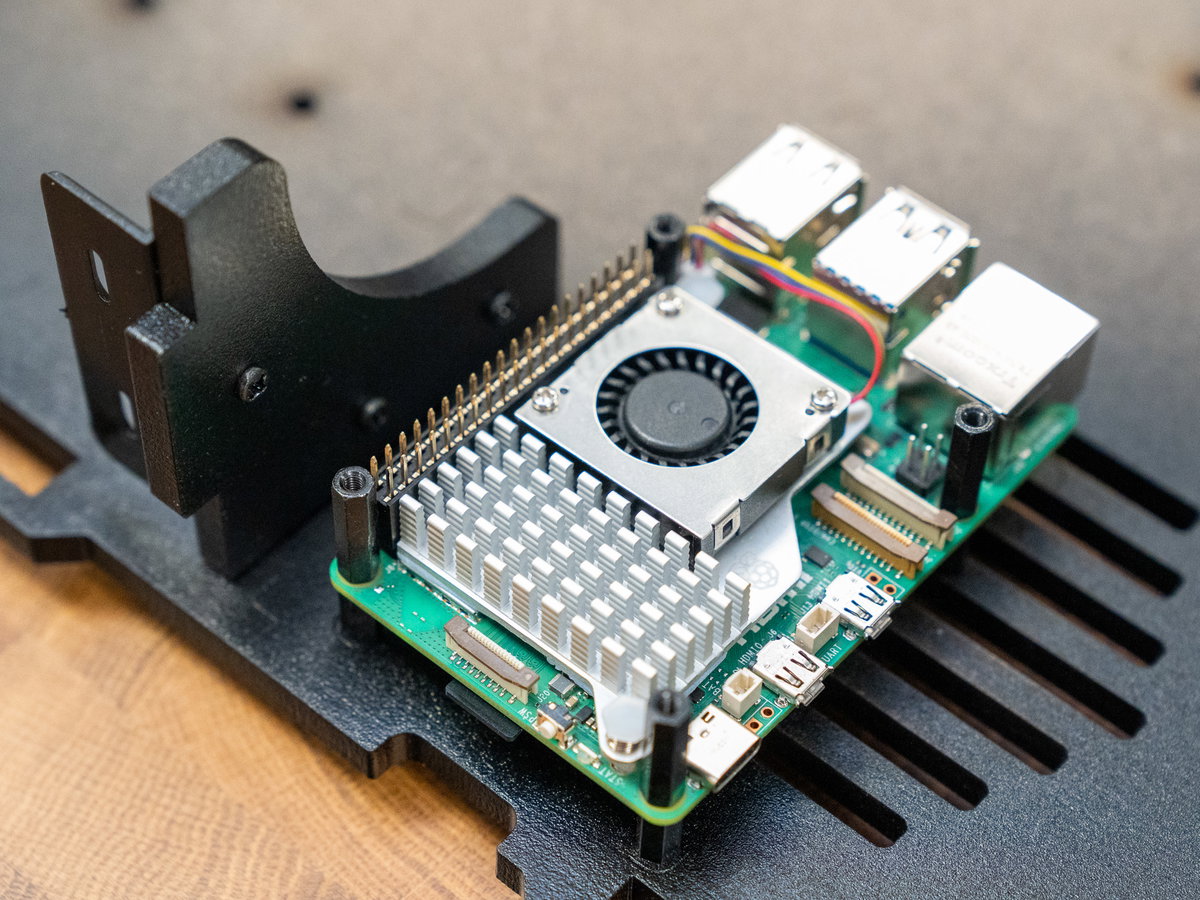
Screw the long 17mm M2.5 standoffs onto the screws poking out of the top of the Pi.
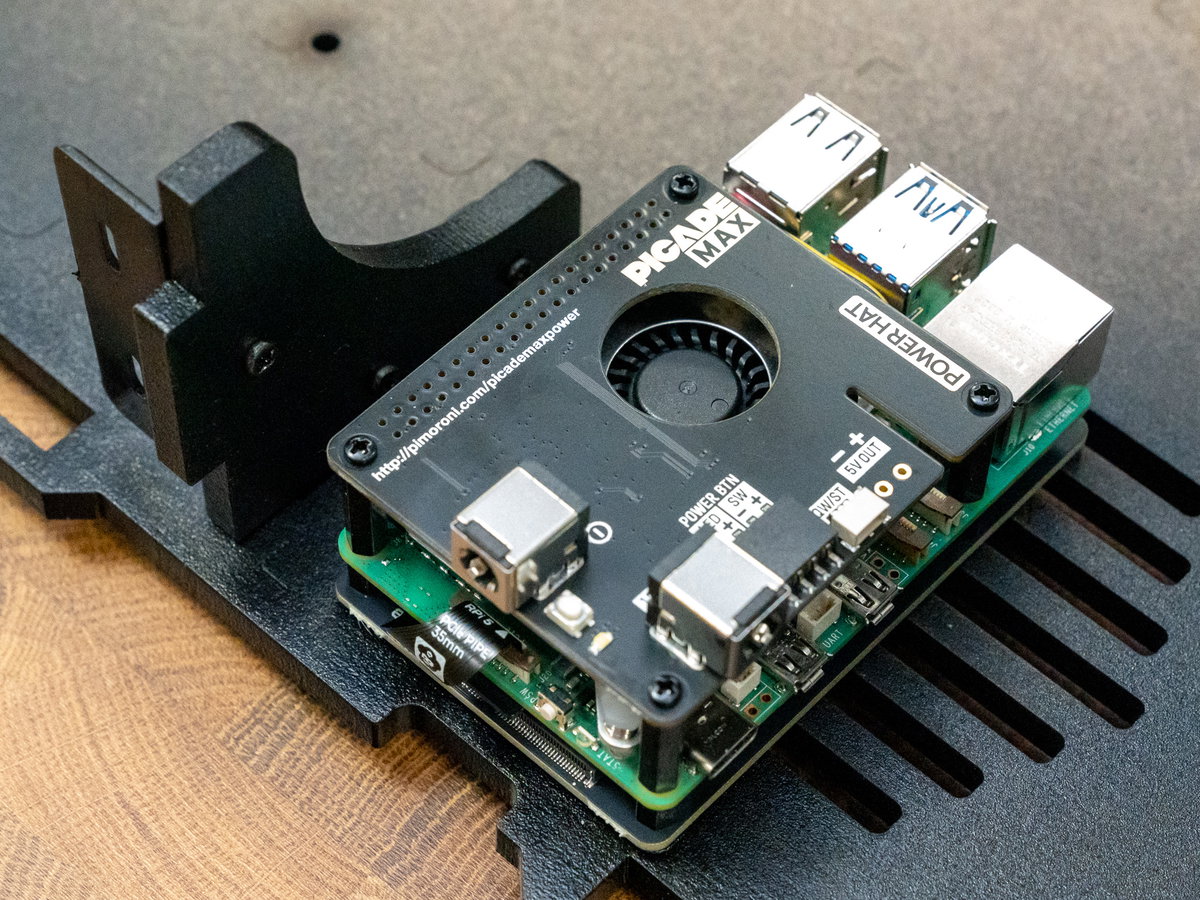
Add the Picade Max Power HAT to the top of the stack and push it down onto the booster header pins. Make sure the socket header on the HAT is correctly lined up with the pins on the booster header. Then fix it in place with the 6mm M2.5 screws.
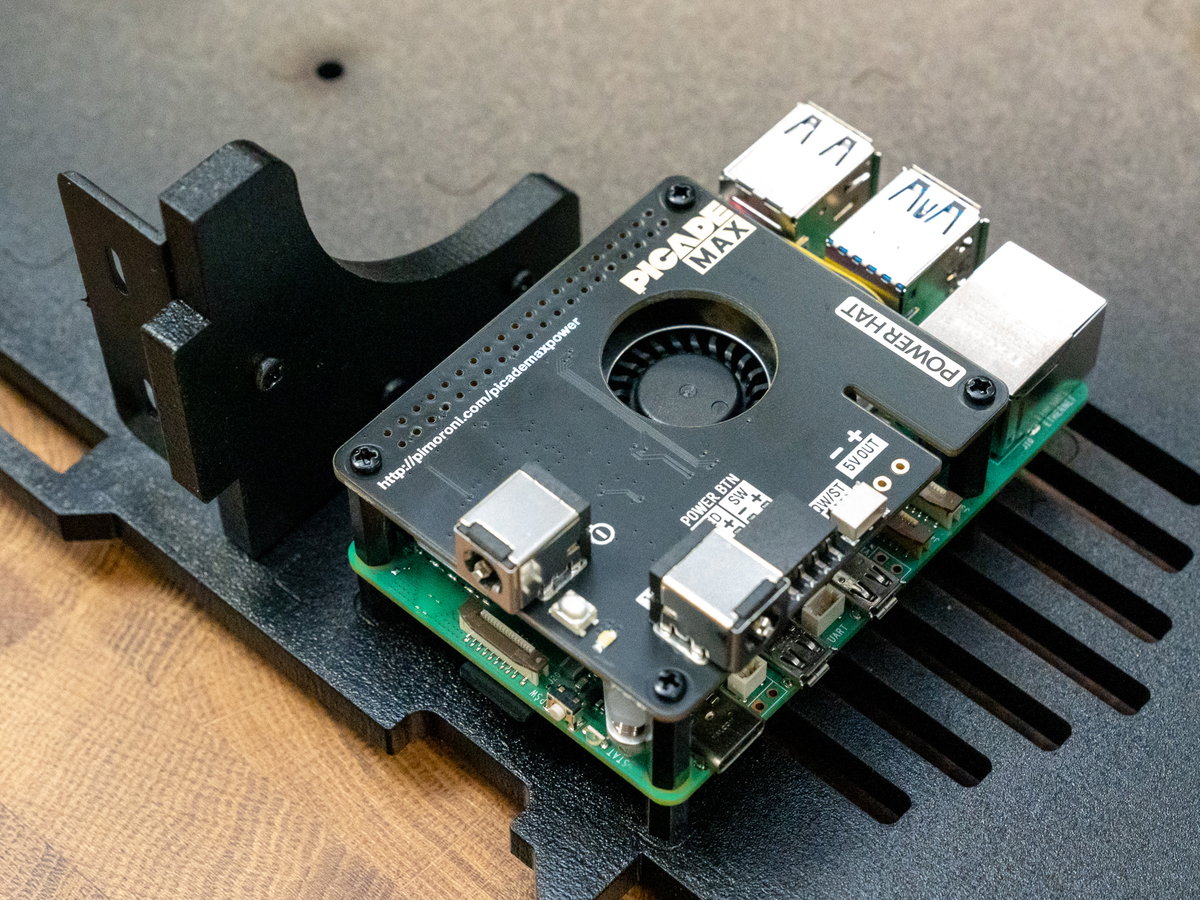
Your Pi should now be safely secured to the cabinet.
Mounting the Raspberry Pi (with NVMe Base)
Here's how to incorporate an NVMe Base into your setup!
(Note that Picade Max will only work with the single NVMe Base, not NVMe Base Duo).
You'll need:
- a Raspberry Pi 5 (ours already has its Active Cooler fitted),
- An NVMe Base with the standoffs that connect the Pi and Base together removed (you can leave the SSD and ribbon cable in situ)
- the booster header
- Picade Max Power HAT.
- 4x 17mm M2.5 standoffs (the longest ones)
- 4x 22mm M2.5 screws (the longest ones)
- 4x 6mm M2.5 screws (the shortest ones)
- 4x M2.5 nuts
- 4x 7mm M2.5 standoffs (these are the ones that come with NVMe Base)
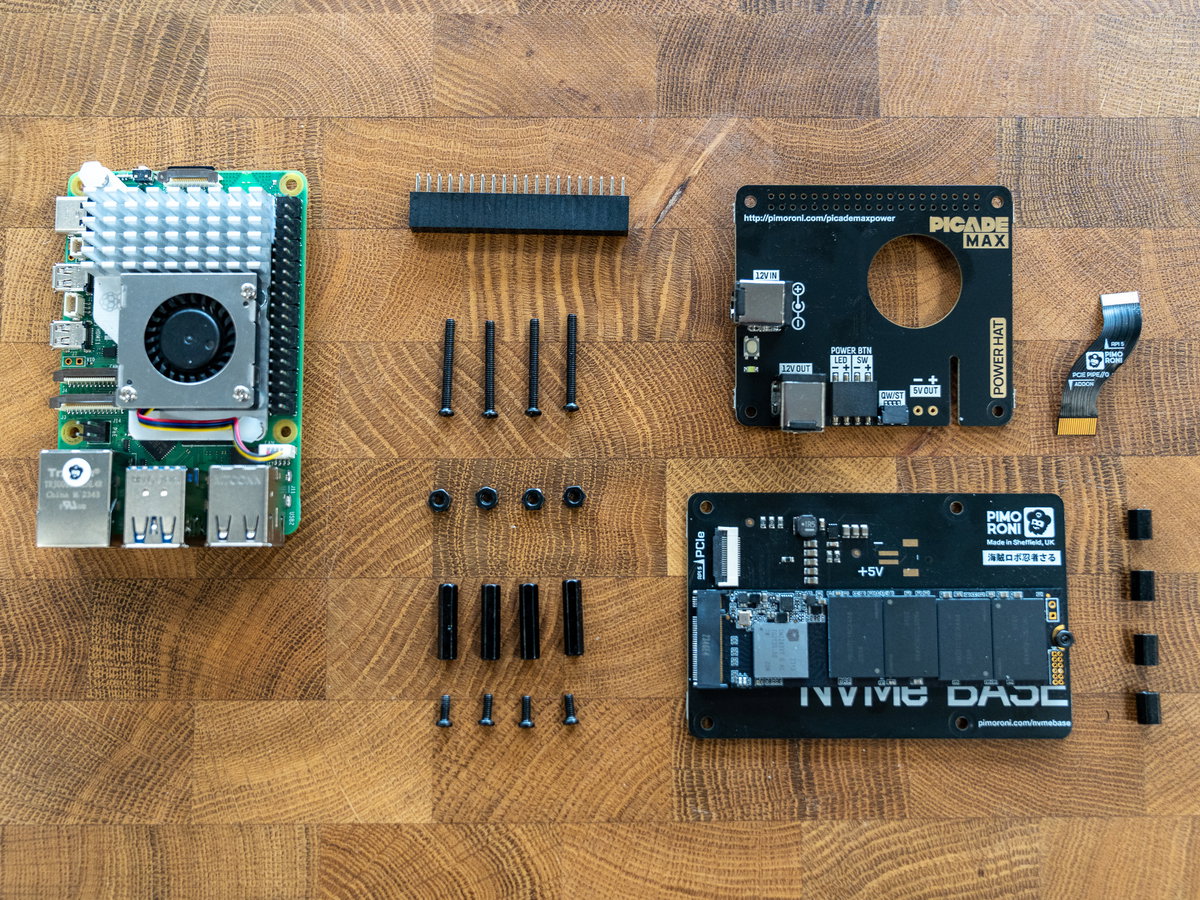
Fit the active cooler and booster header to your Pi. We'd also suggest installing your SSD in your NVMe Base and connecting up the ribbon cable now, this is easier to do before the Pi is fixed into the cabinet. Full instructions for assembling NVMe Base can be found here, if you need them.
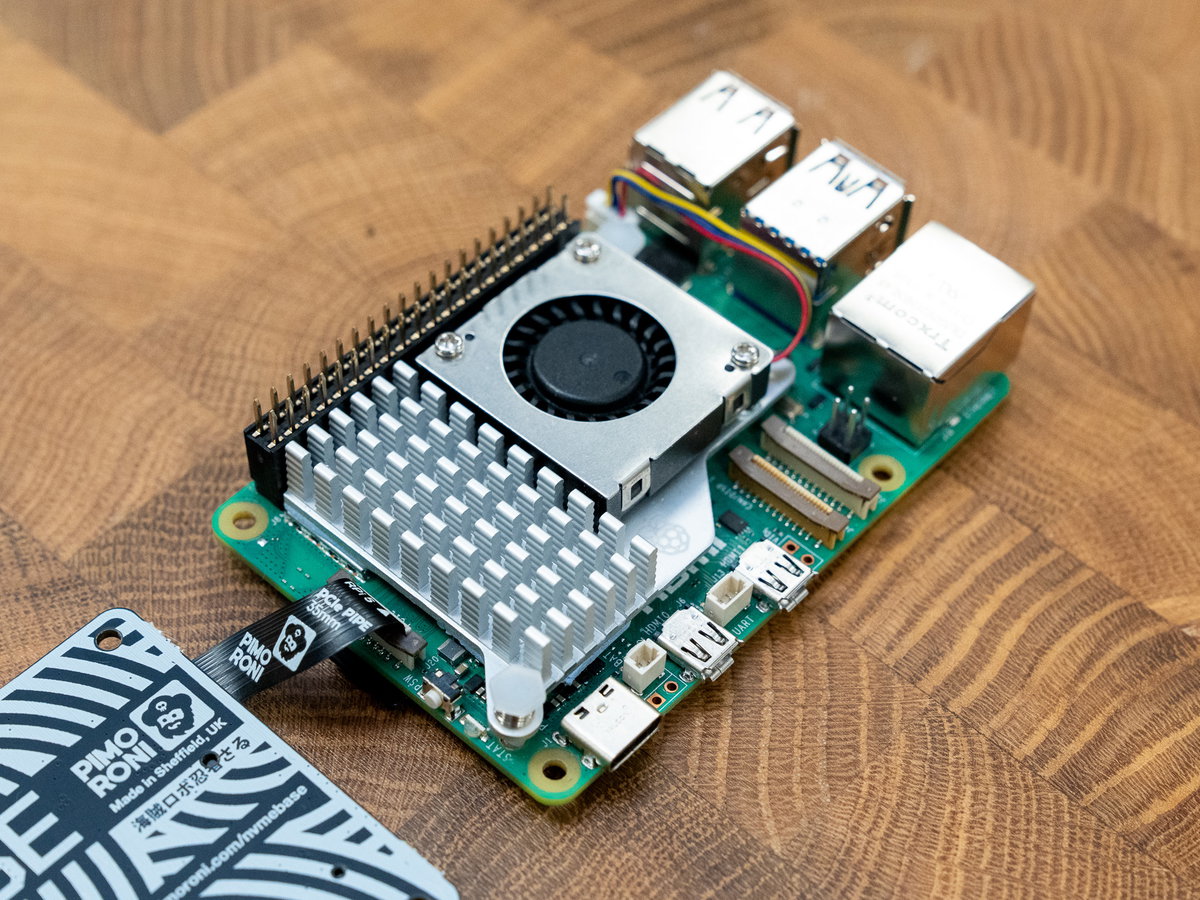
Poke the long 22mm M2.5 screws through the holes in the bottom of panel A (with the ends pointing upwards). Then add the M2.5 nuts to the screw threads.
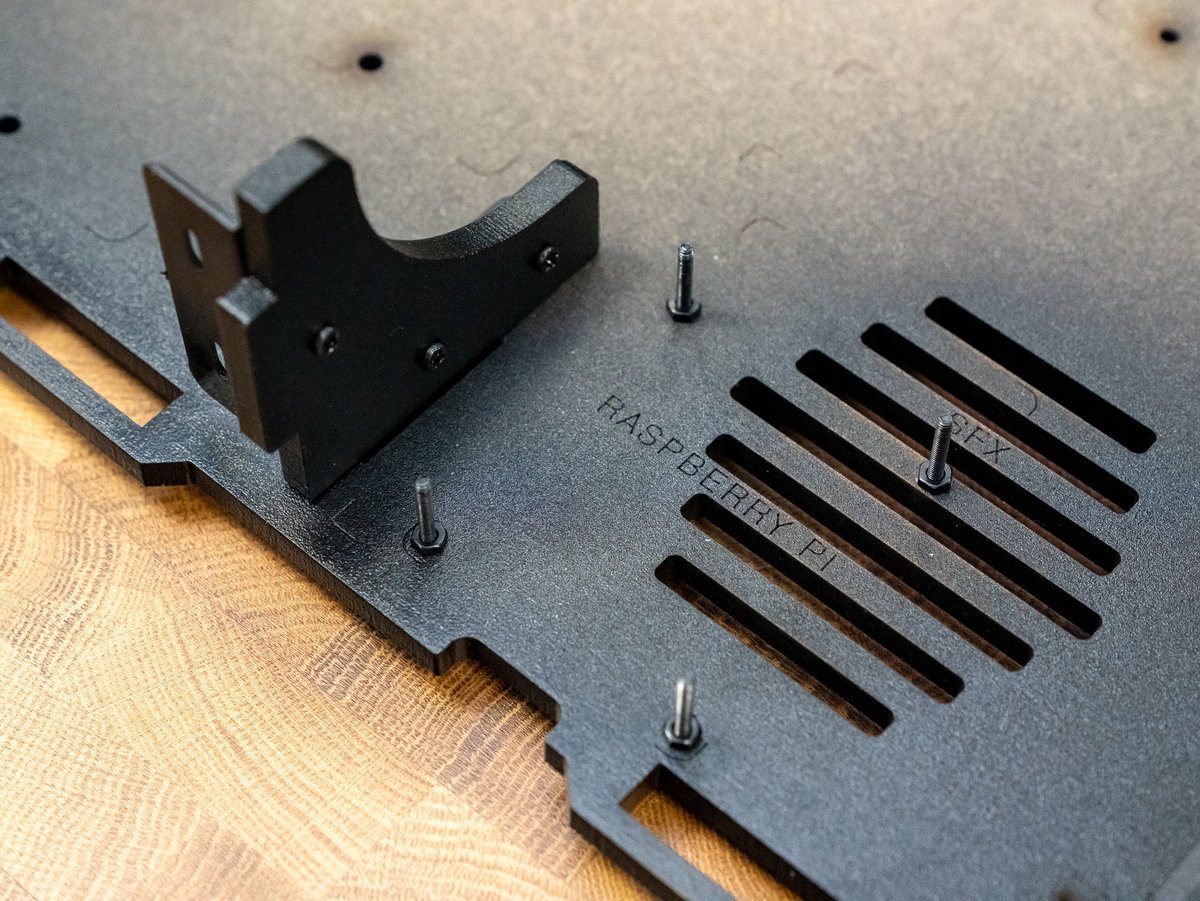
Place your NVMe Base on top of the nuts, oriented so that the ribbon cable is pointing towards you.
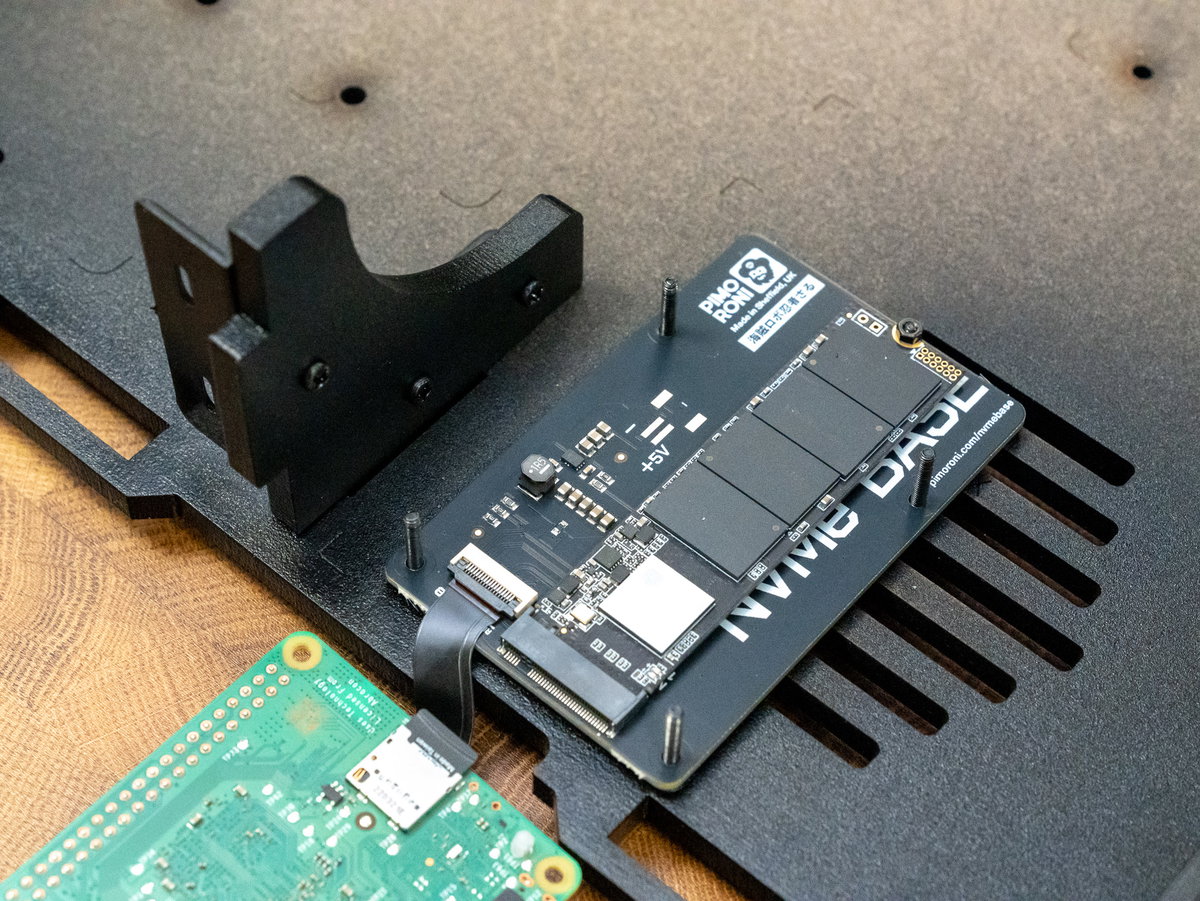
Screw the 7mm M2.5 standoffs onto the screw threads.
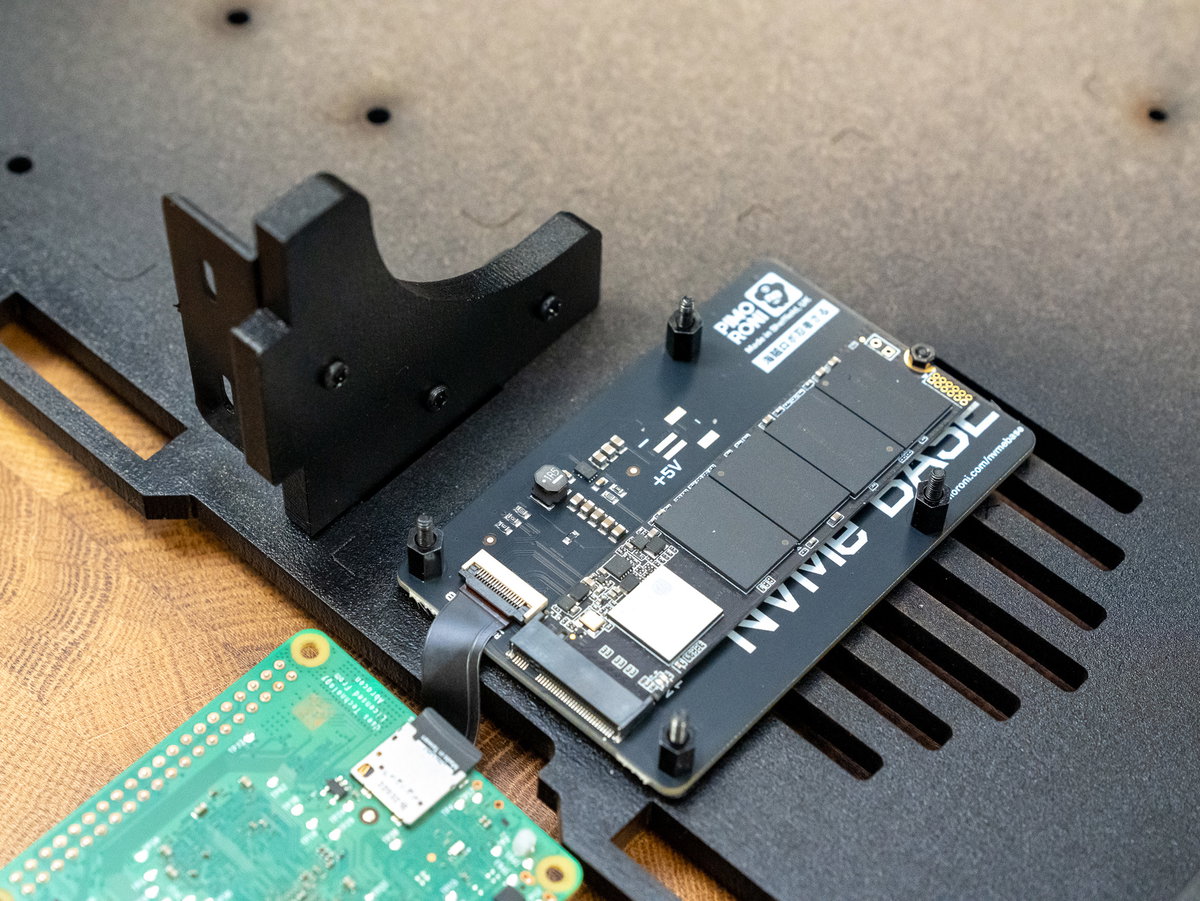
Place your Pi on top of the standoffs, oriented so that the Pi's GPIO pins are next to panel B. Make sure the NVMe Base's PCIe cable is clipped squarely into both connectors, it will be tricky to adjust later.
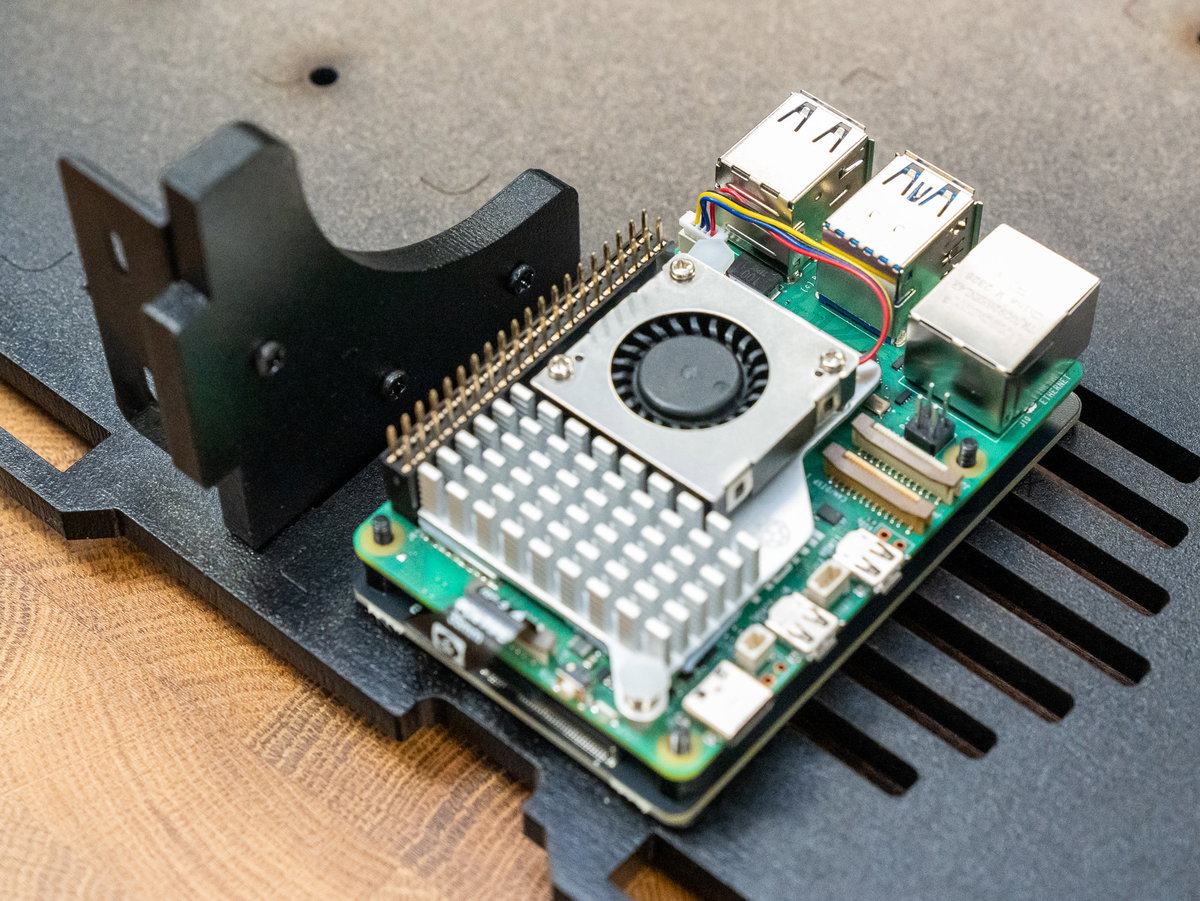
Screw the long 17mm M2.5 standoffs onto the screws poking out of the top of the Pi.
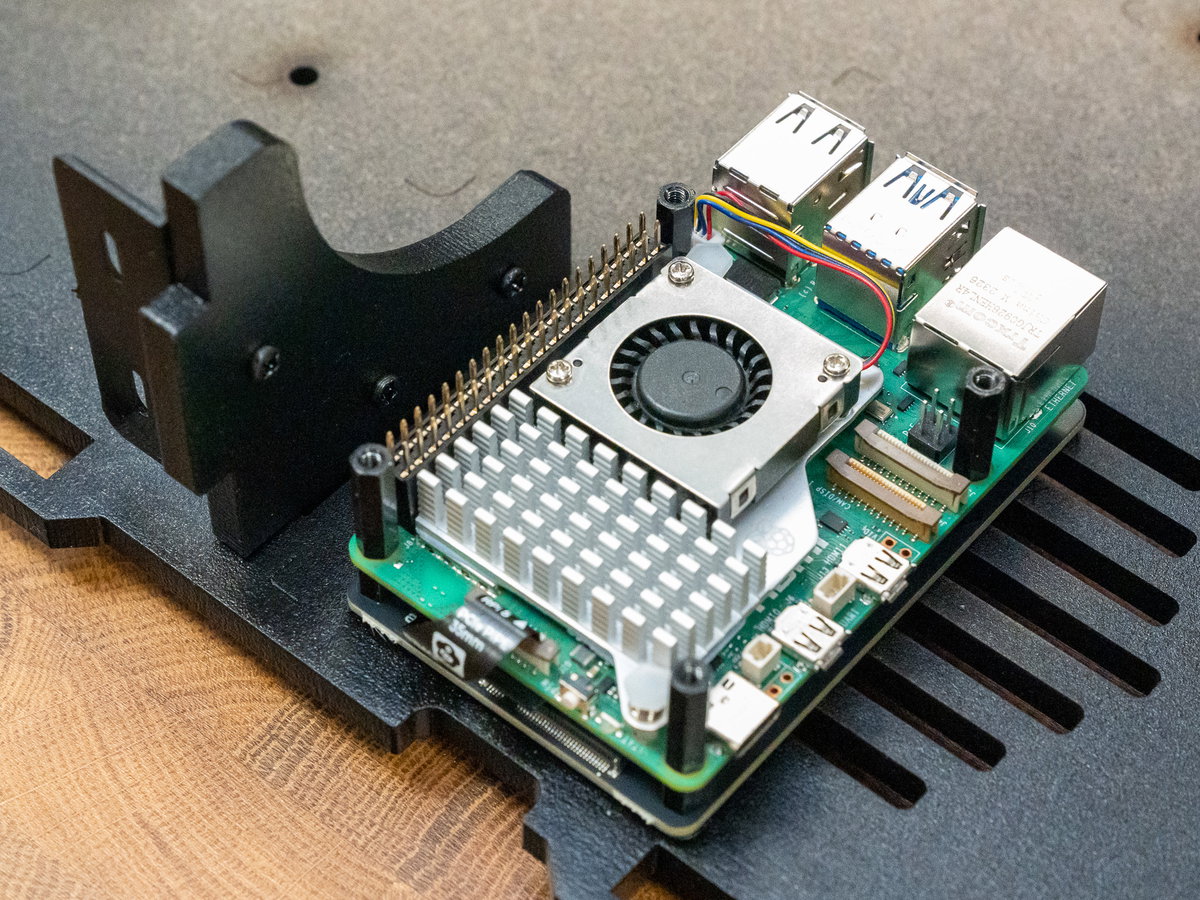
Add the Picade Max Power HAT to the top of the stack and push it down onto the booster header pins. Make sure the socket header on the HAT is correctly lined up with the pins on the booster header. Then fix it in place with the 6mm M2.5 screws.
Installing the acrylic screen piece
For the next bit, you'll need:
- the long thin wooden panel F
- the large square acrylic screen piece.
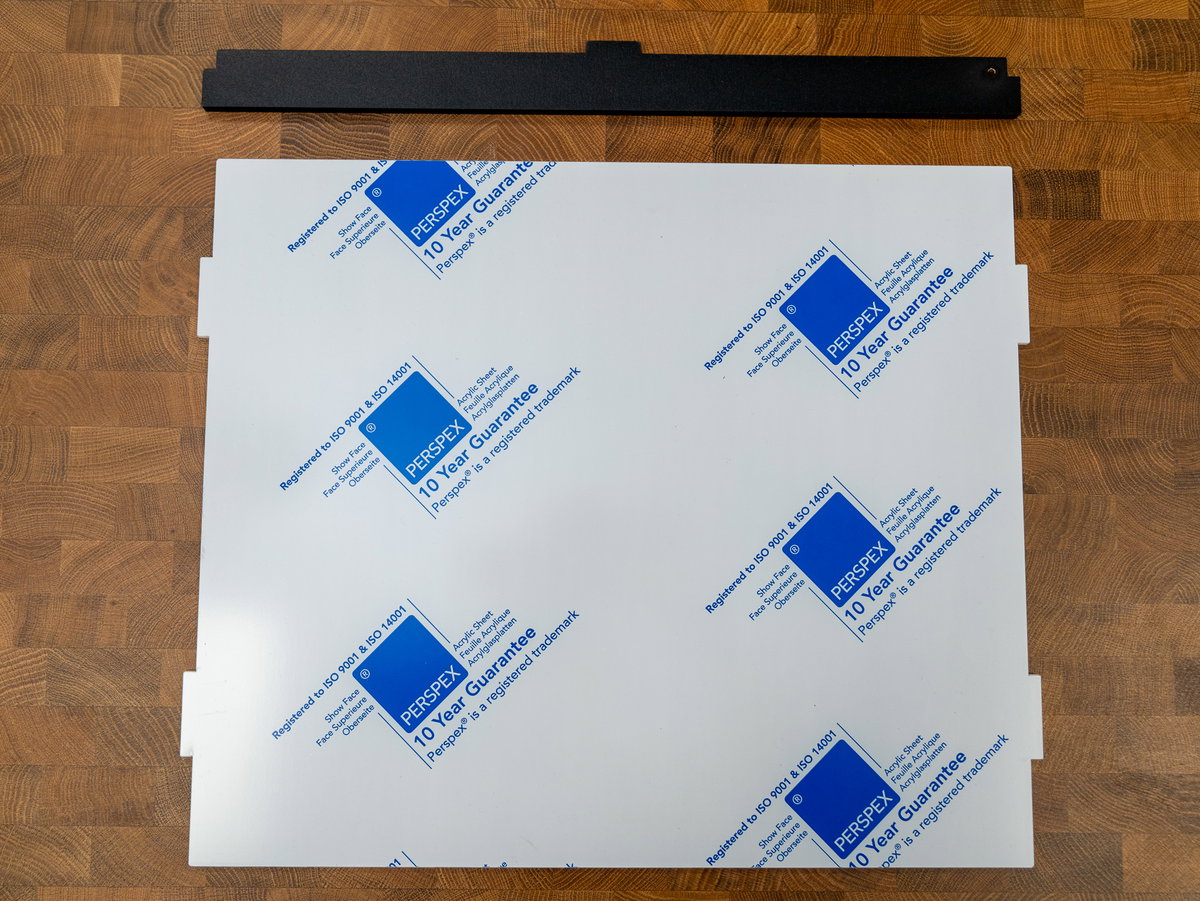
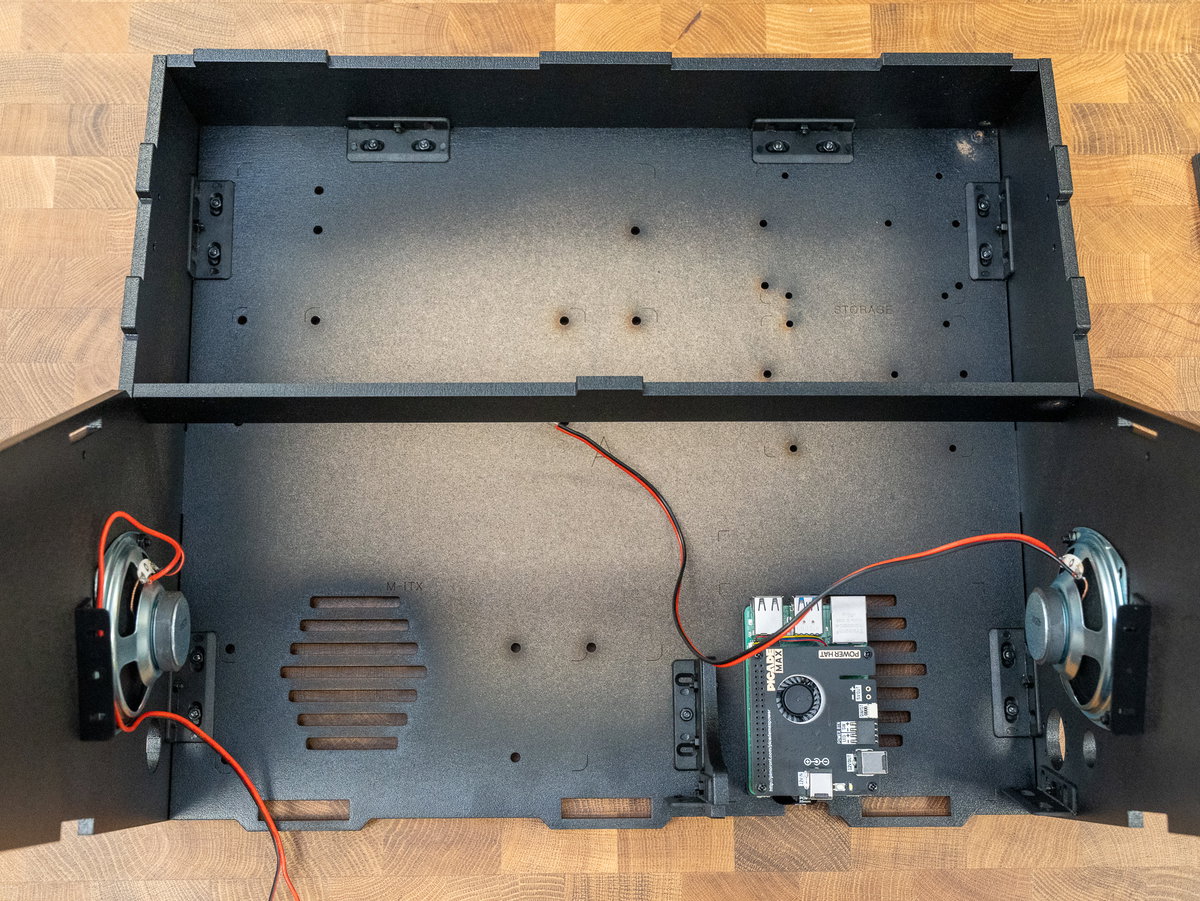
The tabs on panel F fit into slots on side panels D and E. This piece will act as a brace and keep the console solid, even when faced with serious button mashing. You might need to wiggle the side panels apart slightly to get the tabs into the slots. Note the tab in the middle should be pointing upwards once this piece is fitted.
Next we'll be fitting the acrylic screen panel, this will protect the actual screen once it's installed. It's a good idea to keep the protective backing stuck to the acrylic pieces as long as you can, to protect them from fingerprints, scratches and other miscellaneous assembly detritus. If you want, it's possible to just peel off the protective backing from the tabs that slot into the case here, and leave the rest of it in place until later on.
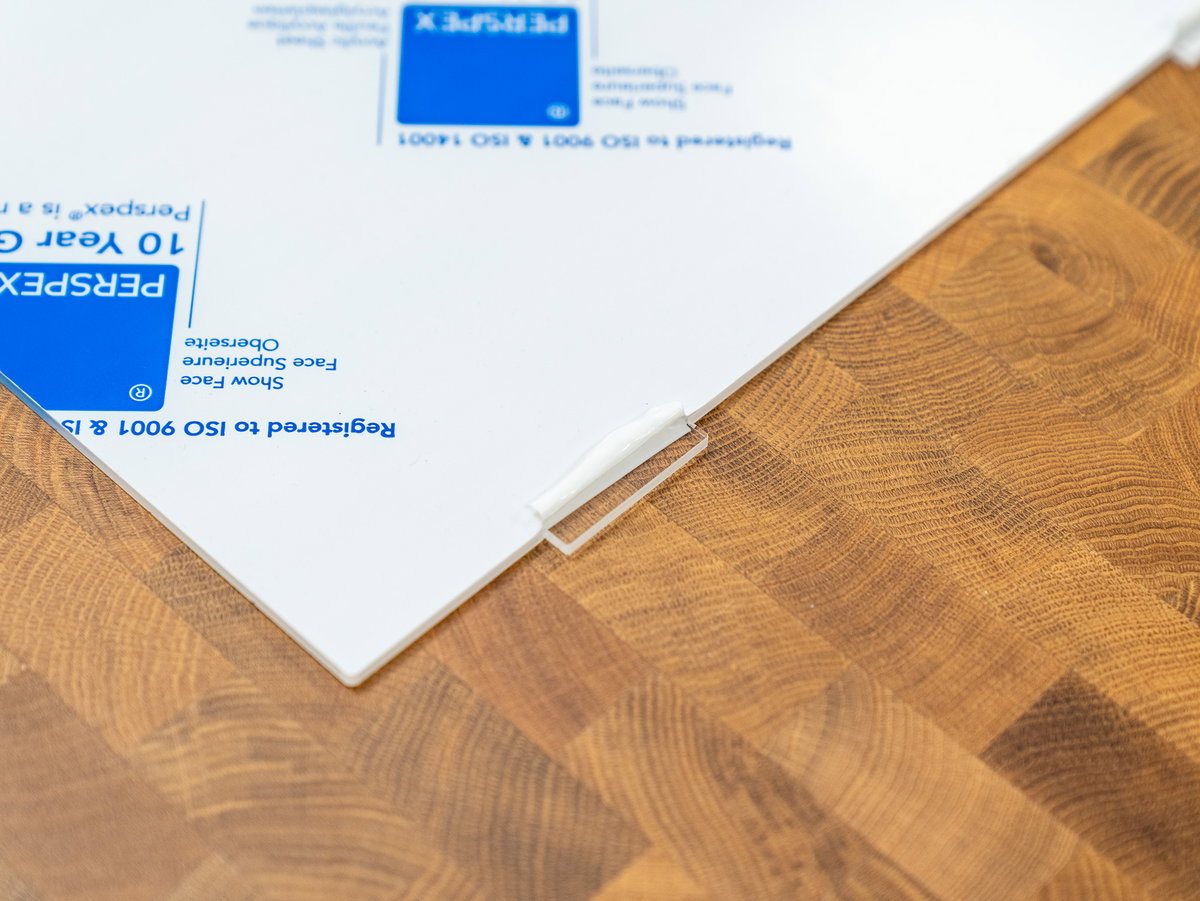
Once you've removed the protective backing from the tabs (or from the entire panel, if you prefer), you can go ahead and fit the tabs into the slots in side panels D and E.
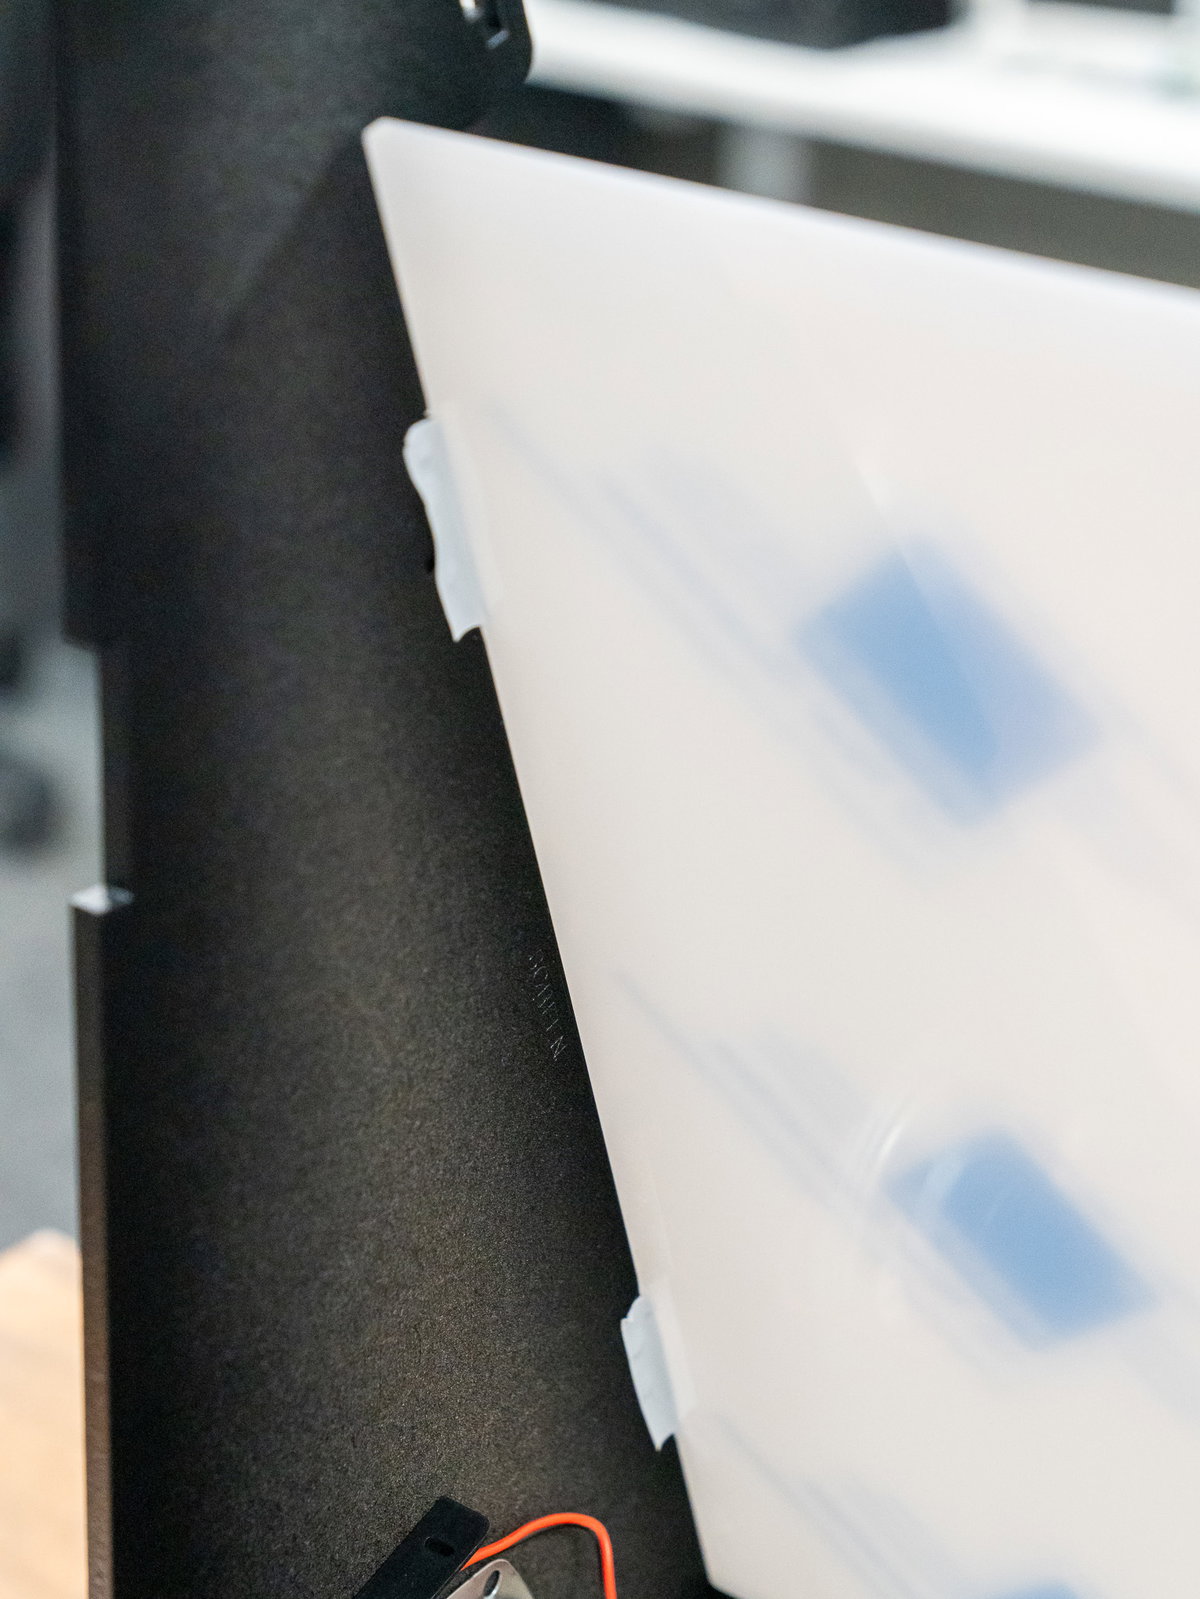
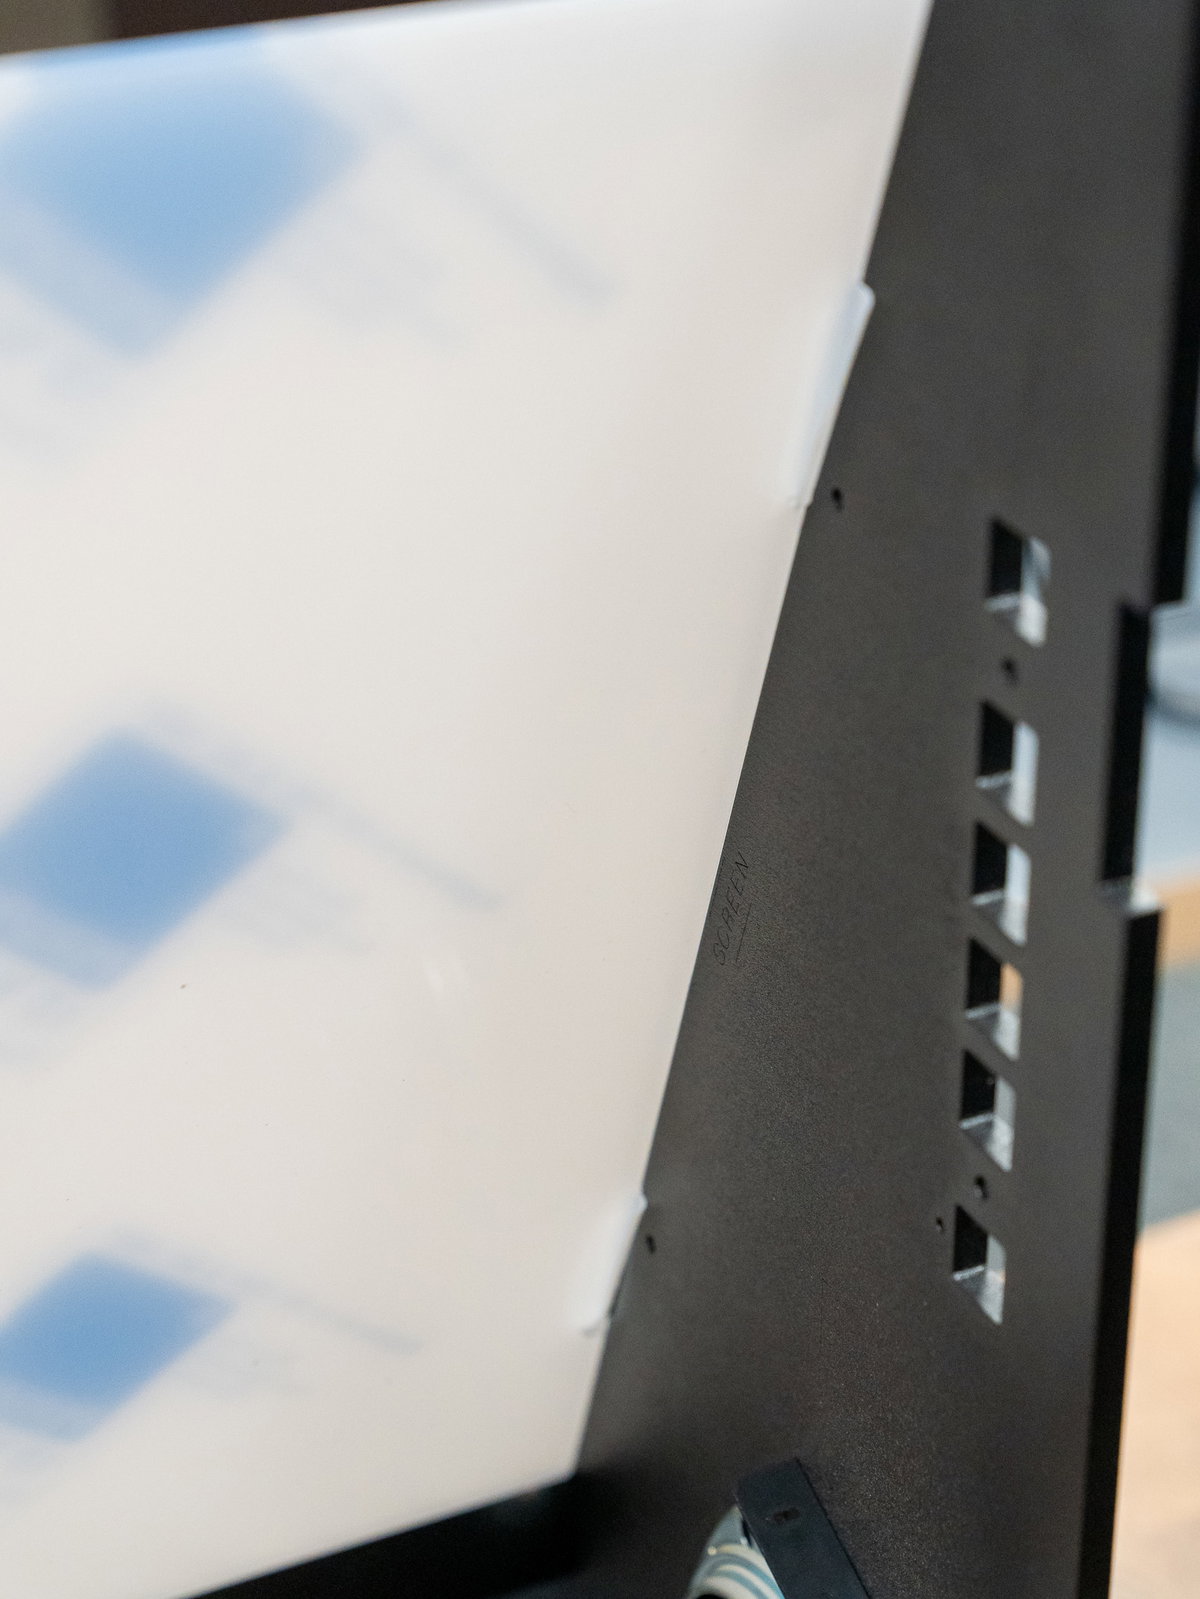
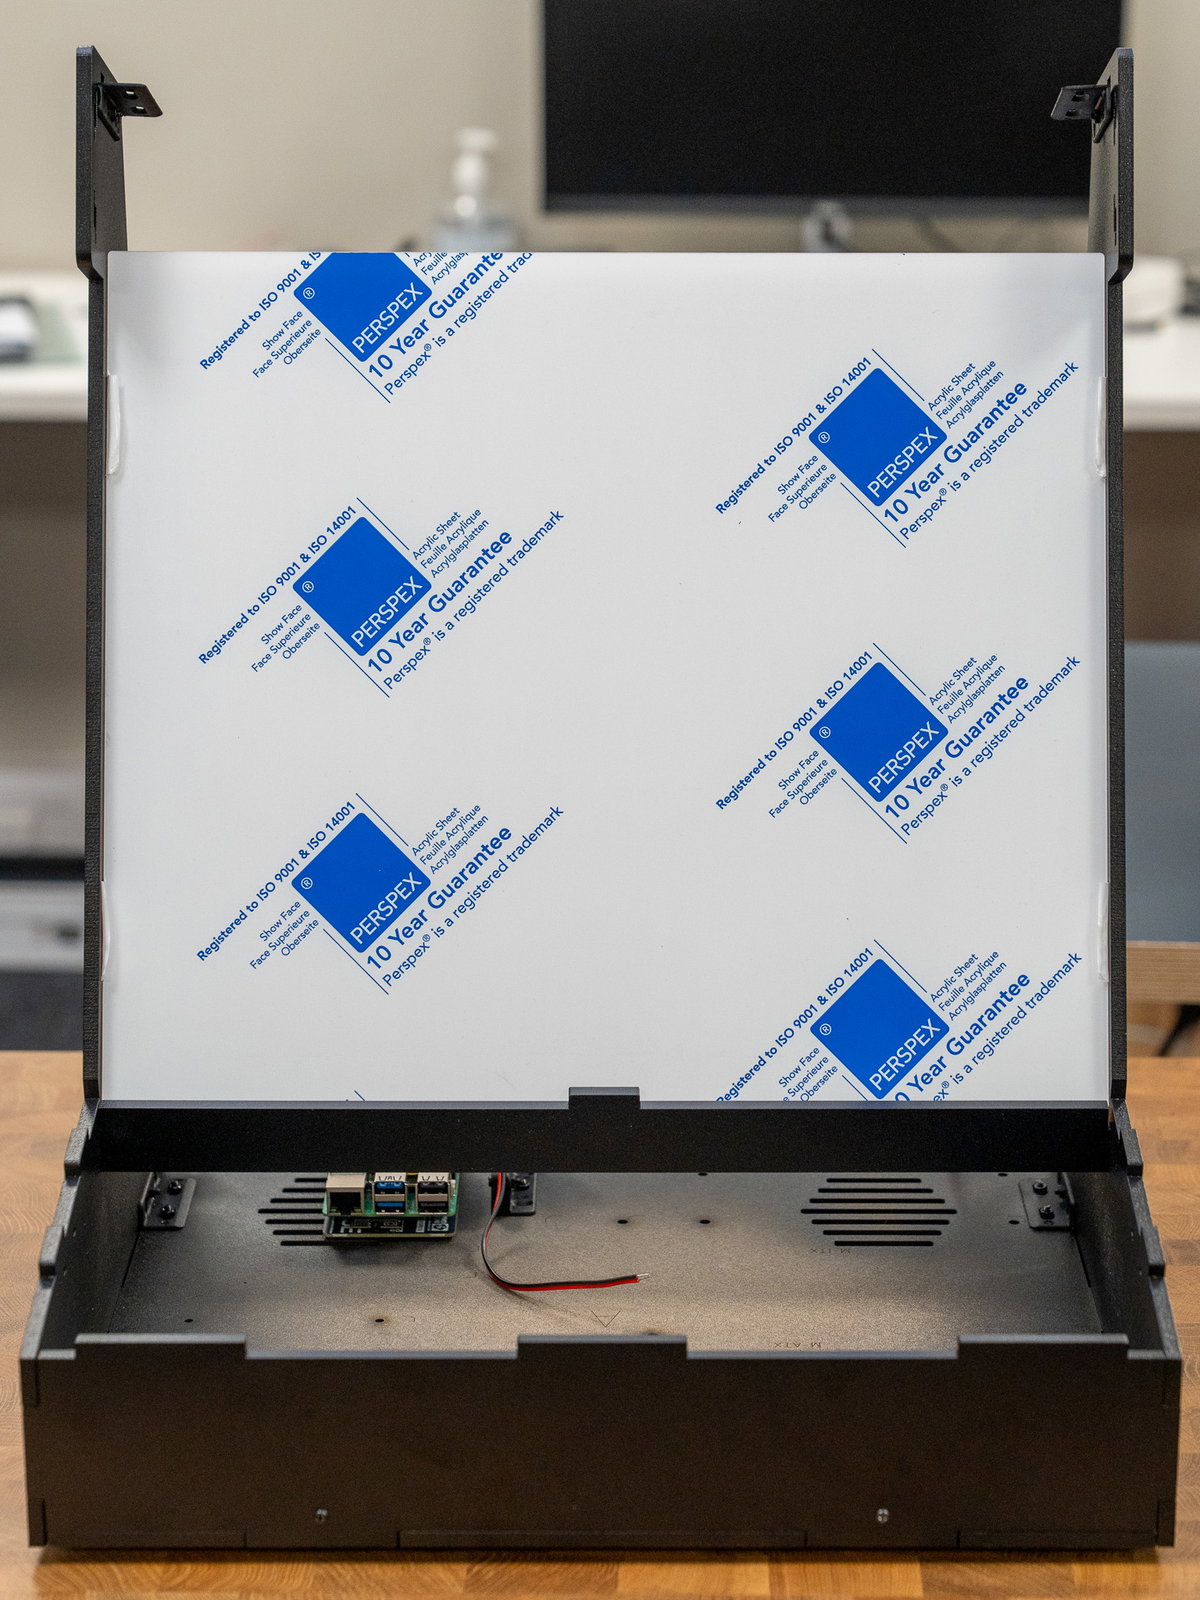
Fitting the marquee and the top of the cabinet
Now we'll be adding the marquee to the top of the cabinet. We'll be installing the provided artwork in our Picade, but if you want to be totally extra and upgrade to a Galactic Unicorn LED matrix, scroll down and check out Appendix B. For this step, you'll need:
- A transparent acrylic marquee piece
- A black translucent acrylic marquee piece (with holes)
- Some marquee sized cardboard artwork
- Wooden panel G
- Wooden panel H
- 4x M3 18mm screws (find them in bag 2)
- 4x M3 nuts
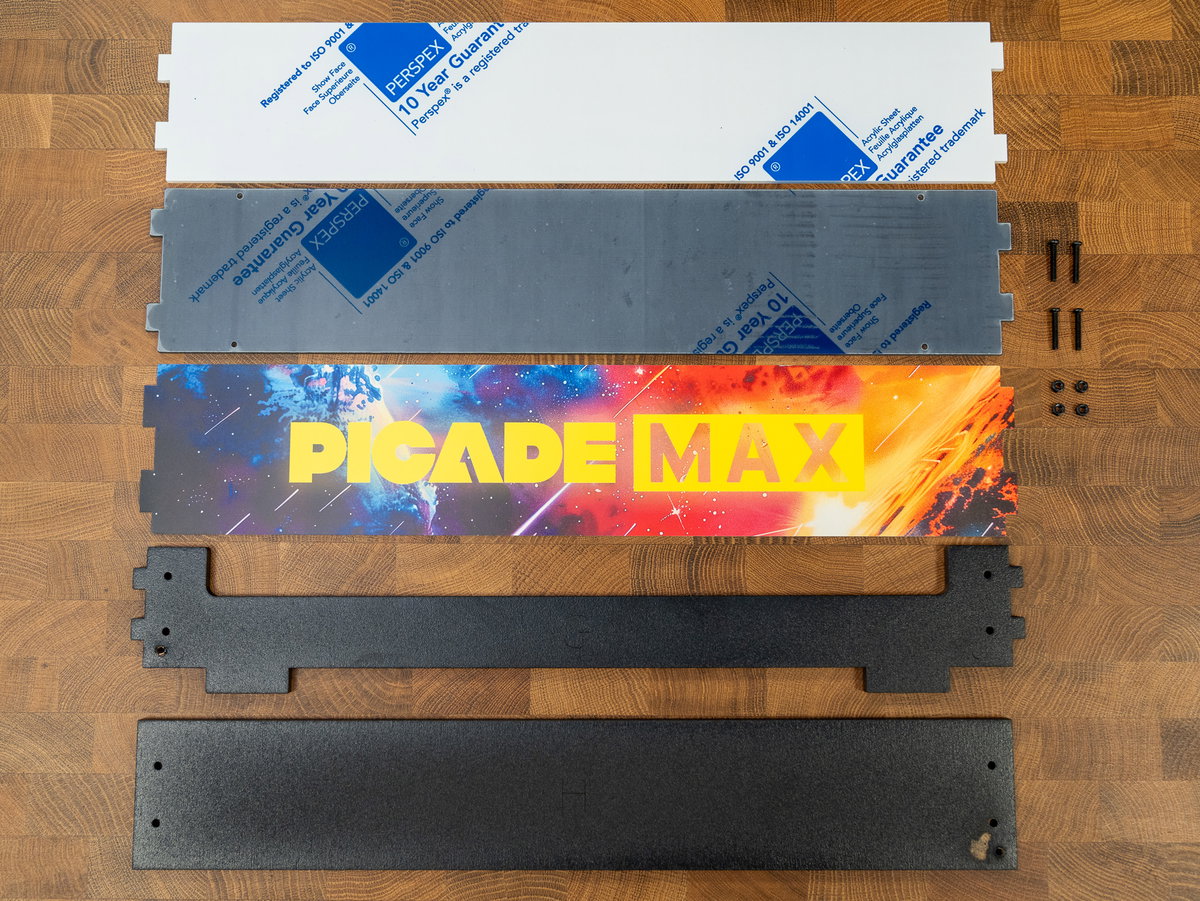
As before, remove the acrylic backing from the tabs on the two acrylic pieces on one side.
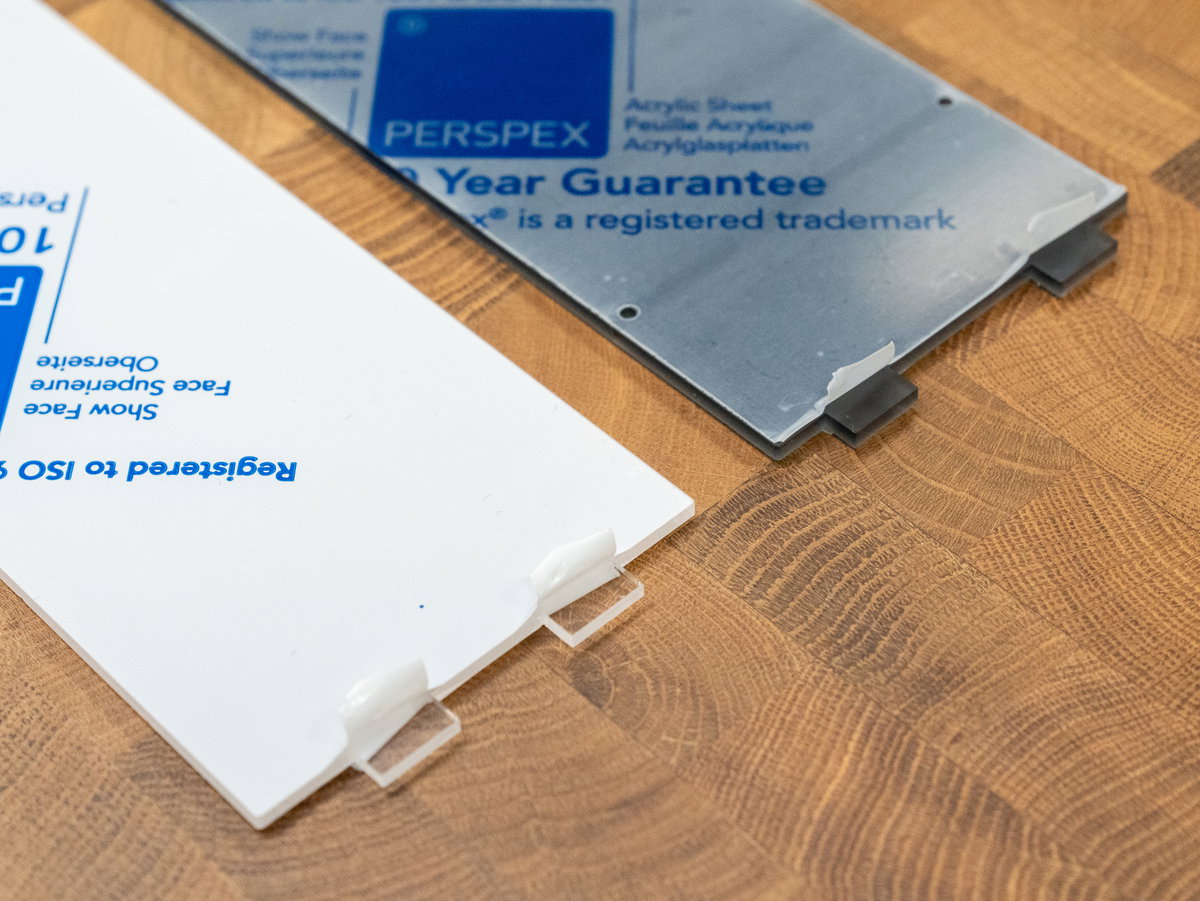
Flip both panels over, and remove all the backing from the other side.
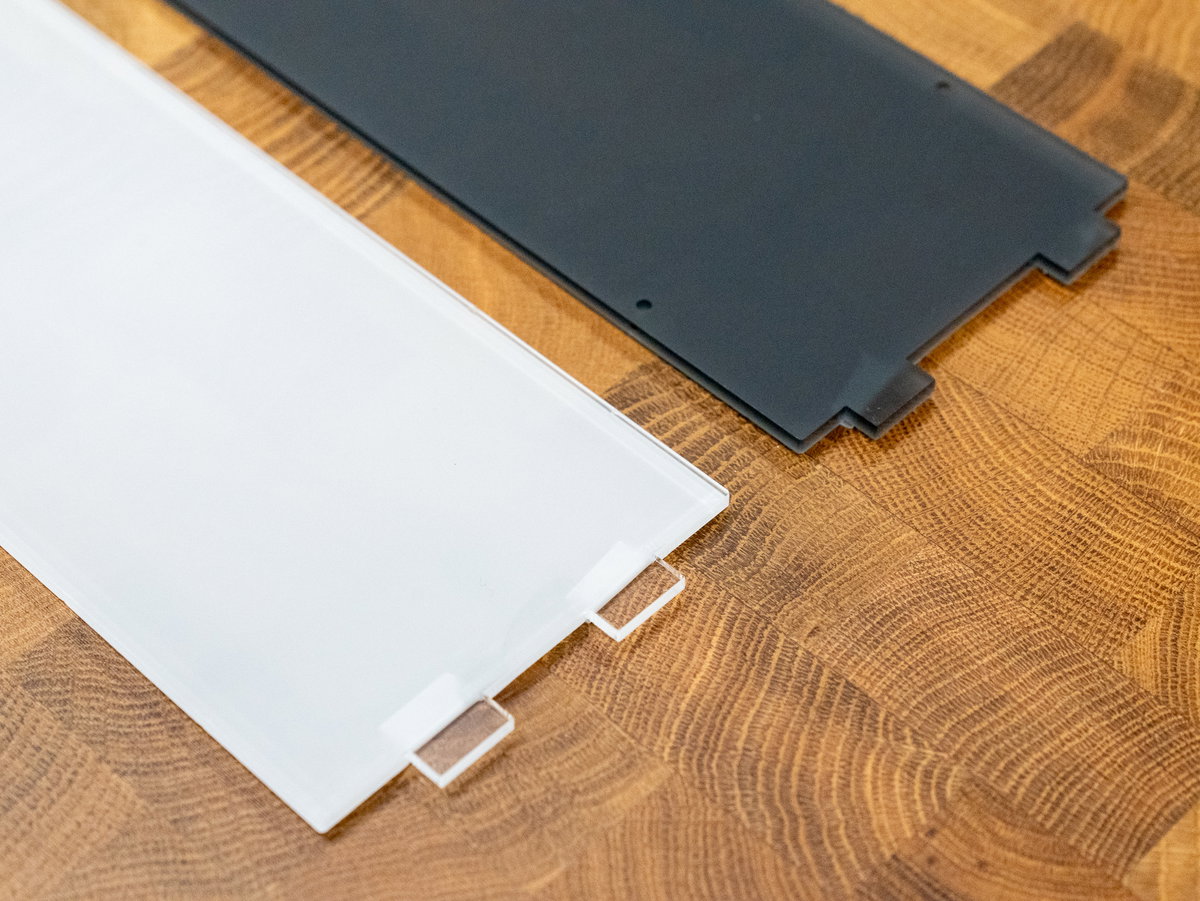
Sandwich both panels together, with the completely unpeeled sides on the inside and the artwork in the middle. The coloured side of the artwork should be touching the transparent acrylic.
Note that the cardboard tabs on the printed artwork are bigger than the tabs on the acrylic, and the tabs on the acrylic do not line up with each other. This is normal and fine :)
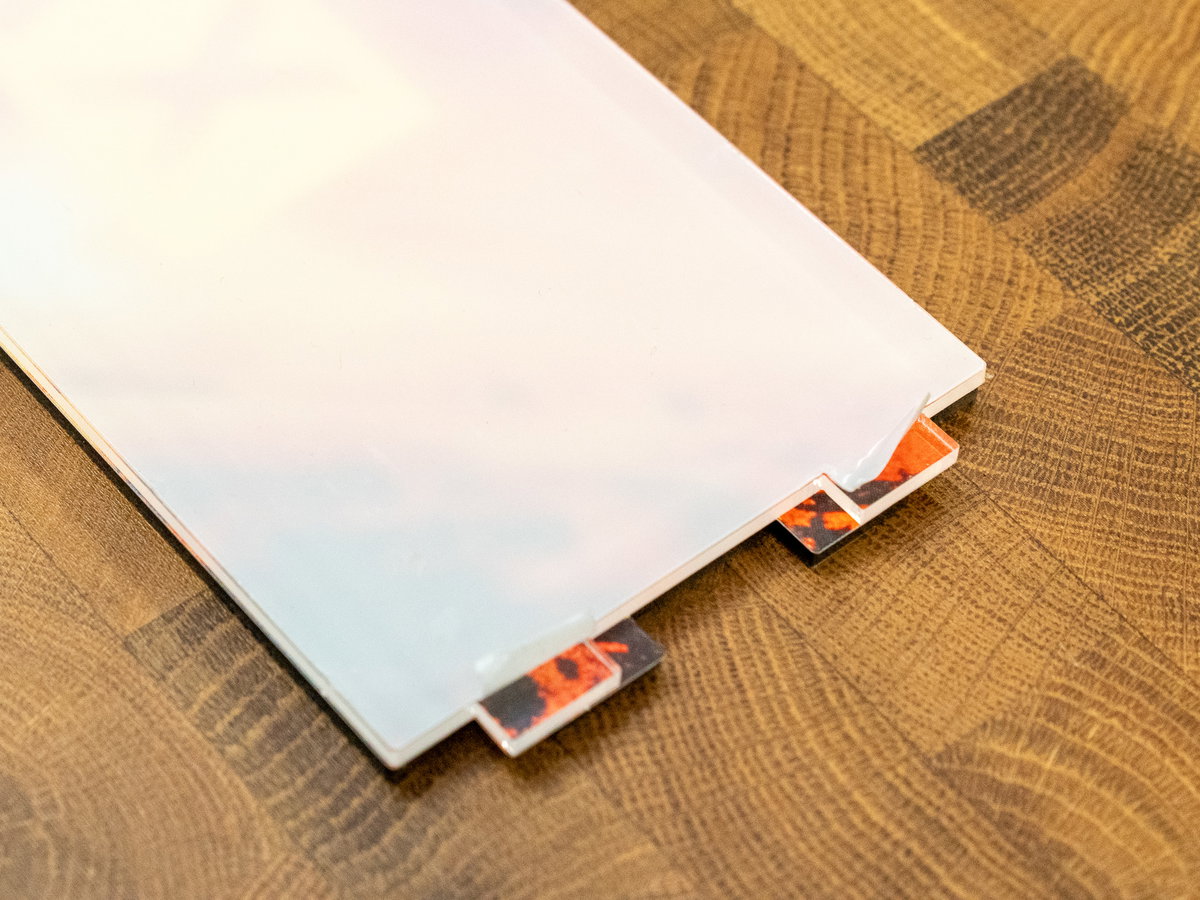
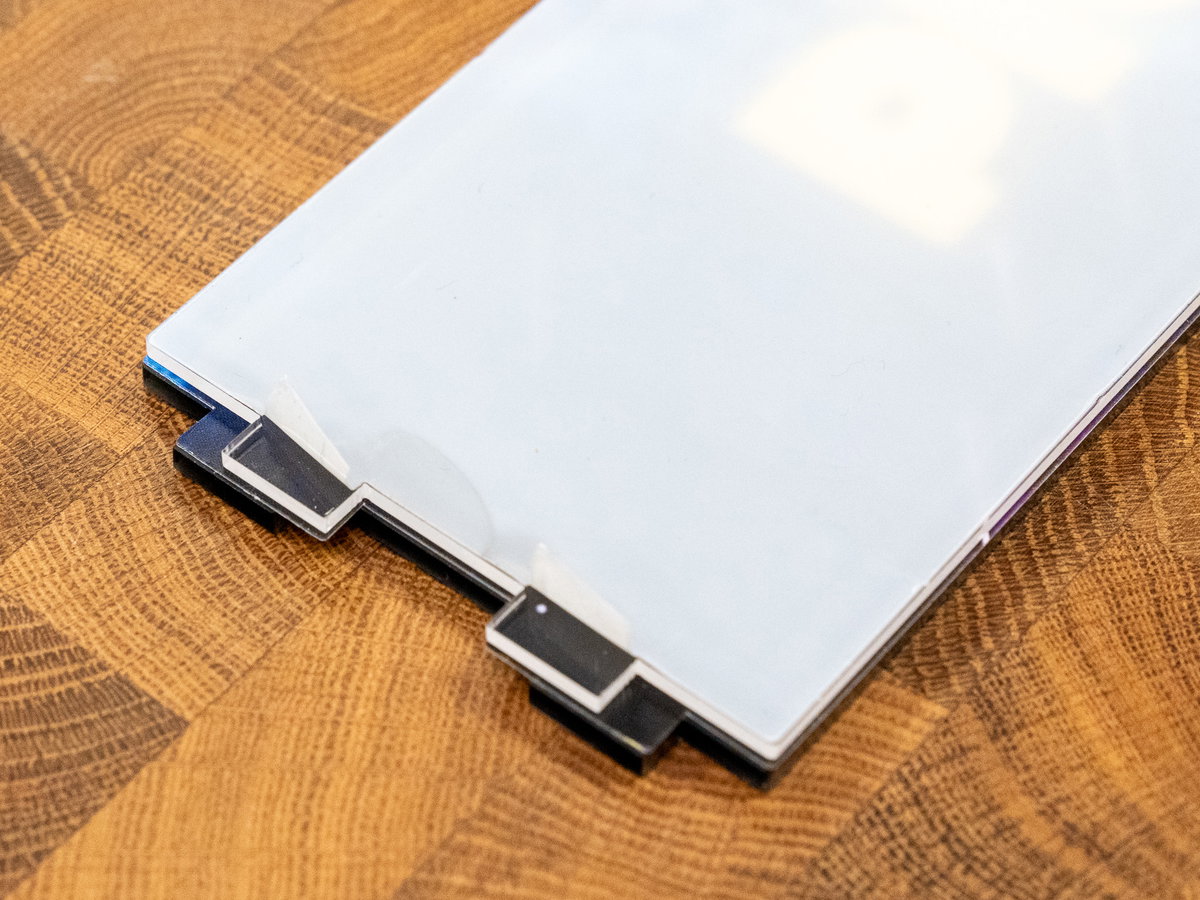
Fit the tabs into the slots in panels D and E.
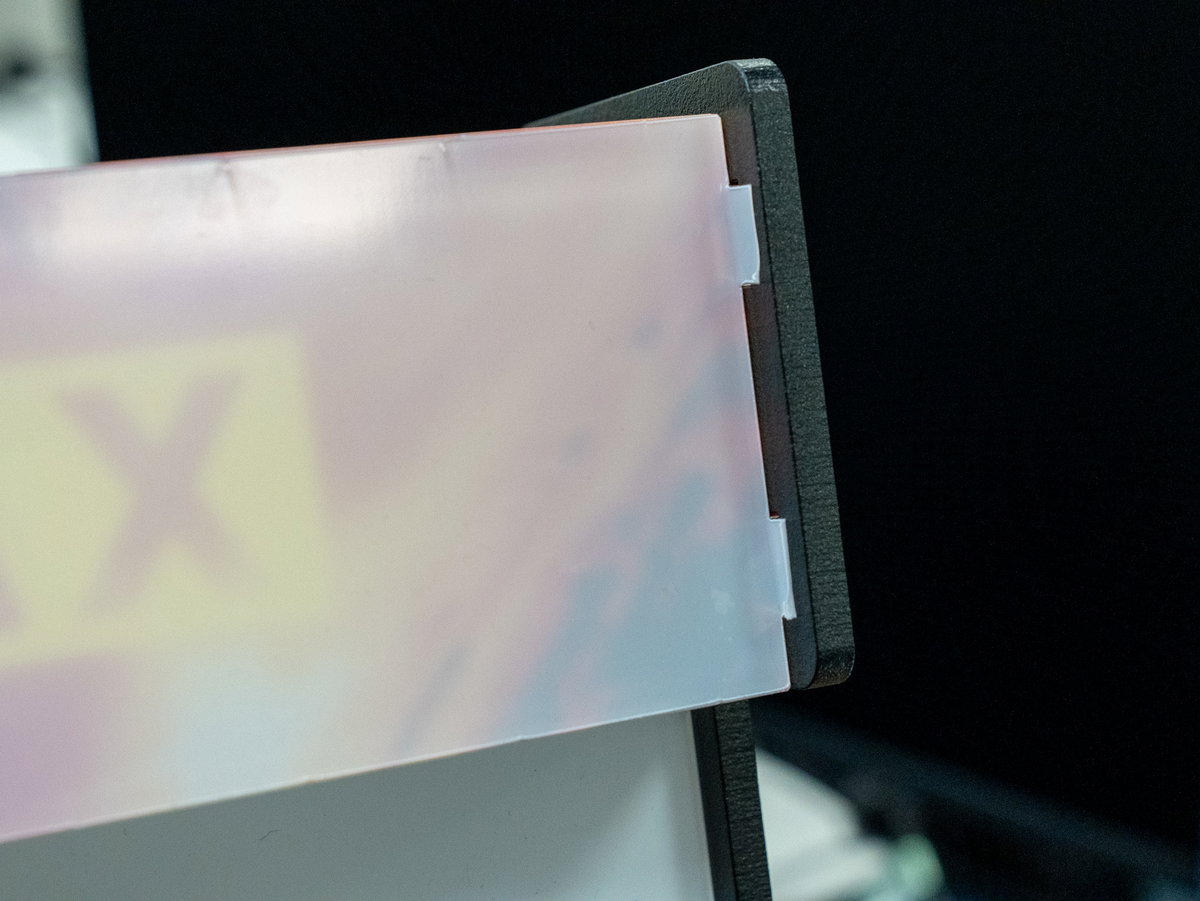
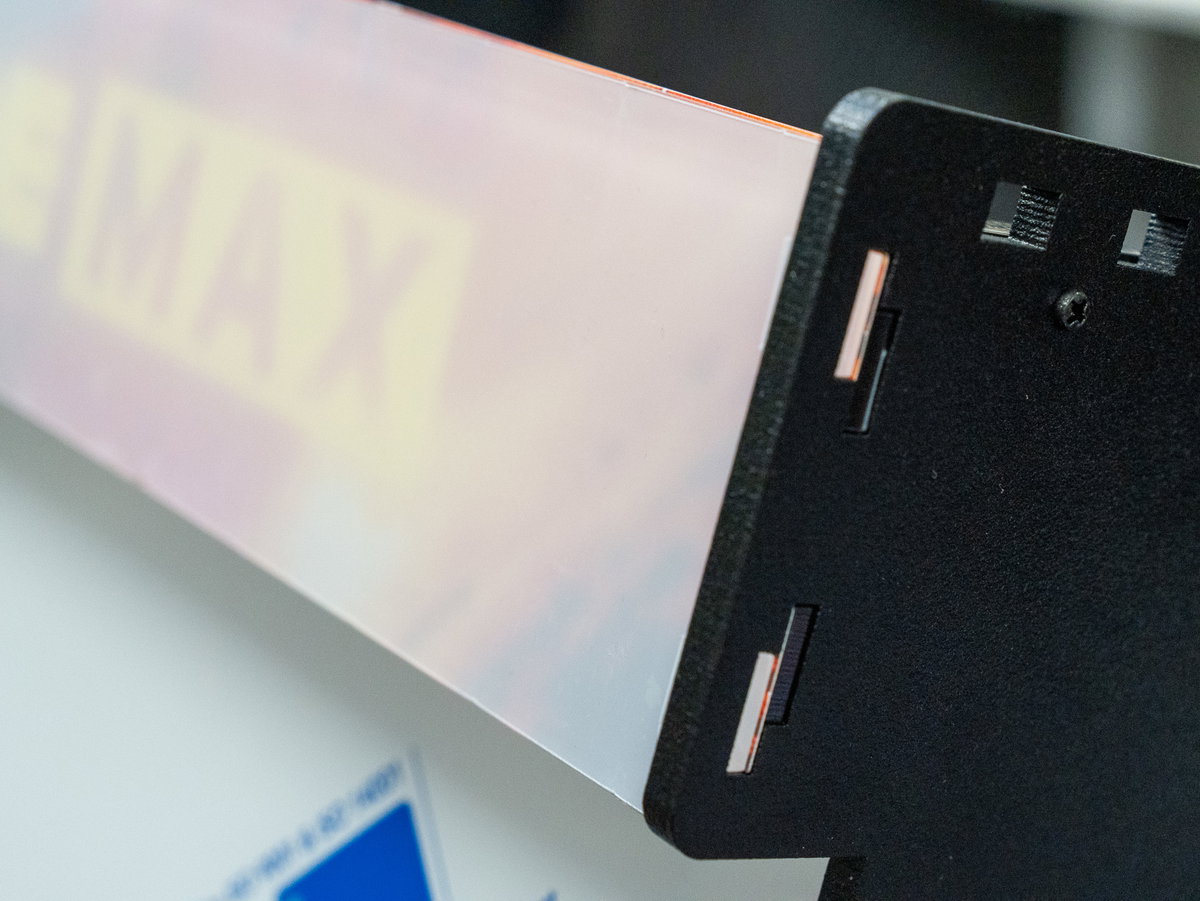
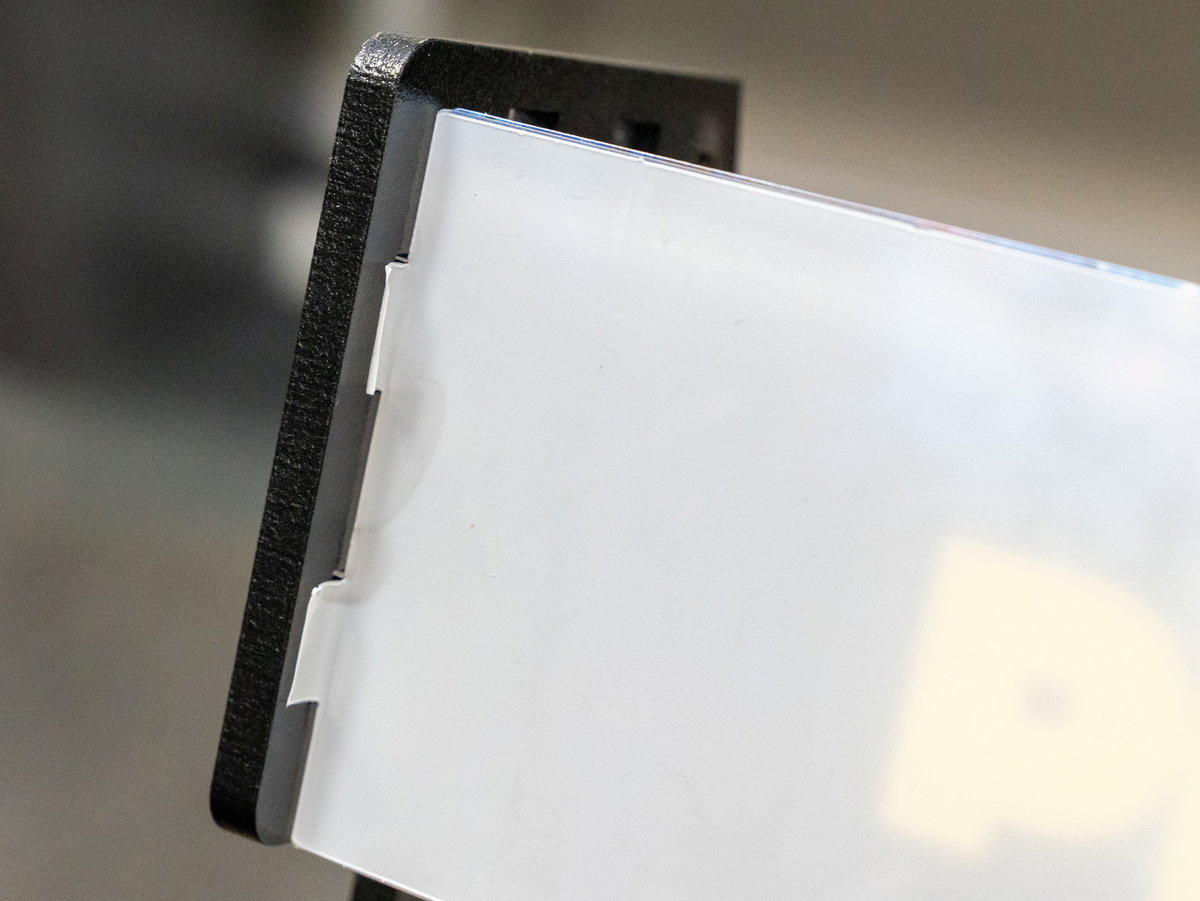
Panel G is the top panel of the Picade - slot it in like this (making sure the tabs are pointing out of the back of the cabinet.)
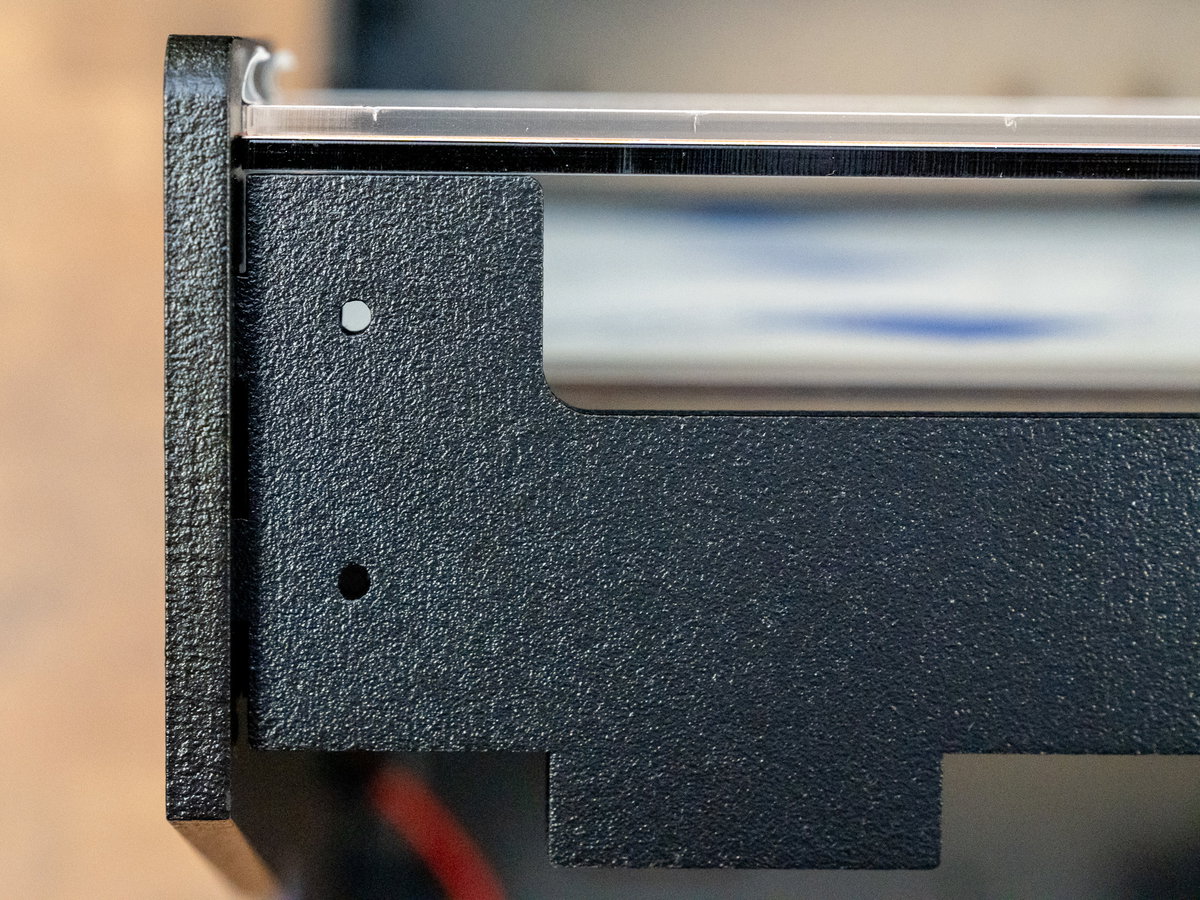
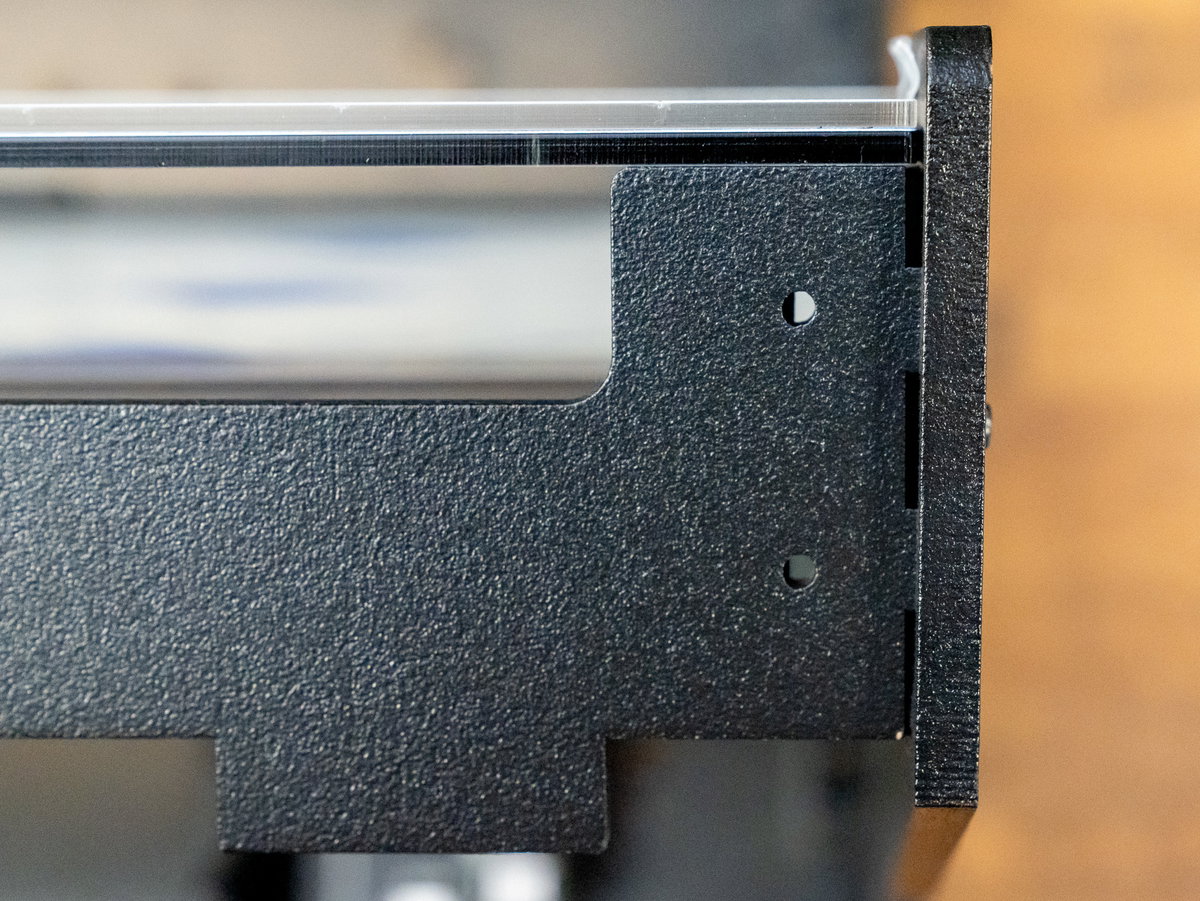
Panel H sits on top of Panel G - make sure the holes line up! You'll need to slot the long 18mm M3 screws through the holes, to attach both panels to the brackets.
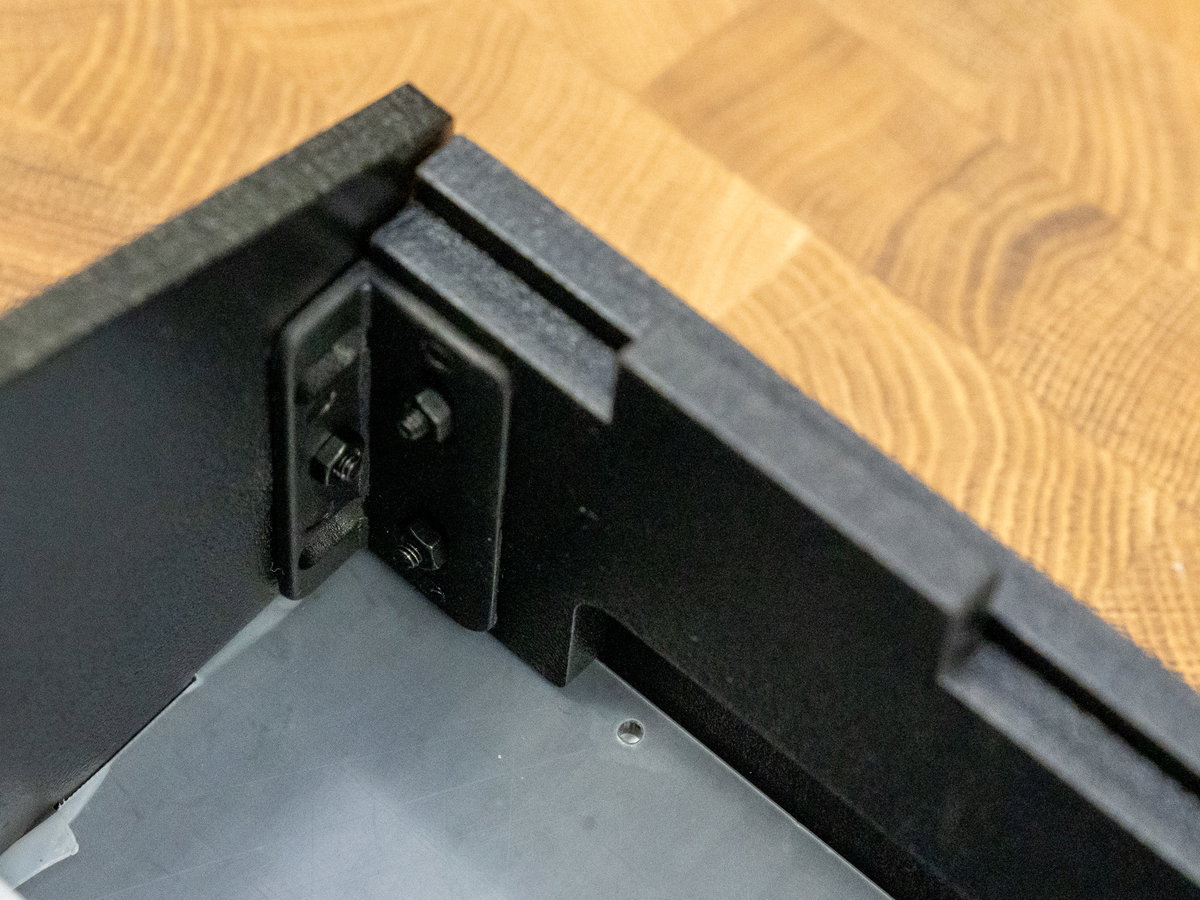
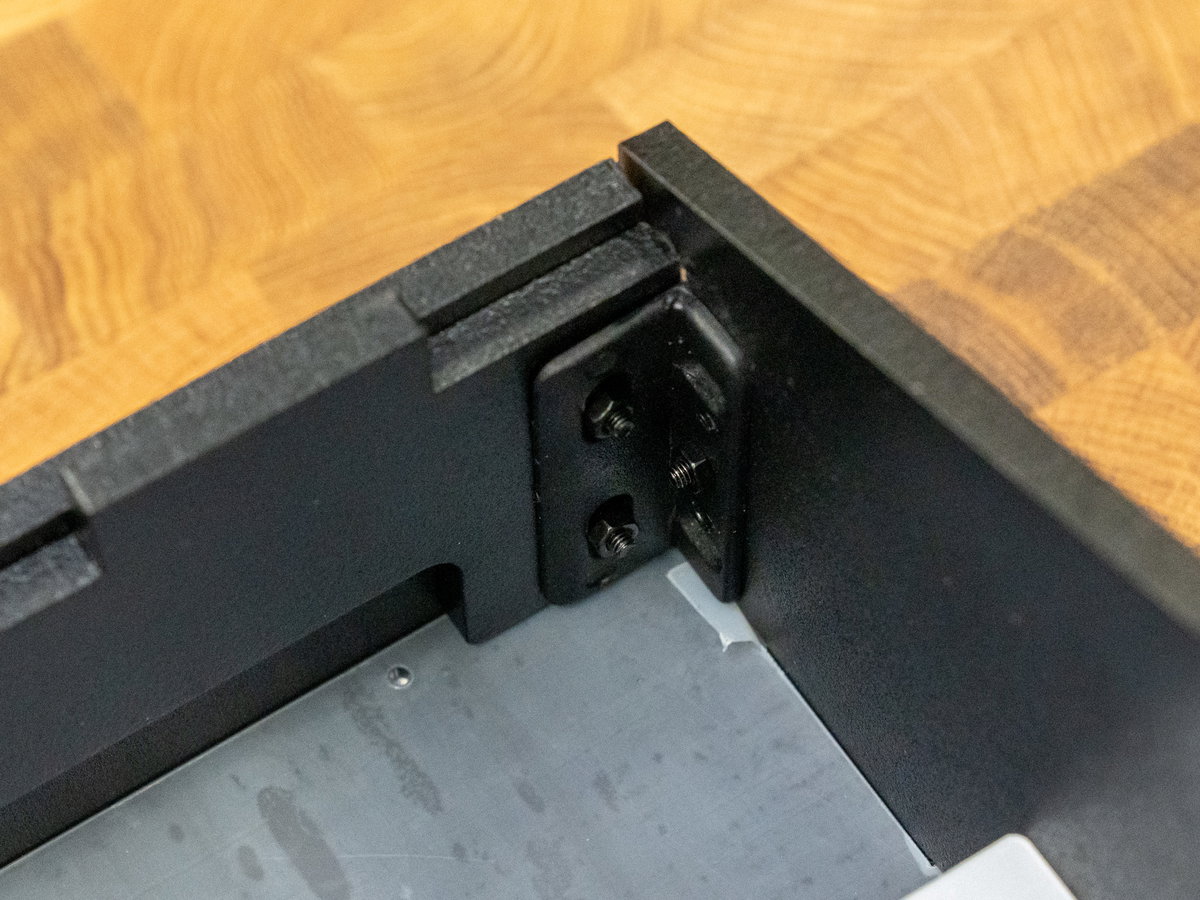
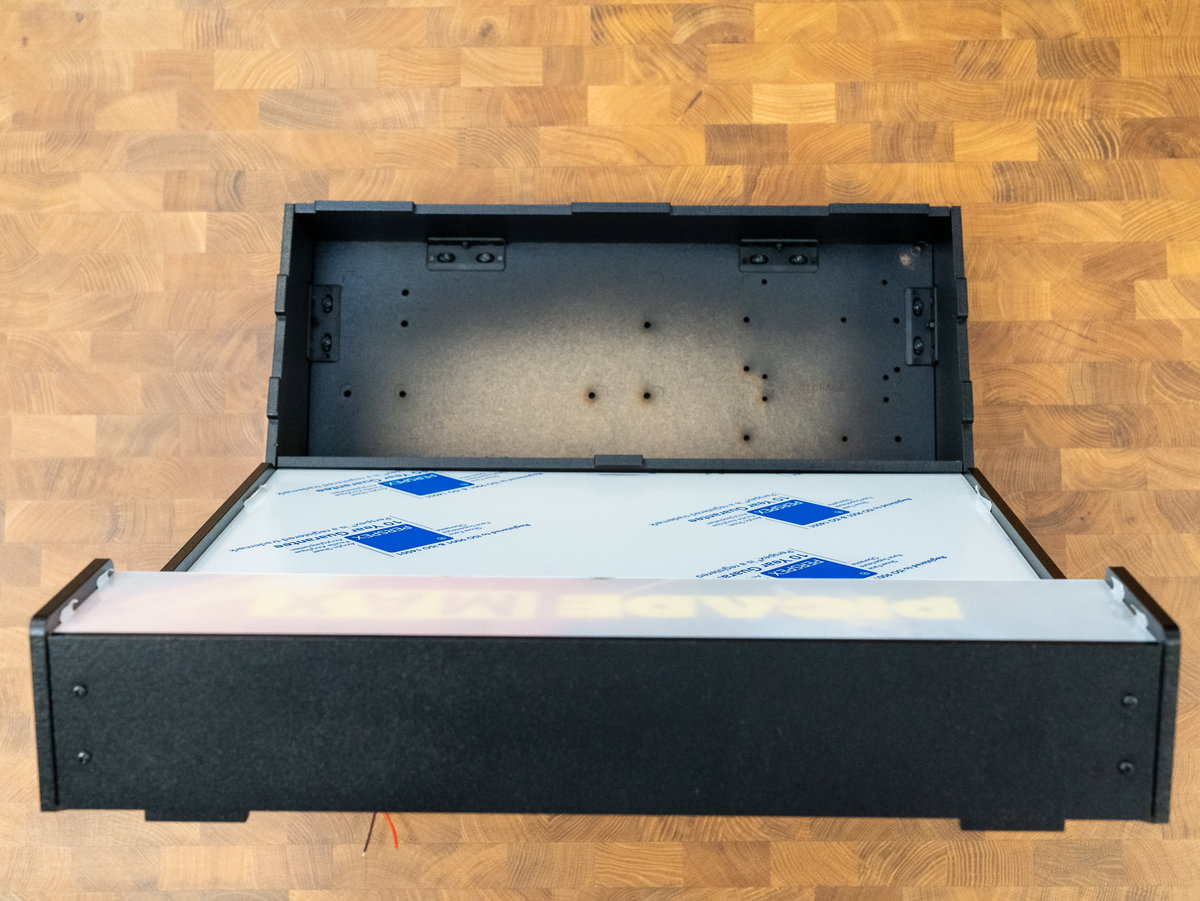
If you're having difficulty keeping the tabs of the screen and marquee acrylic in their slots whilst you attach the top, you could try laying the cabinet on its side for this part. An extra pair of hands might also be useful for keeping everything in place.
Mounting the display panel
Next job is to attach the LCD panel to the sides of the cabinet. You'll need:
- 19" screen panel
- Black cardboard screen surround
- 4 x M3 10mm screws (back to the shorter ones!)
Double check that you're using the shorter M3 10mm screws here, if you use the longer ones it could damage the display. They can be found in bag 6.
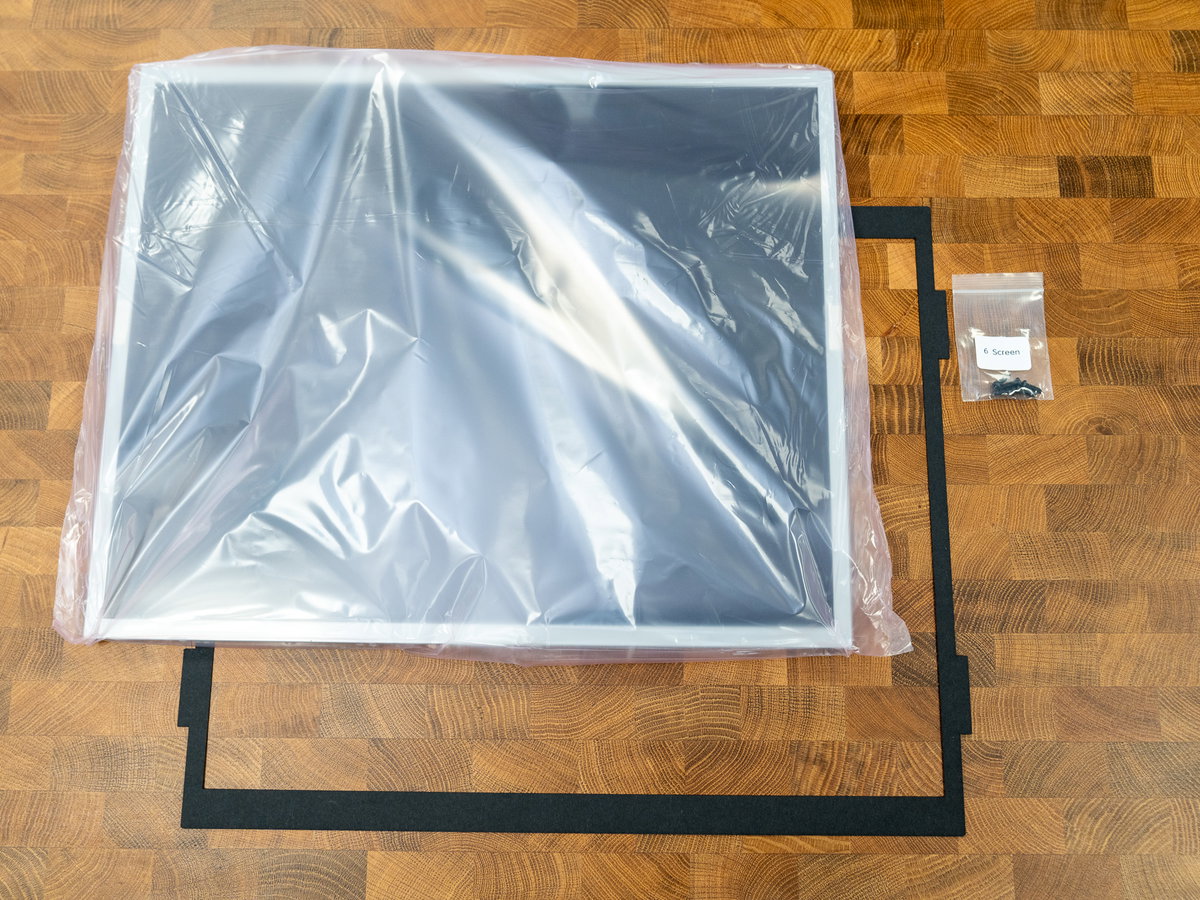
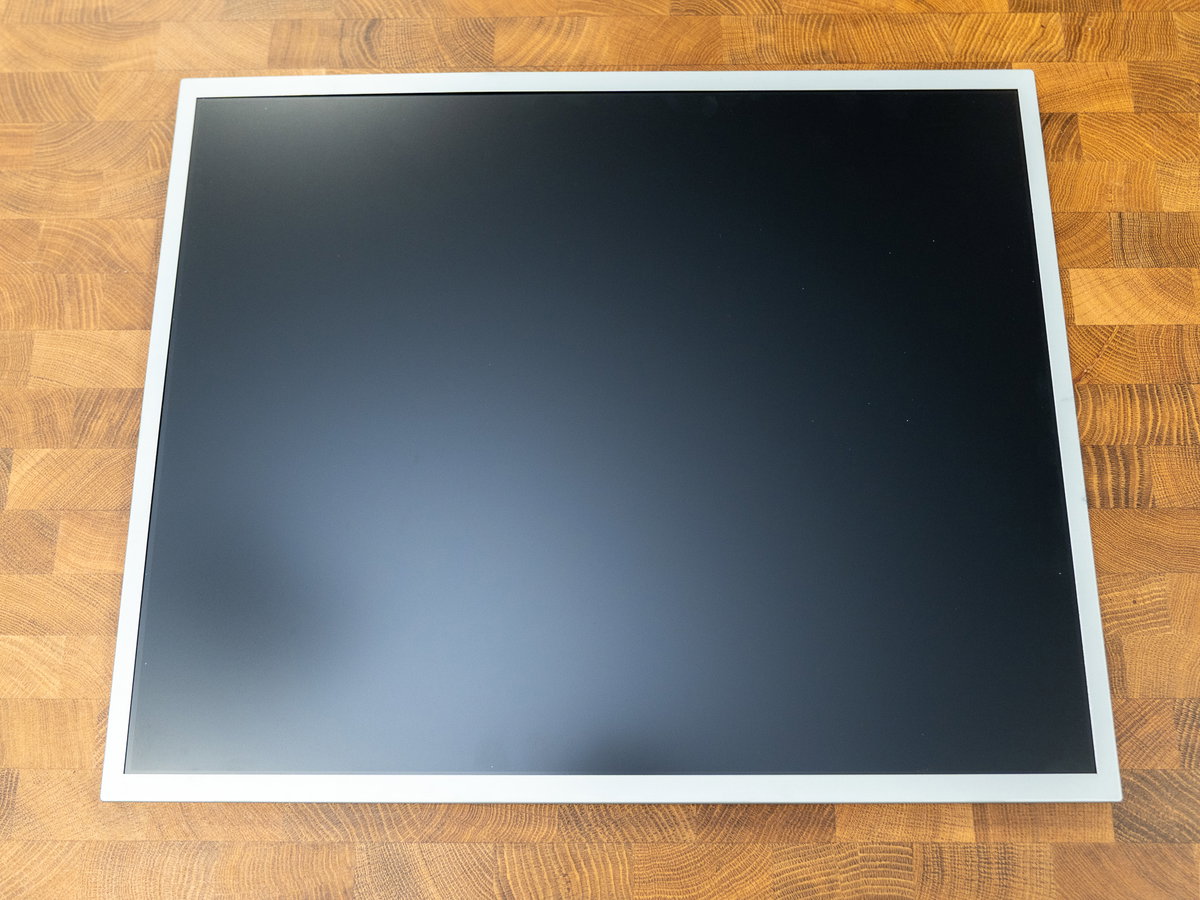
First peel off the protective covering from the front of the screen.
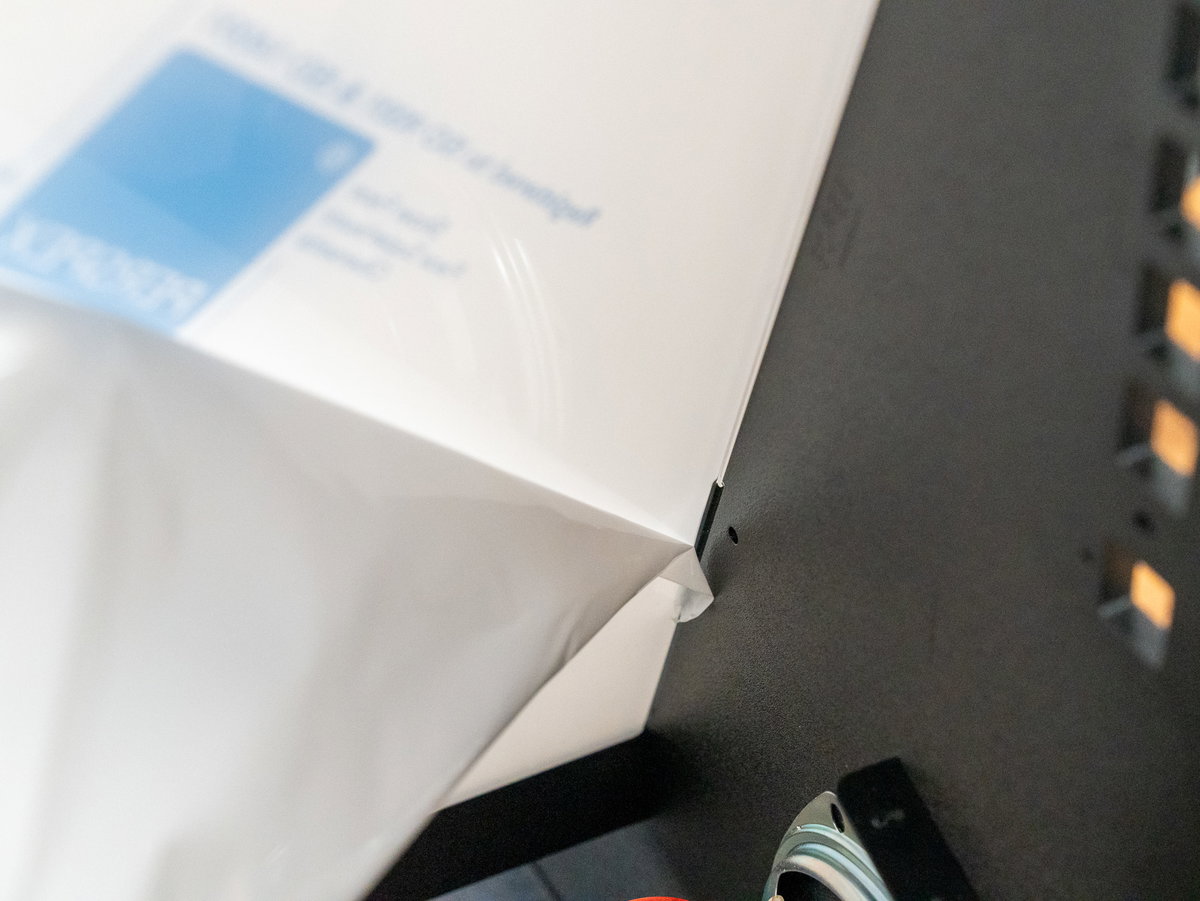
Remove the protective covering from the inside of the acrylic screen panel, if you've not done that already.
Find the black cardboard screen surround, and insert the four tabs alongside the ones that the acrylic screen panel goes into.
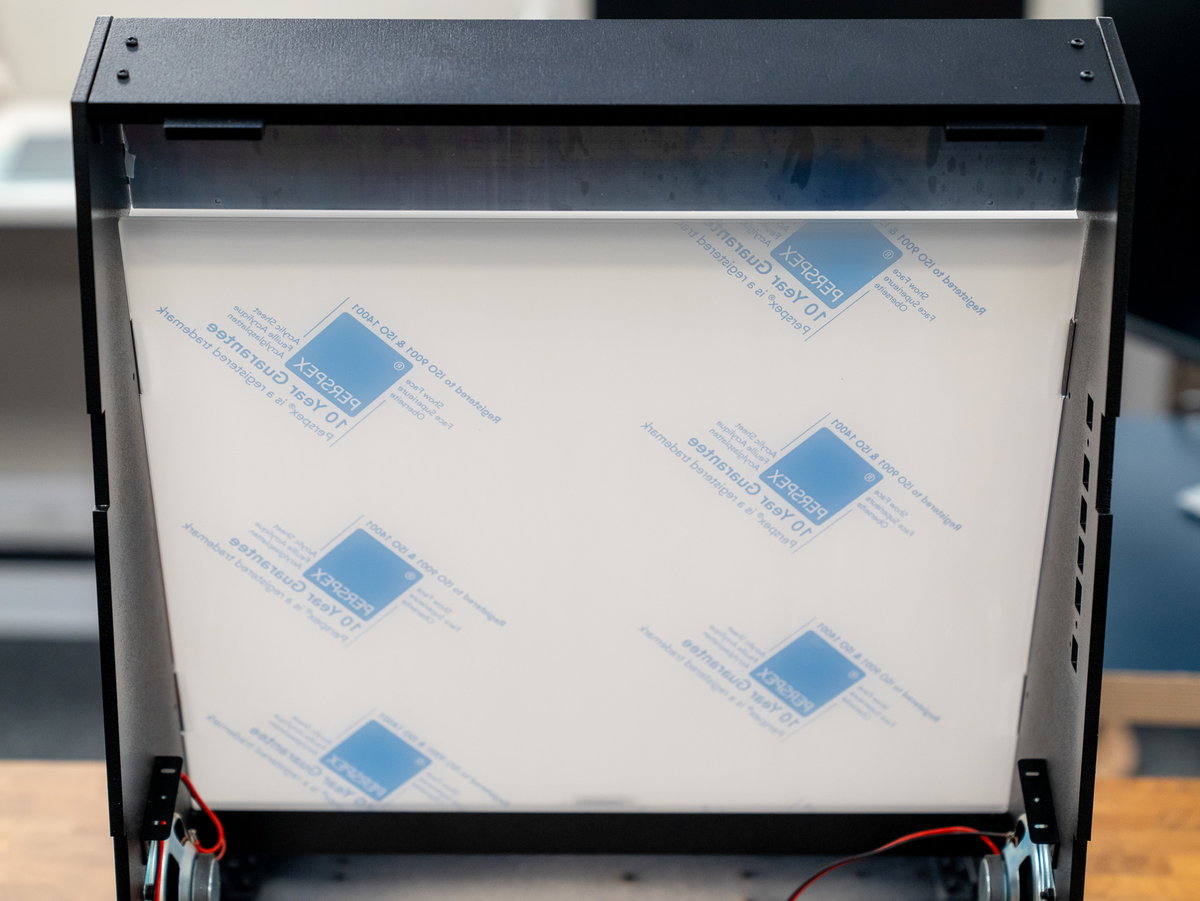
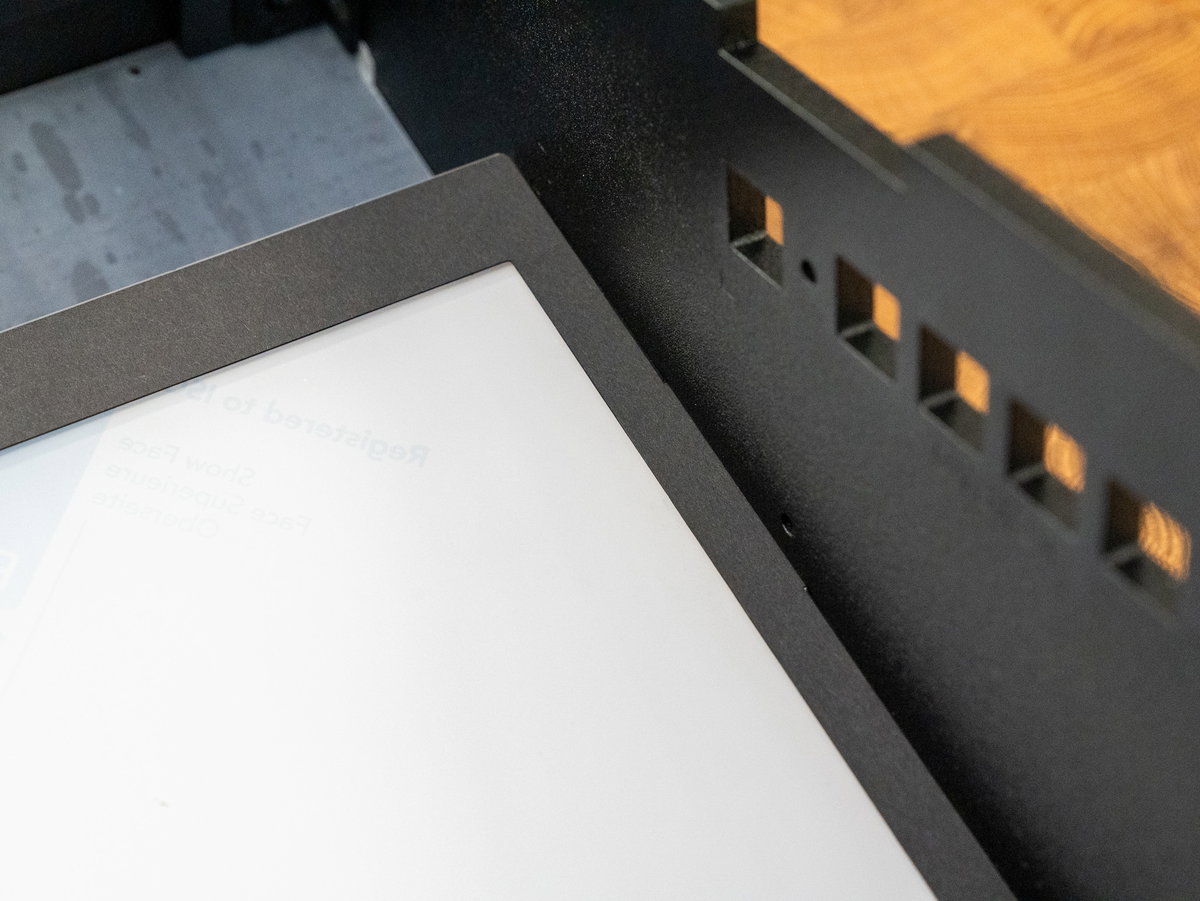
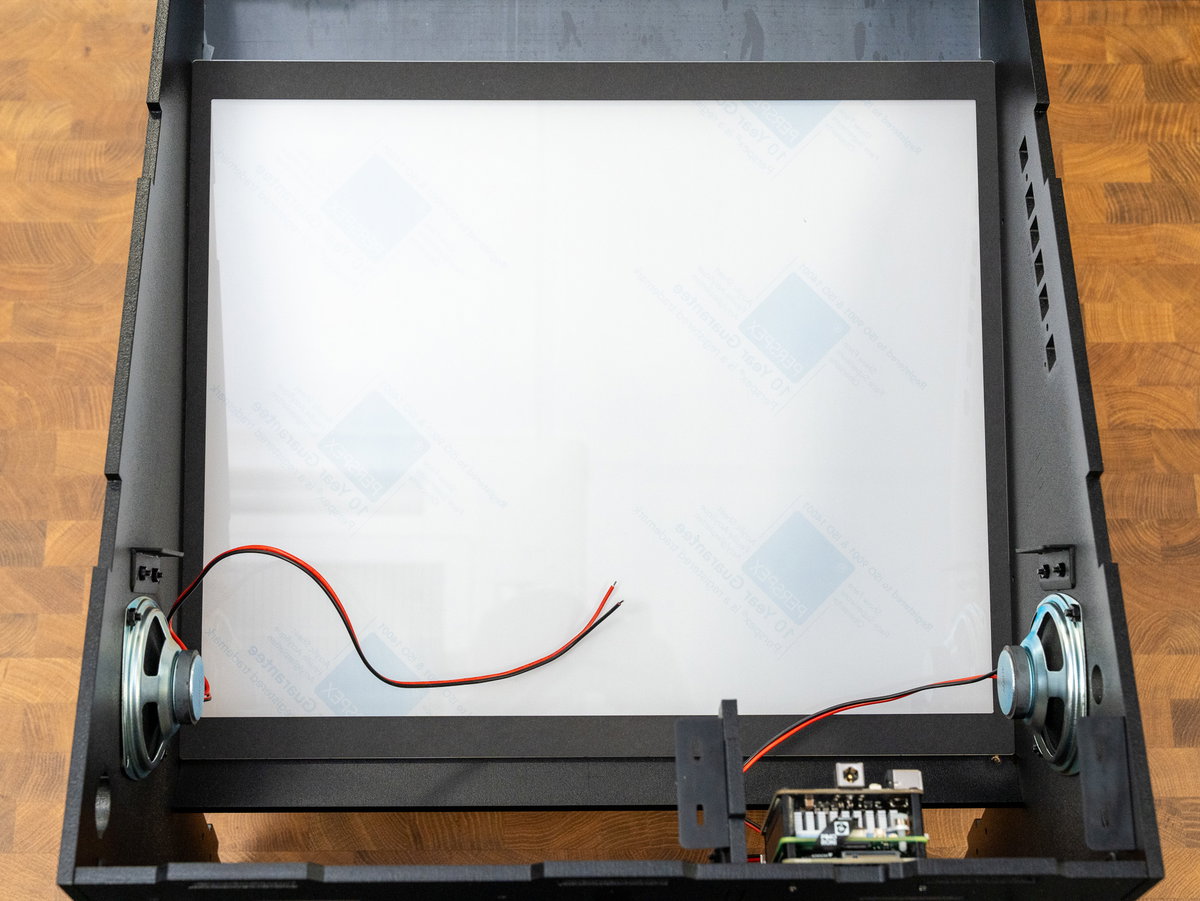
We'll be attaching the display to the cabinet next. We found it easier to have the cabinet laying on its side for this part.
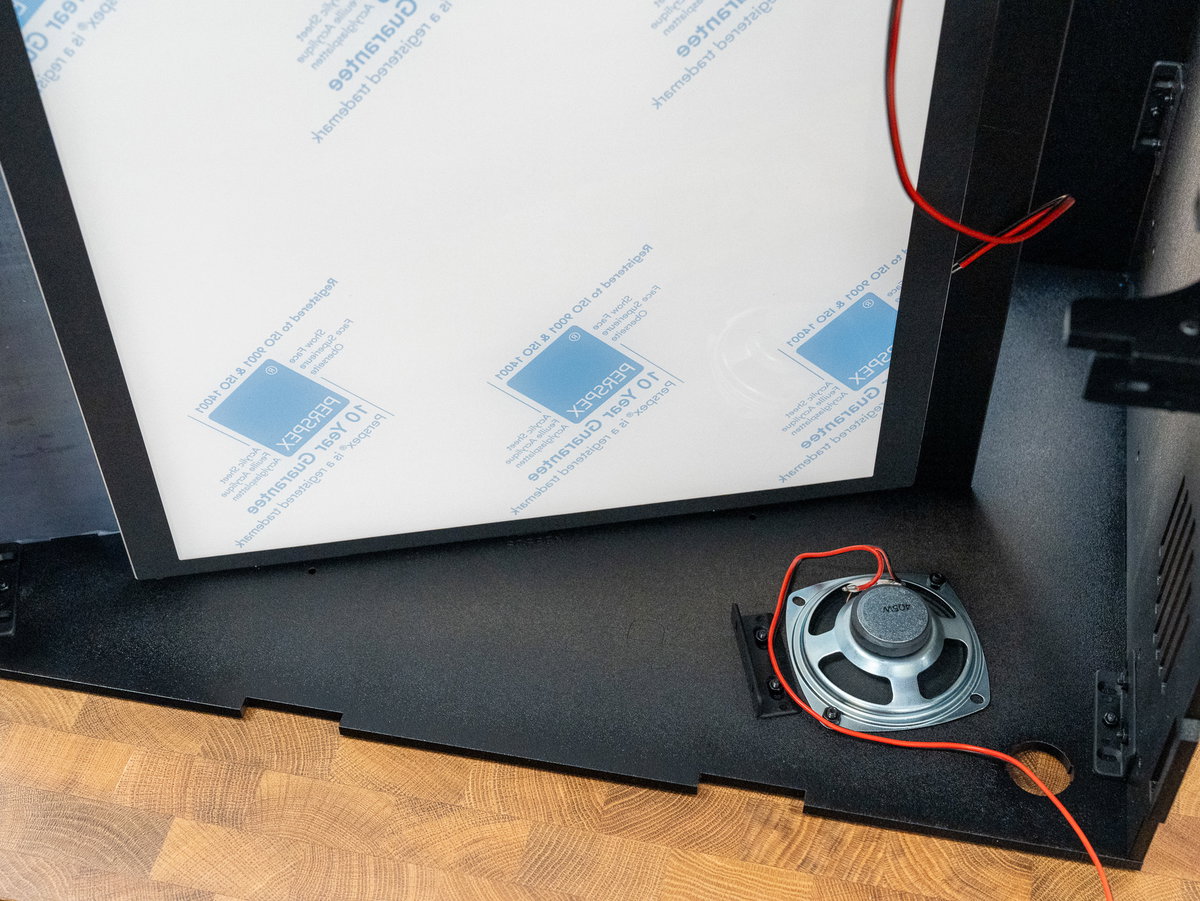
The display needs to be mounted with the ribbon connector at the top. Observe the four screw holes in the sides of the display, these are where we'll be attaching it to the side panels.
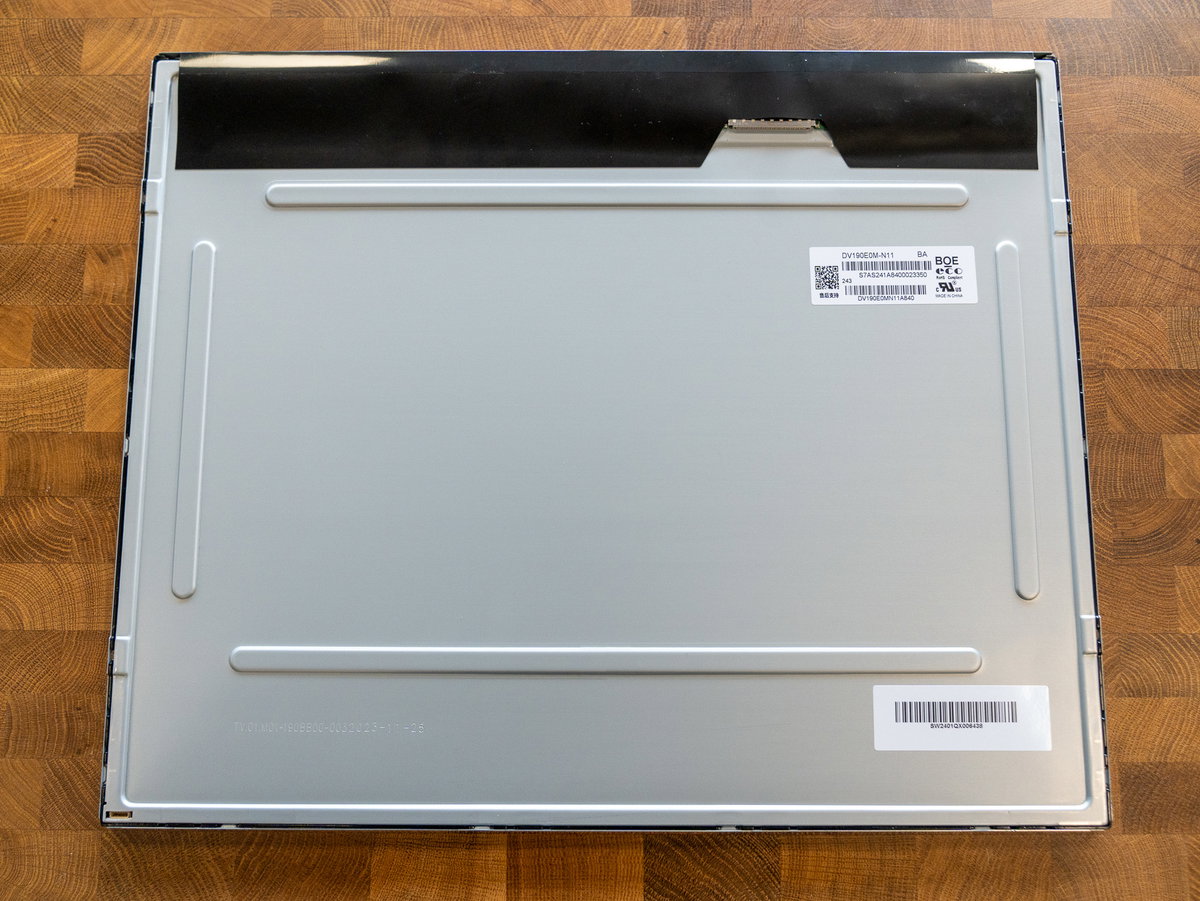
Position the display behind the perspex screen panel and line up the screw holes. Getting someone else to hold the display in place might be helpful here.
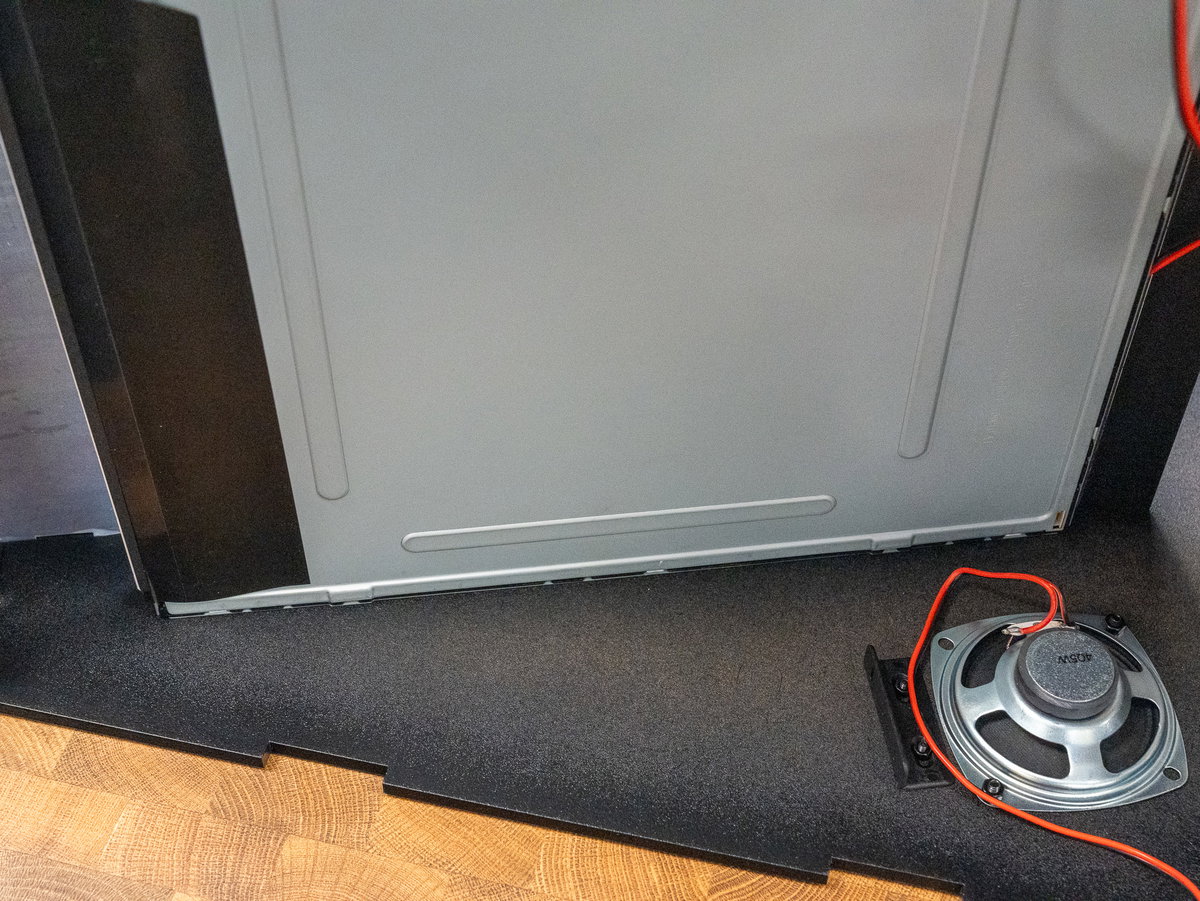
Screw M3 10mm screws through panels D and E into all four mounting holes to secure the display in place.
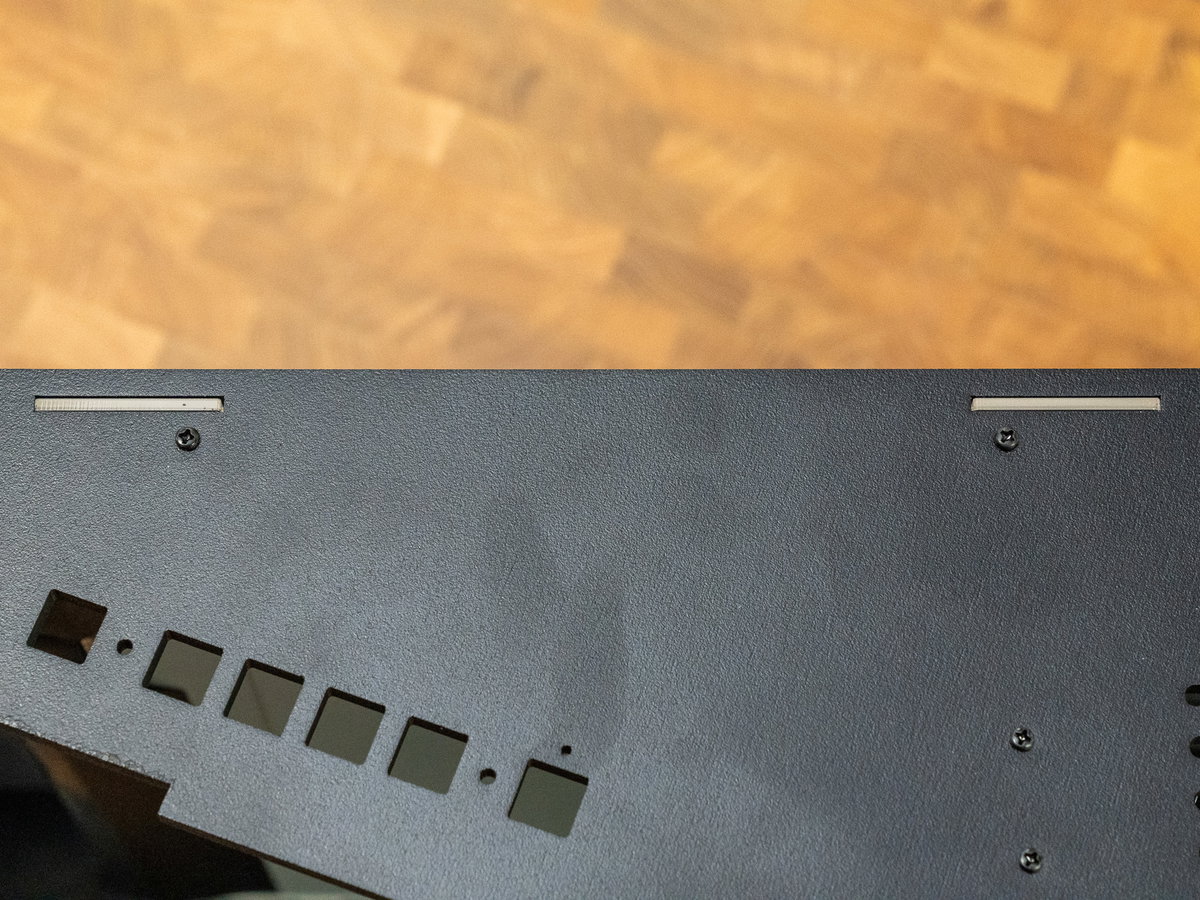
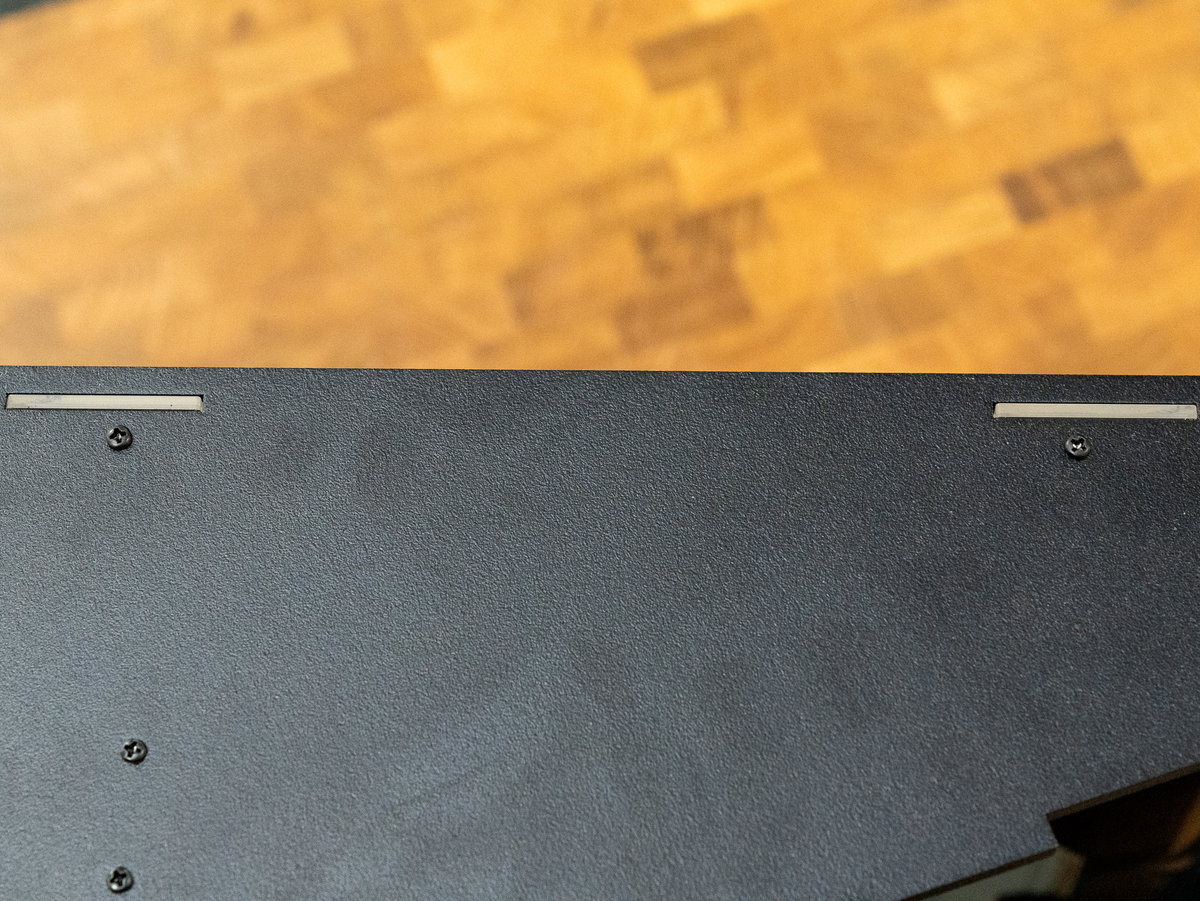
Once you've fastened all the screws, it should look something like this.
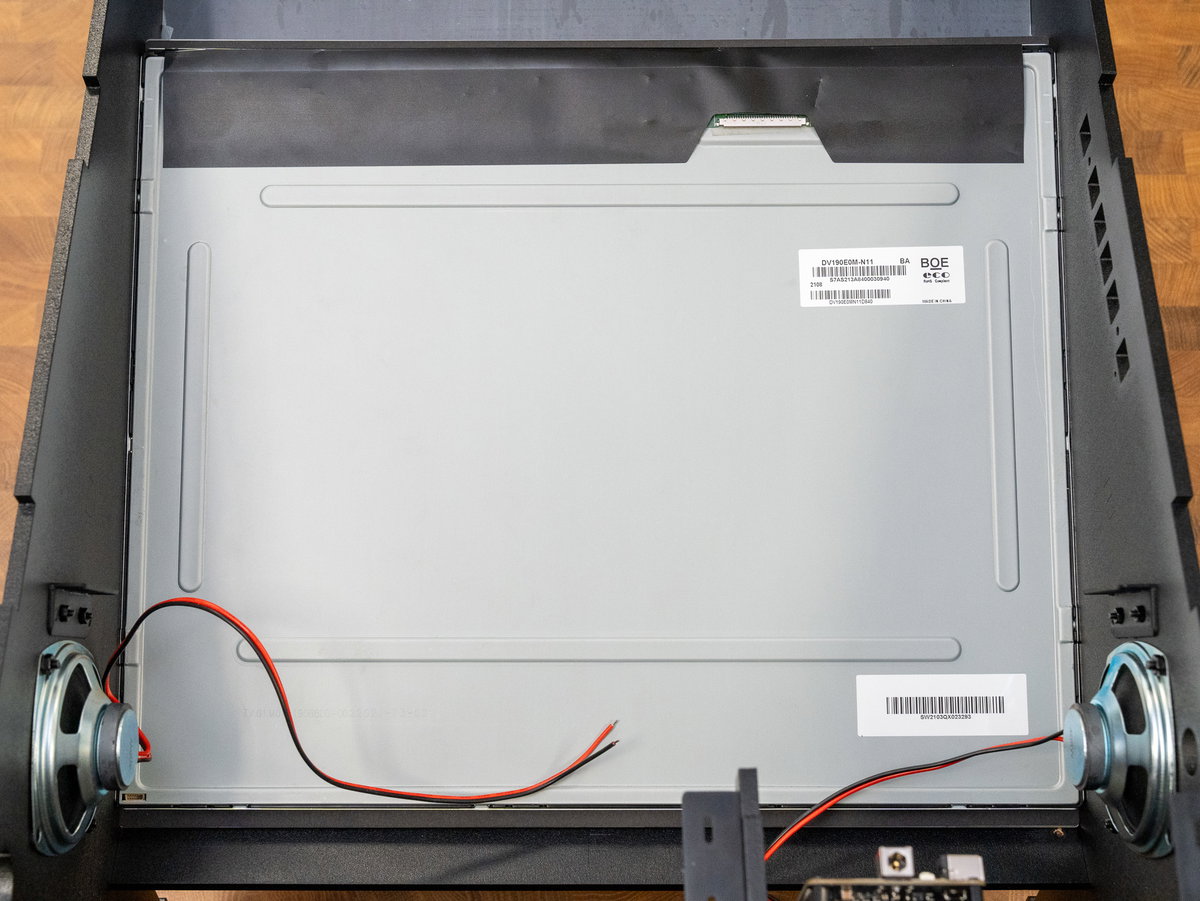
Part 2 is complete - you're more than halfway there! Have a rest, and treat yourself to something nice. When you're ready, proceed to part 3.
Appendix A - Adding a mini PC
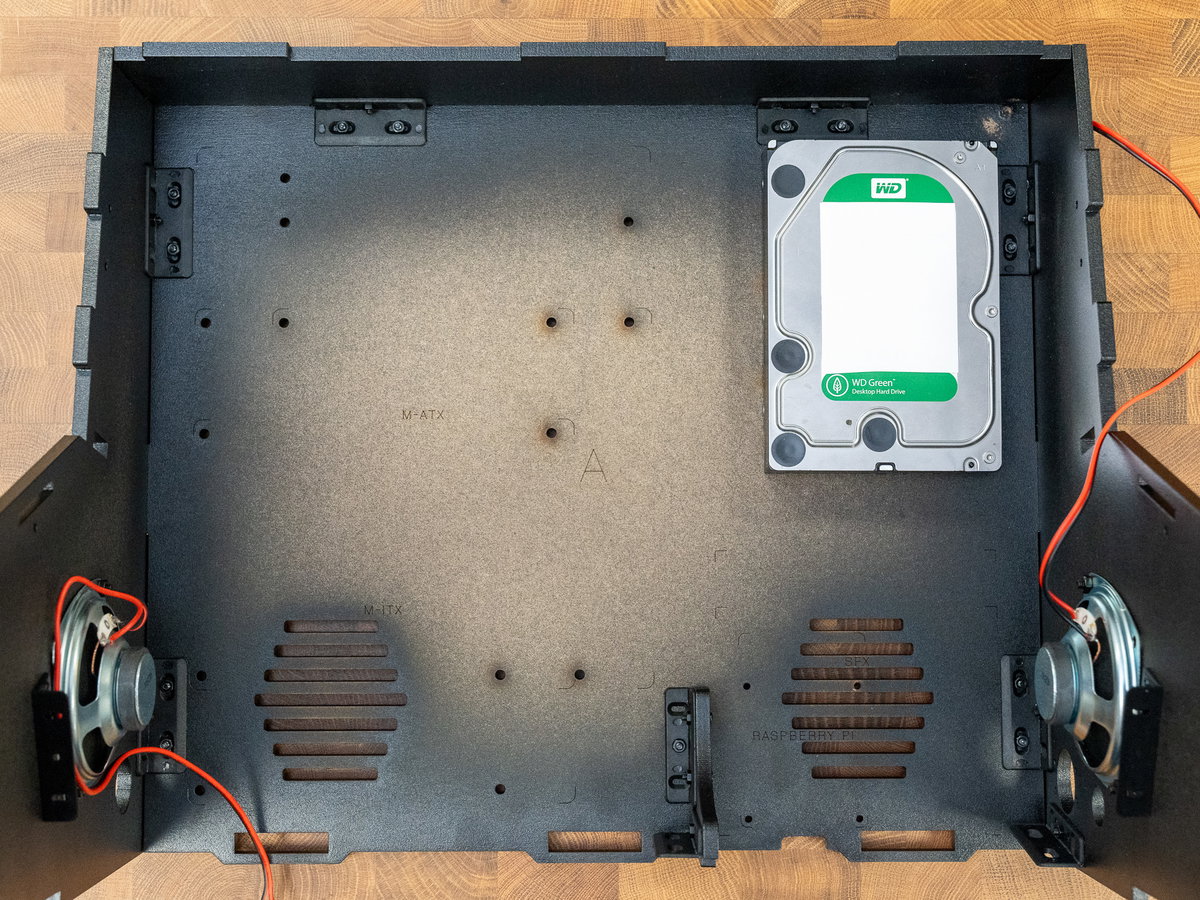
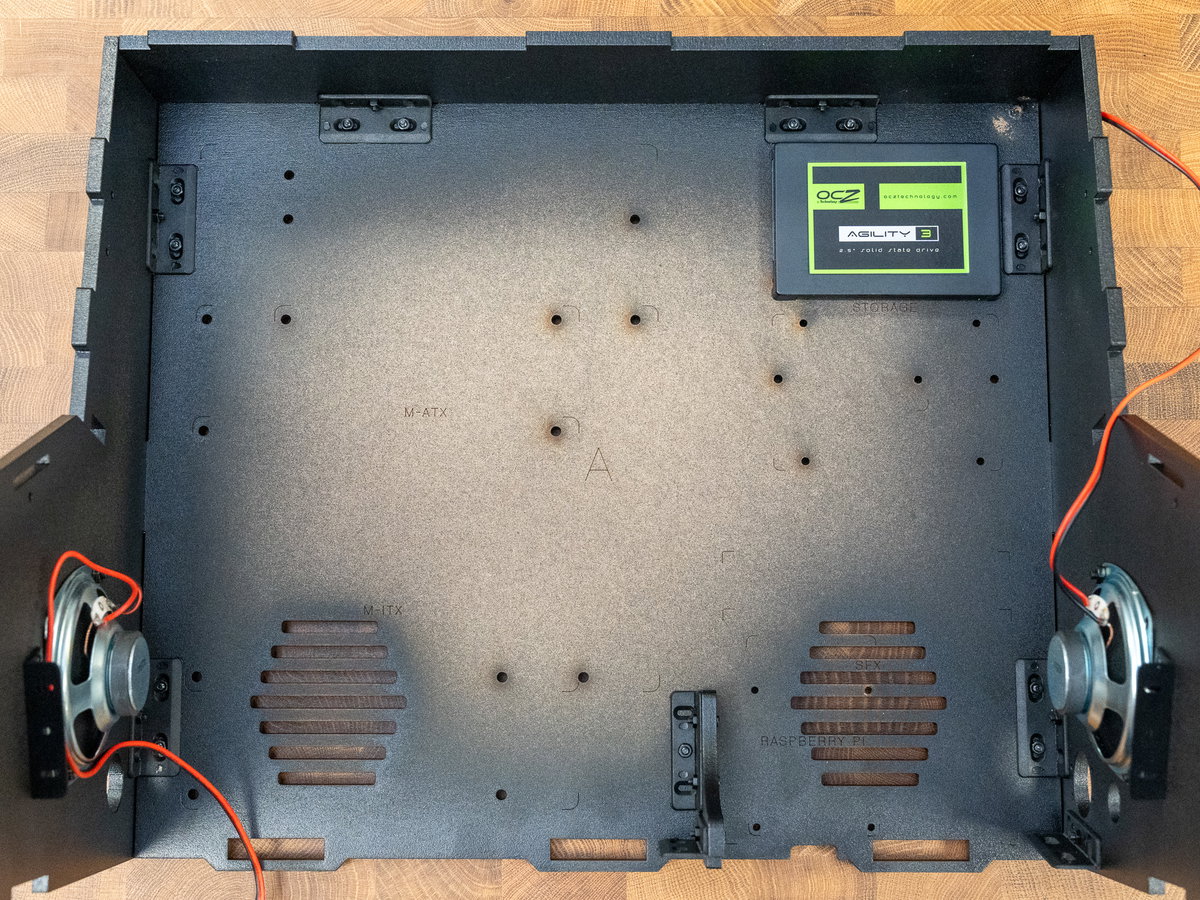
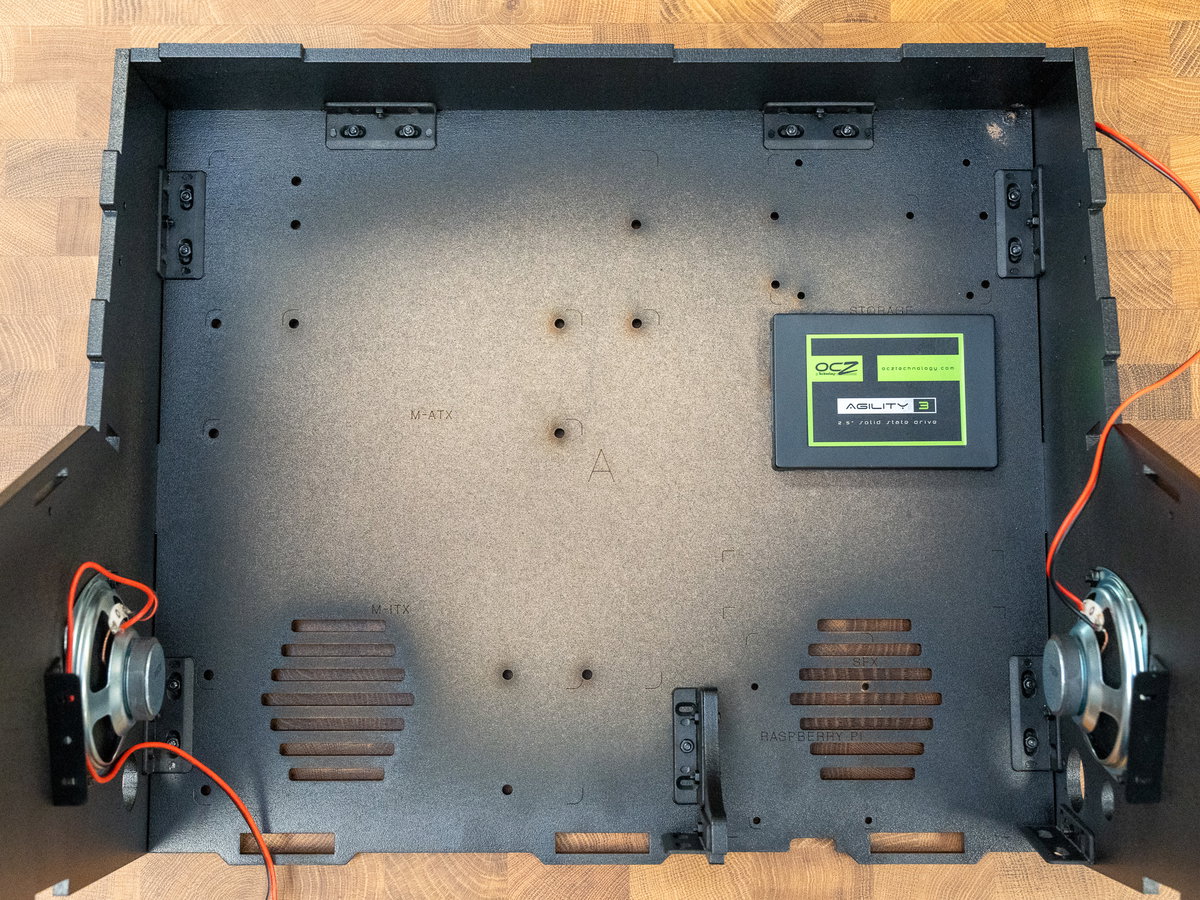
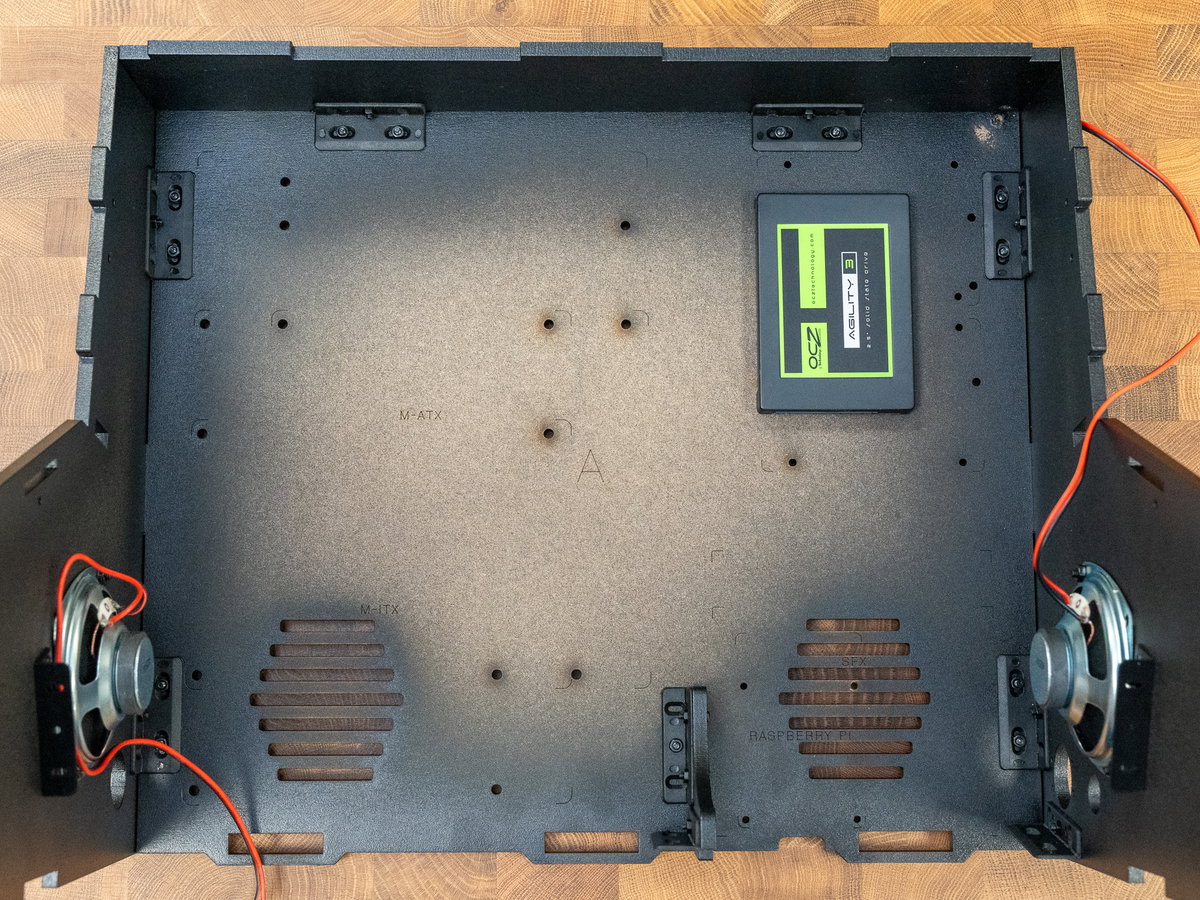
We've added a bunch of extra mounting holes to the base of Picade Max in case you want to install mini-PCs and other hardware in your Picade Max cabinet, instead of a Raspberry Pi. Here are some photos of some configurations that we tried.
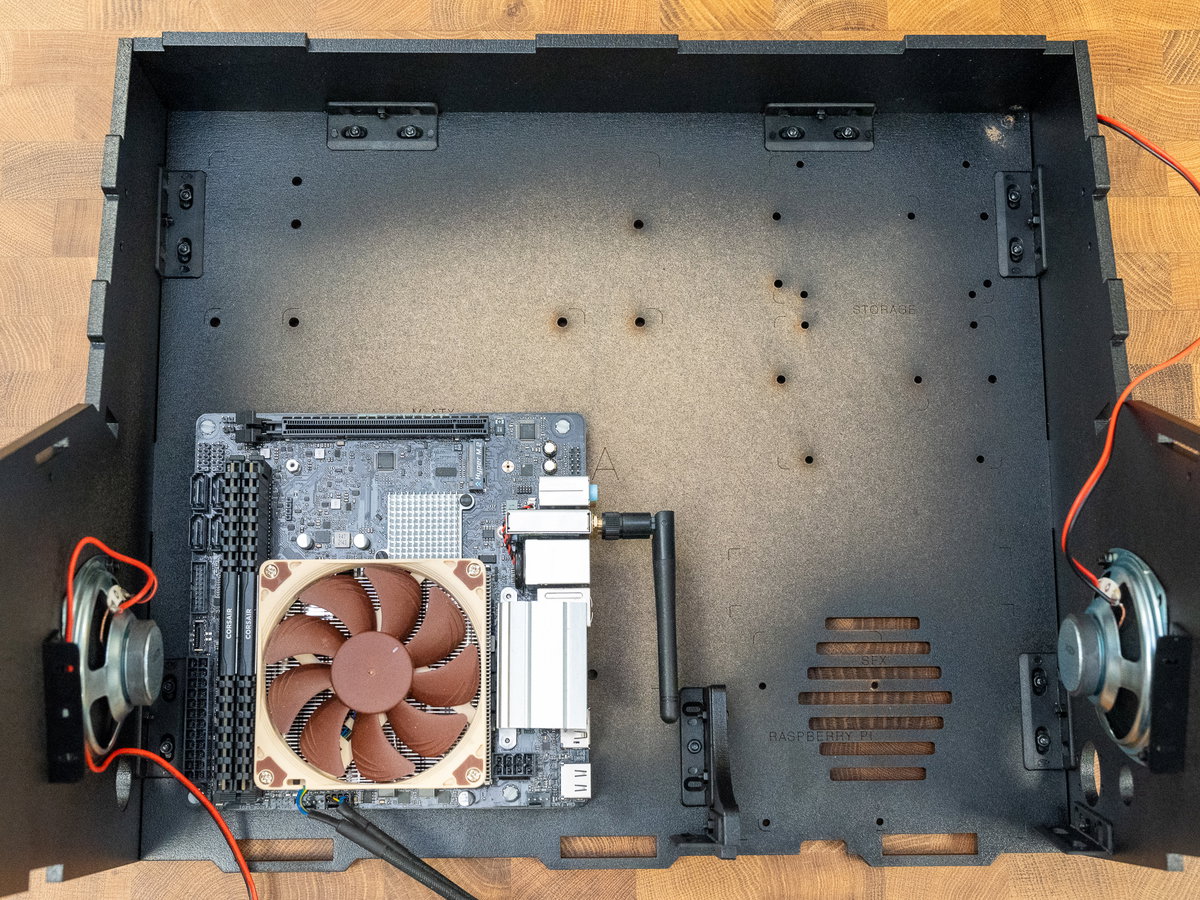
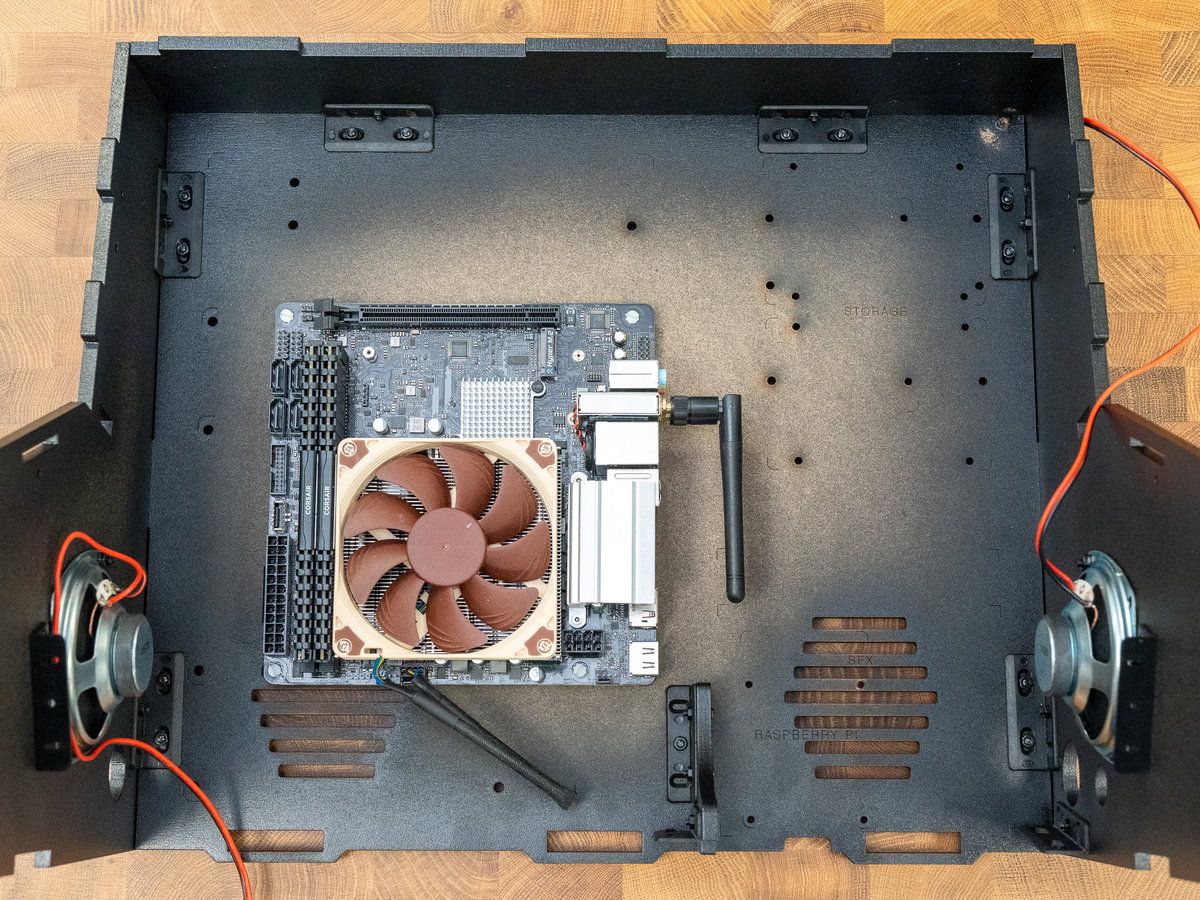
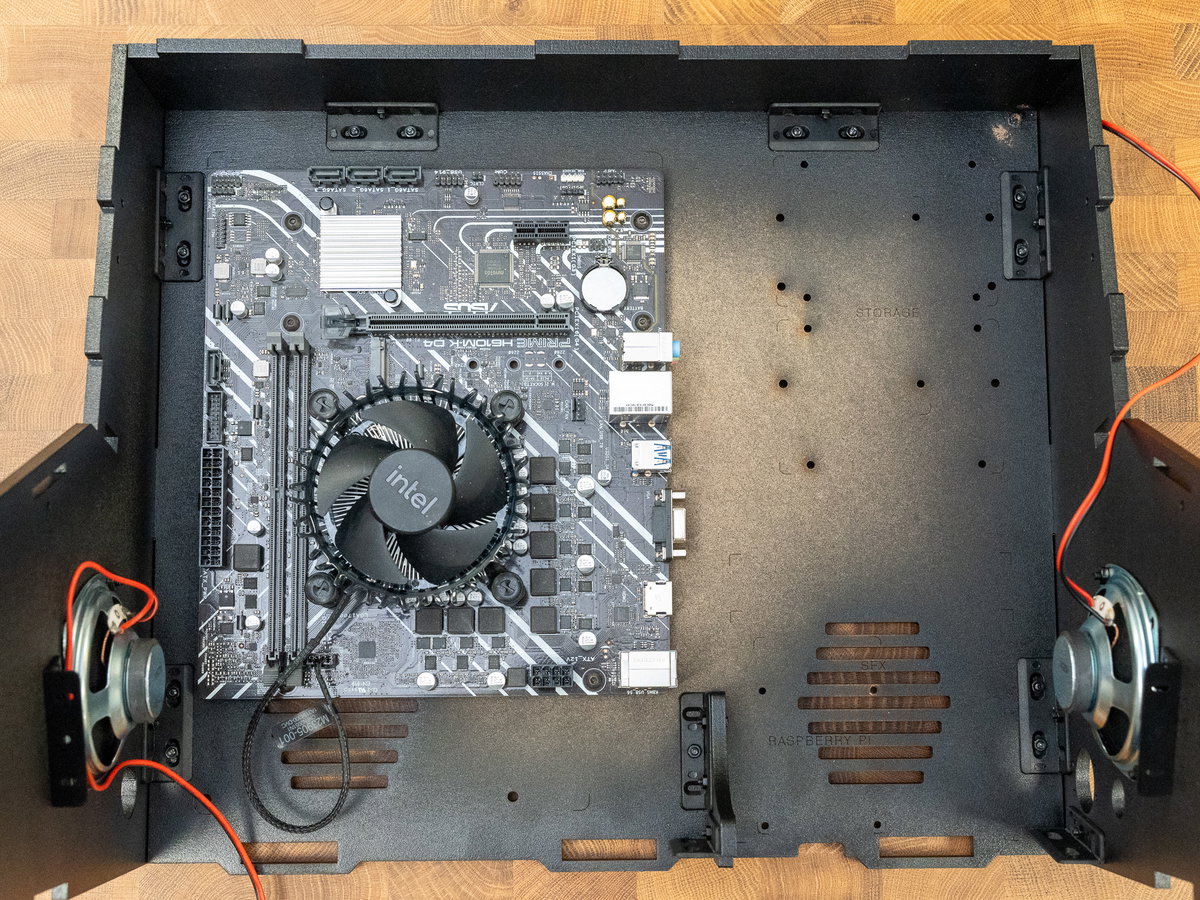
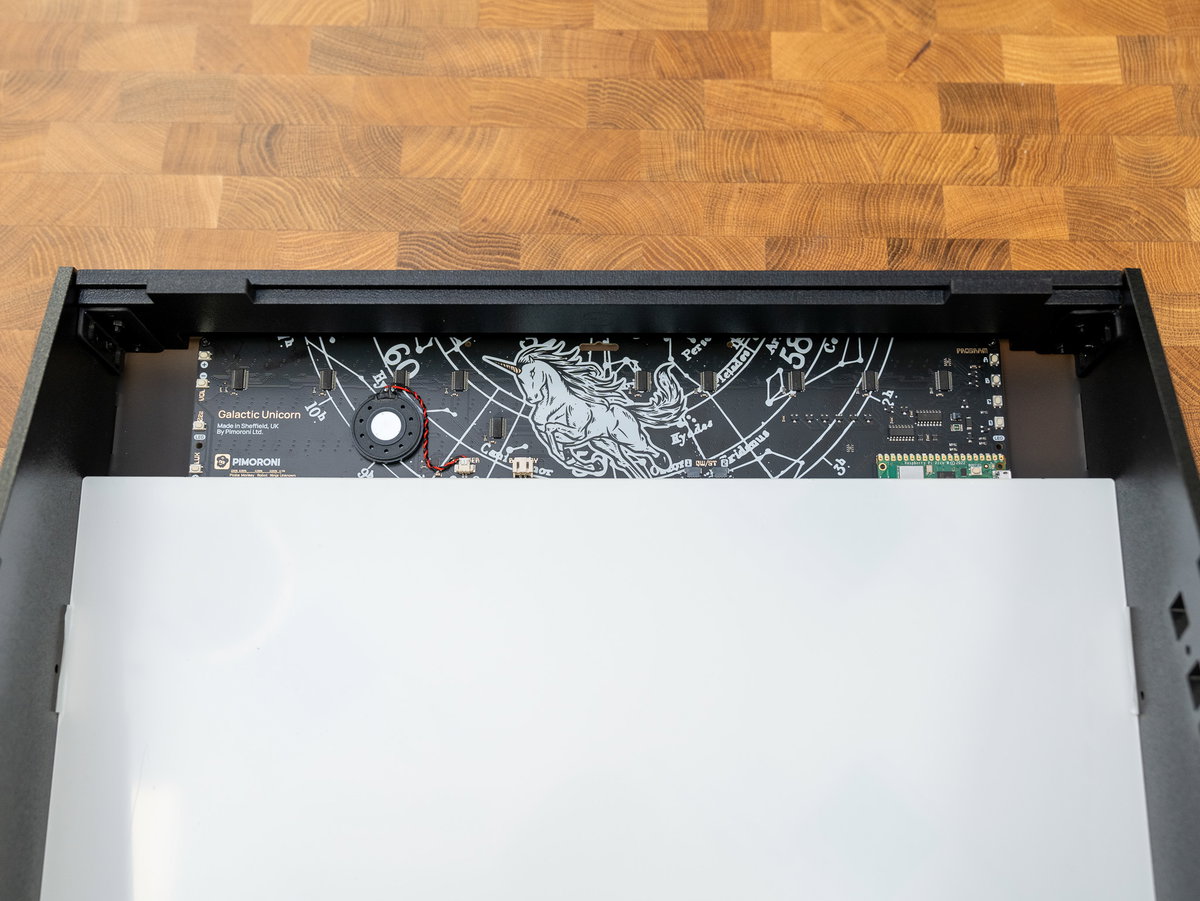
Appendix B - Unicorn Marquee
If you want to use a Galactic Unicorn as your marquee here's what you'll need:
- The black translucent acrylic marquee piece (with holes)
- A Galactic Unicorn
- A Diffuser Standoff Set containing tiny M2 nuts, screws and standoffs.
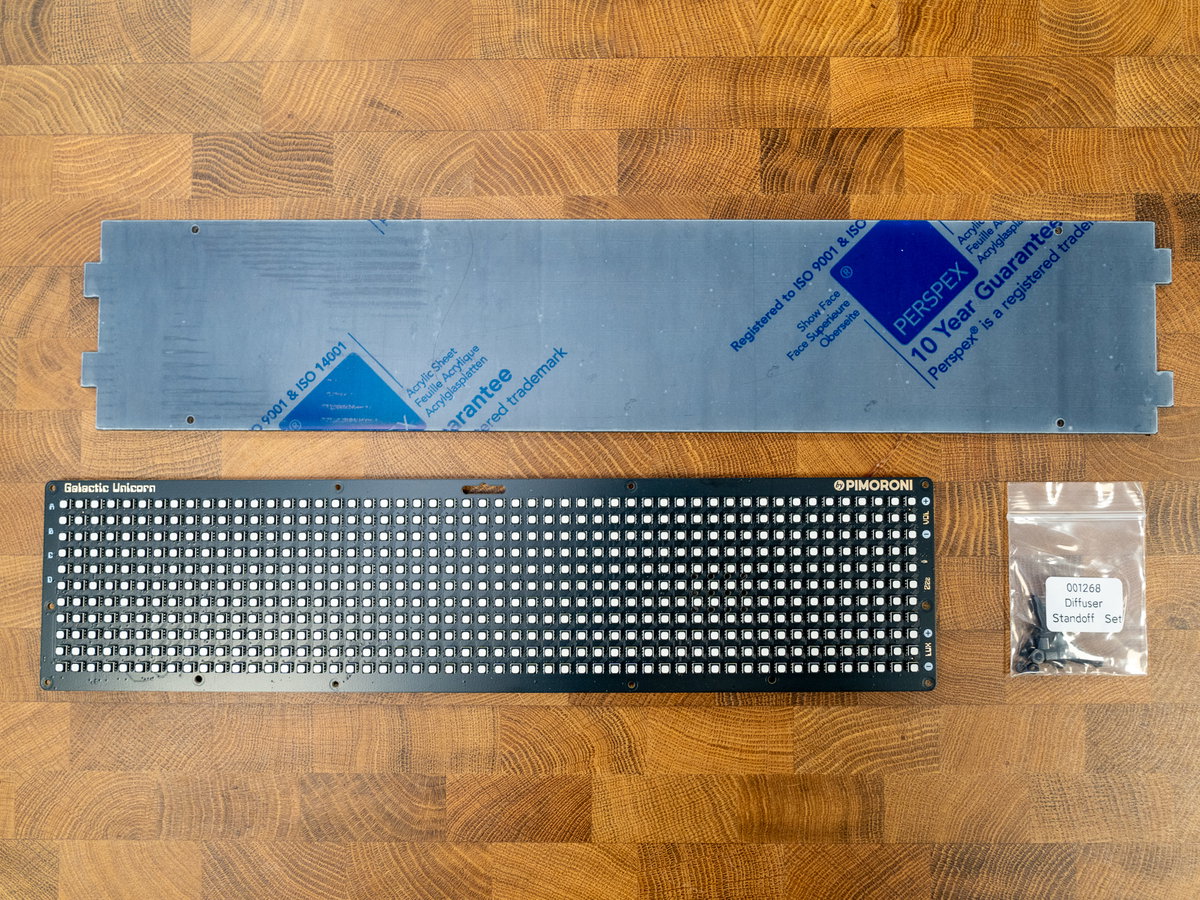
Remove the protective plastic from both sides of the acrylic diffuser piece.
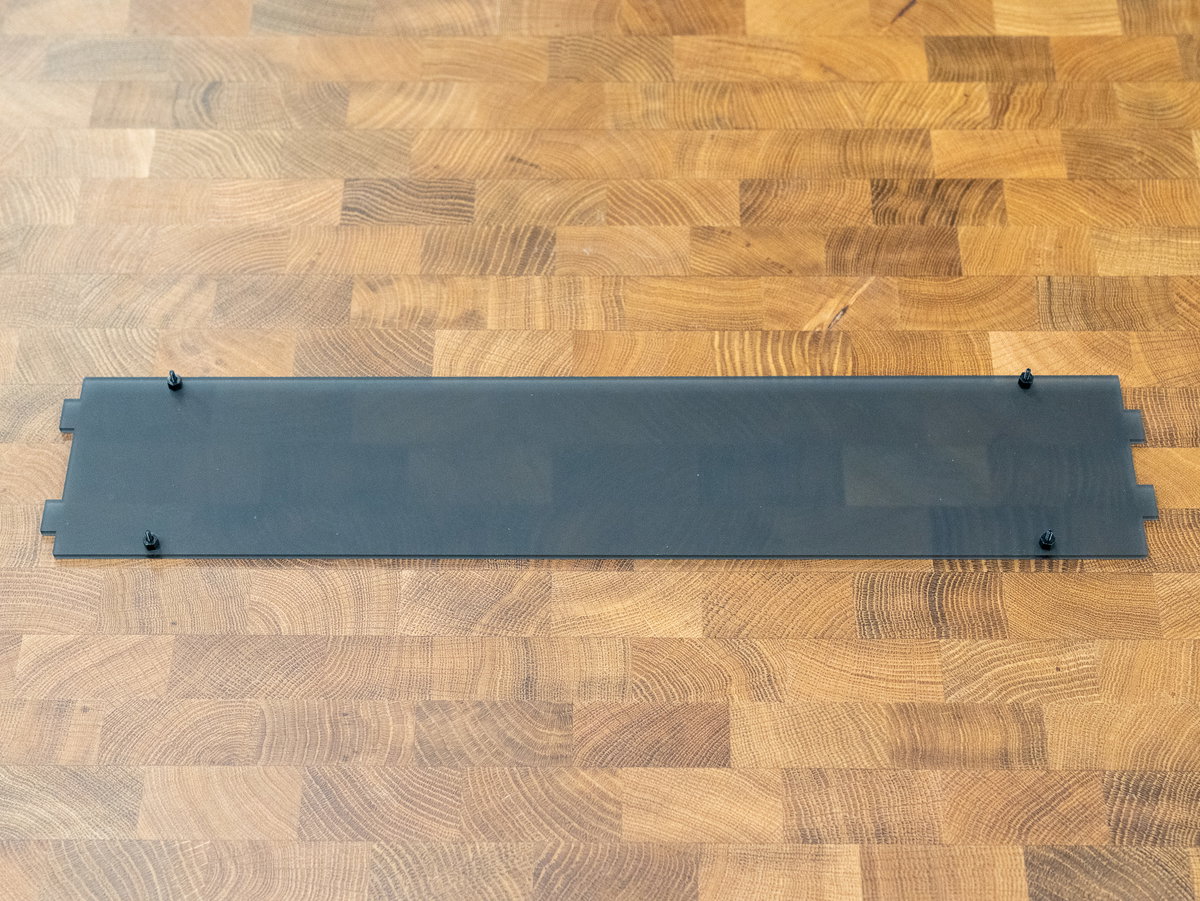
Poke the screws through the holes in the diffuser, and then screw the standoffs onto the back of the acrylic. Don't tighten them too much as you could crack the acrylic - just finger tight is fine.
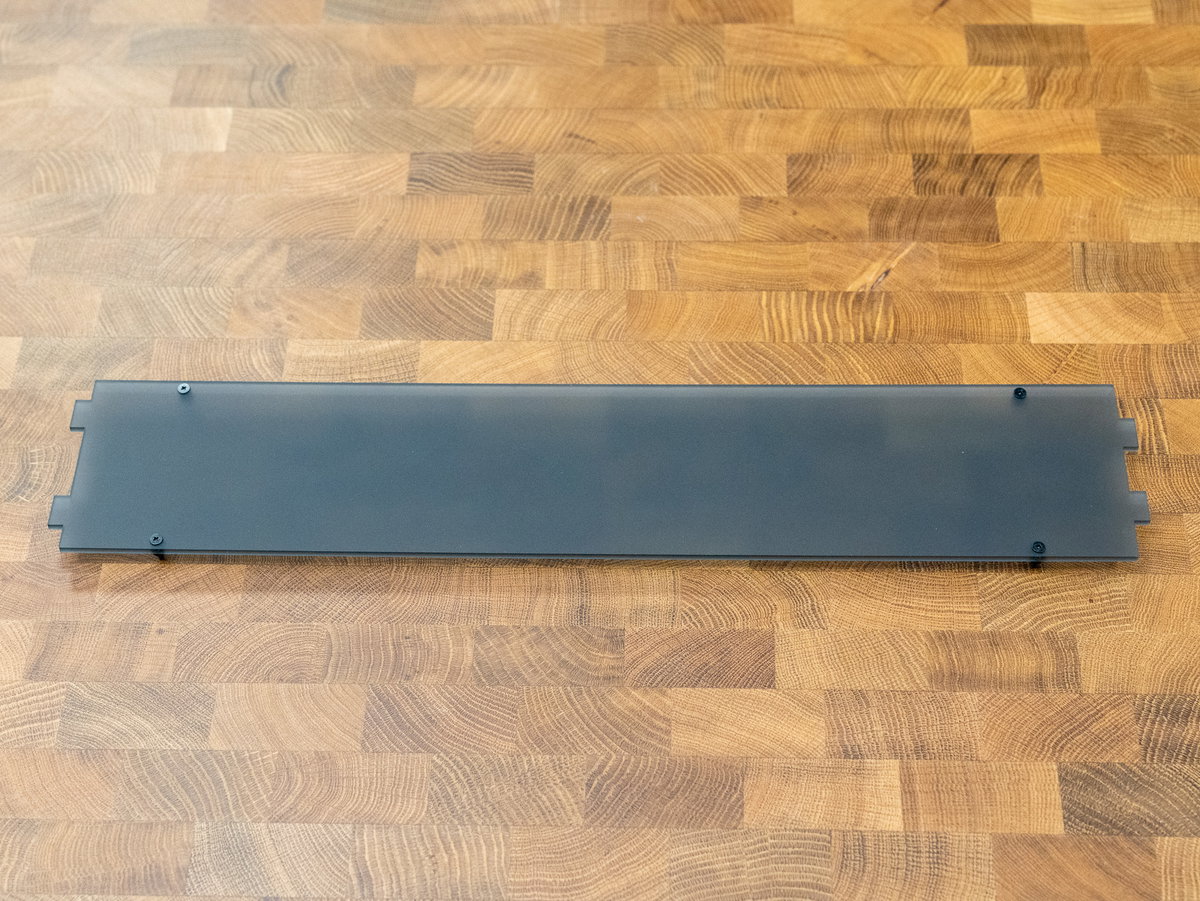
Flip it over so that the standoffs / screw threads are pointing upwards. When looking at the assembly from the back, the mounting tabs should be further apart on the left hand edge.
You can then poke the ends of screws through the mounting holes in your Unicorn board.
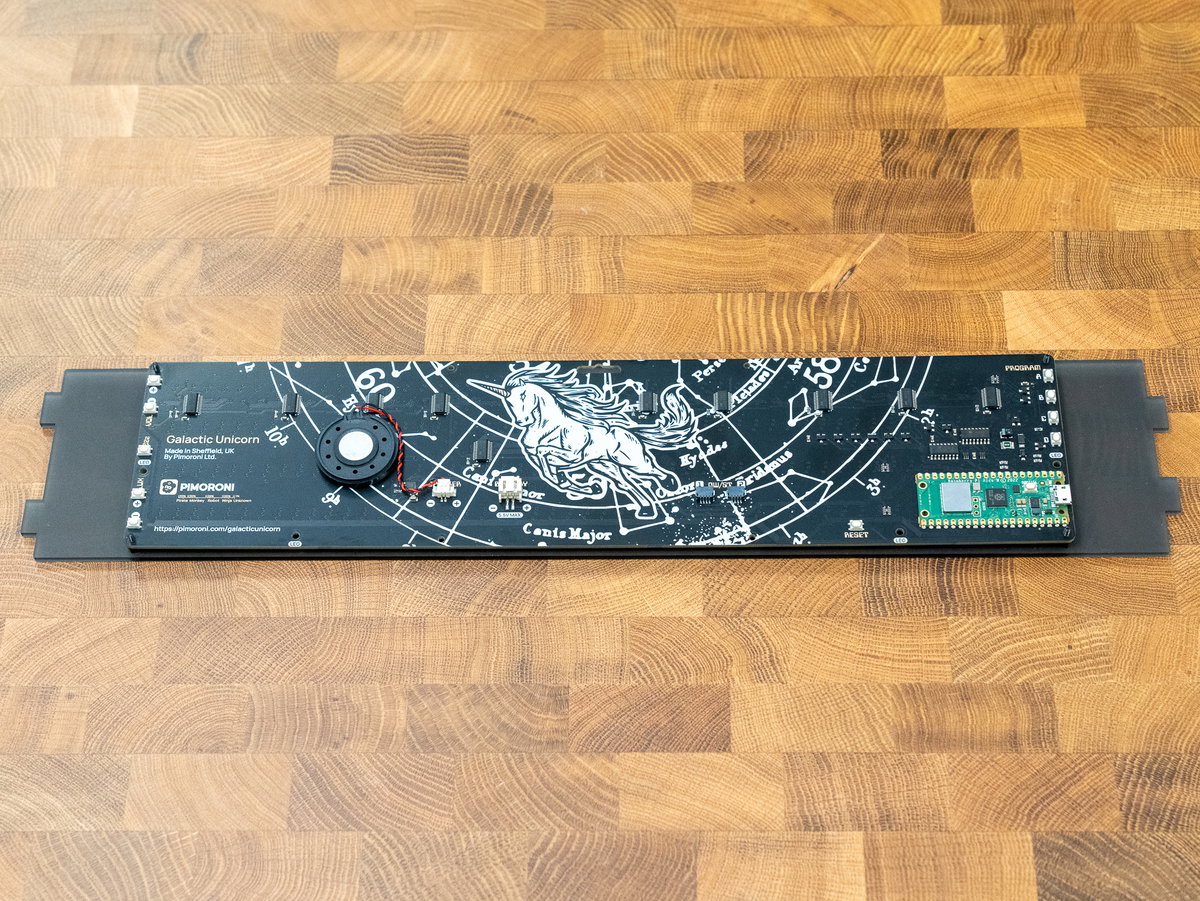
Secure everything in place by adding the nuts to the back of the board.
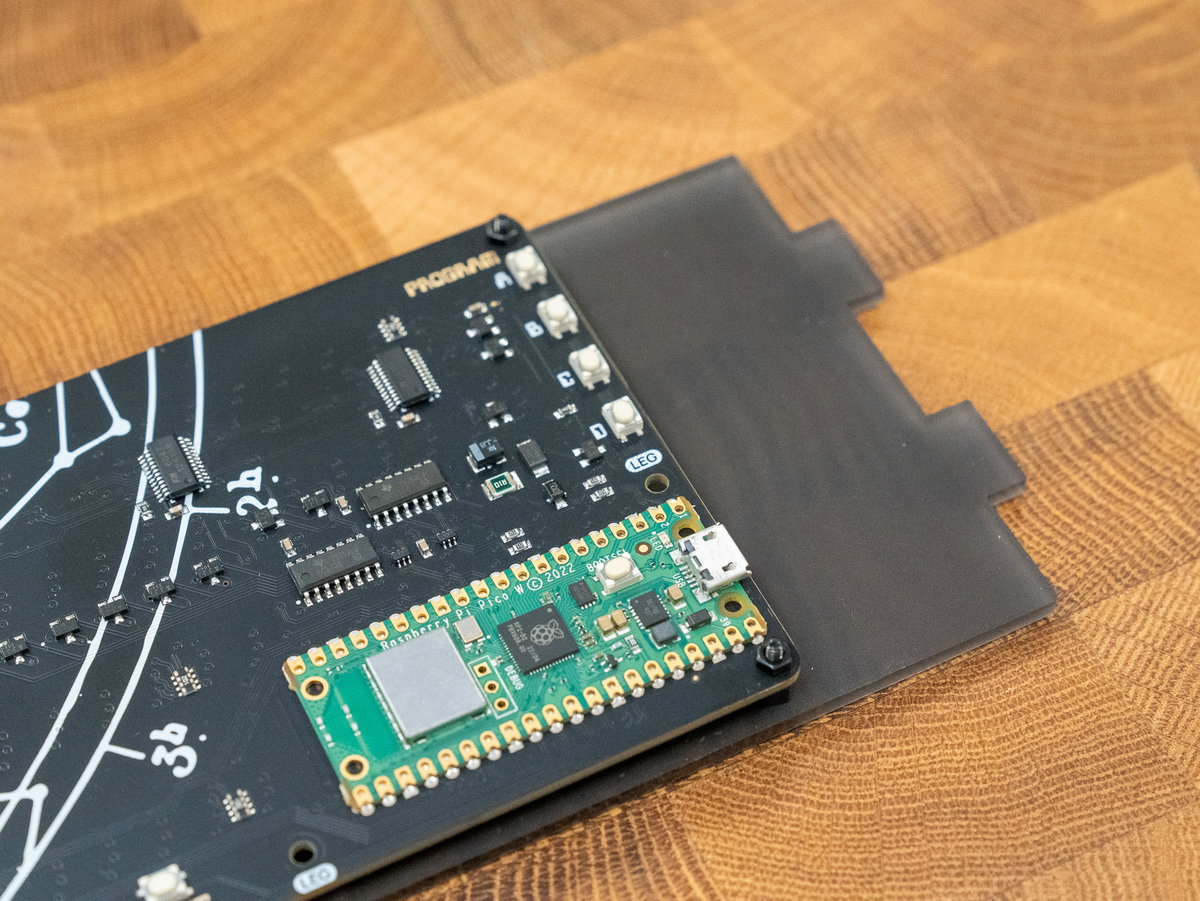
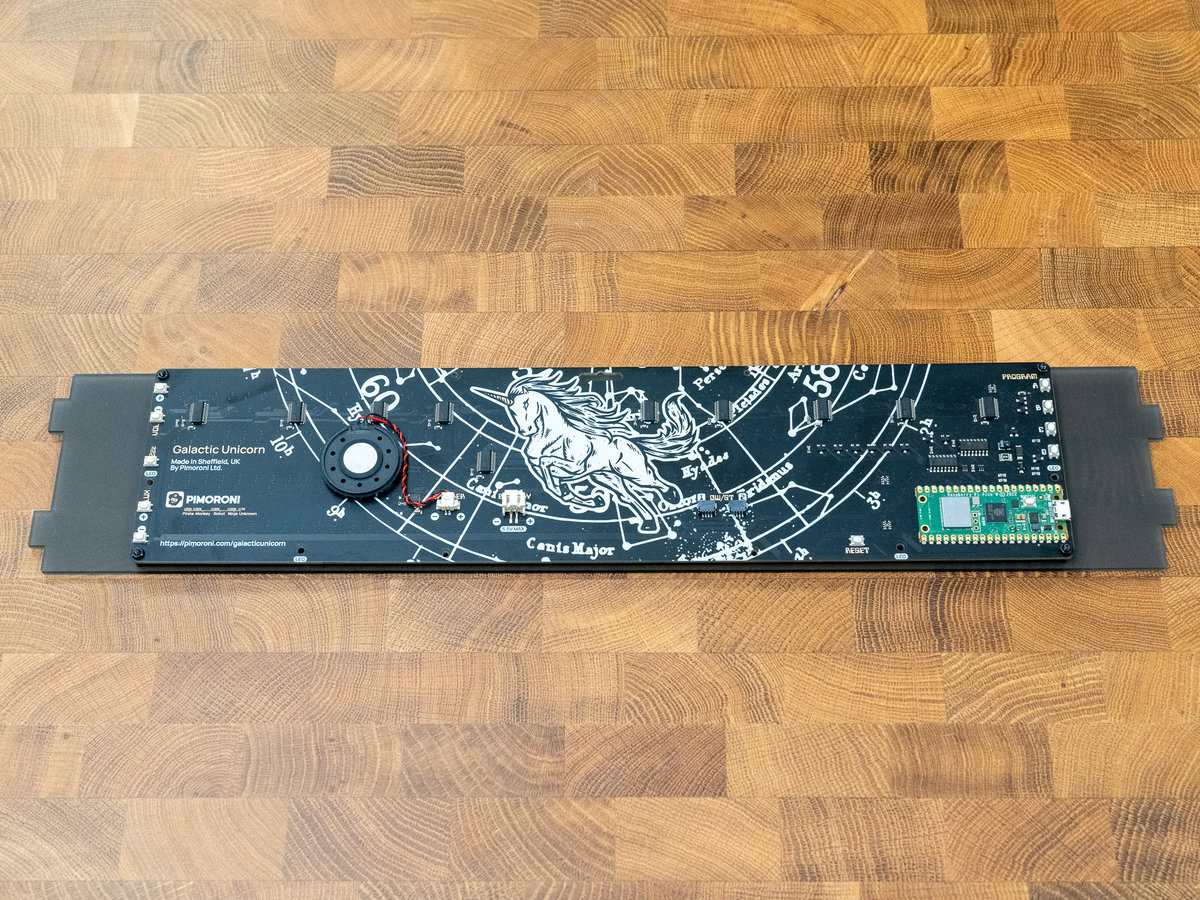
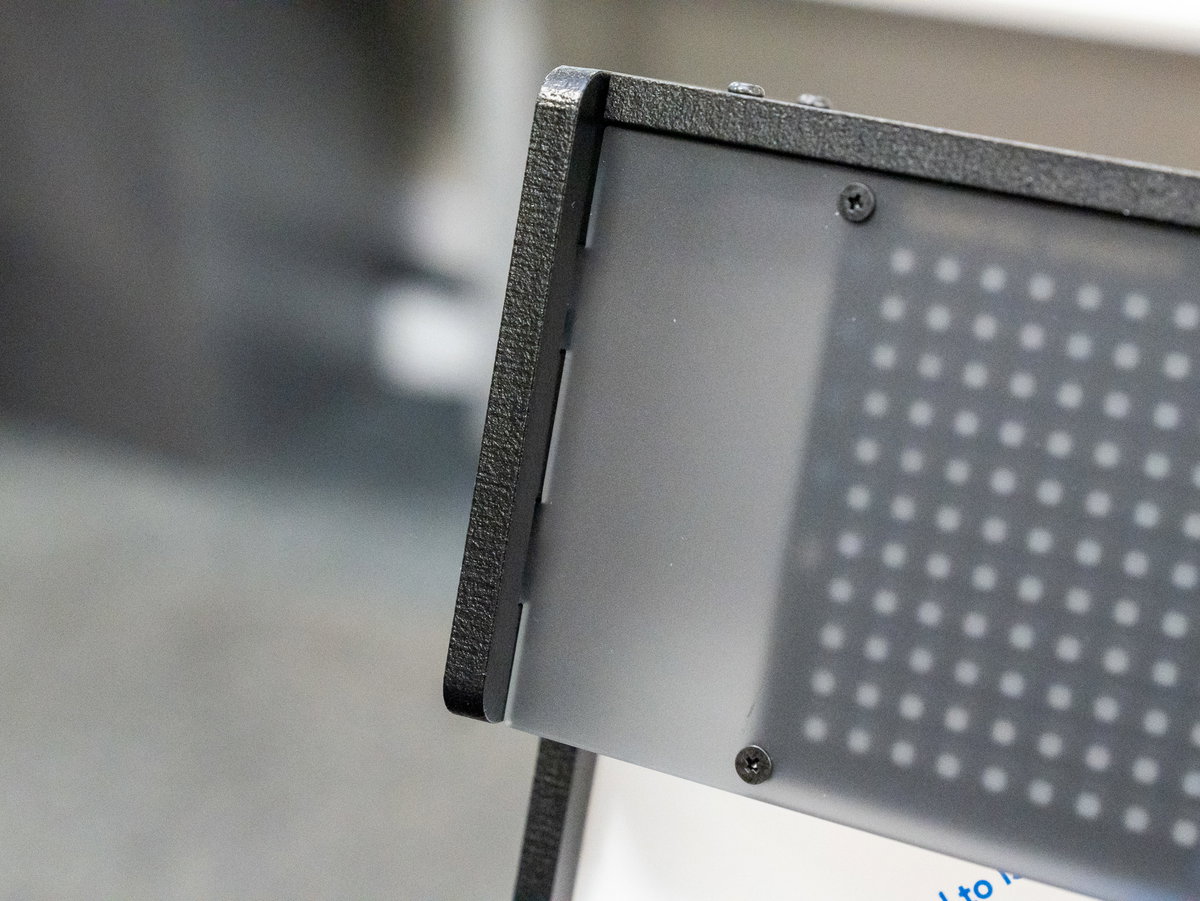
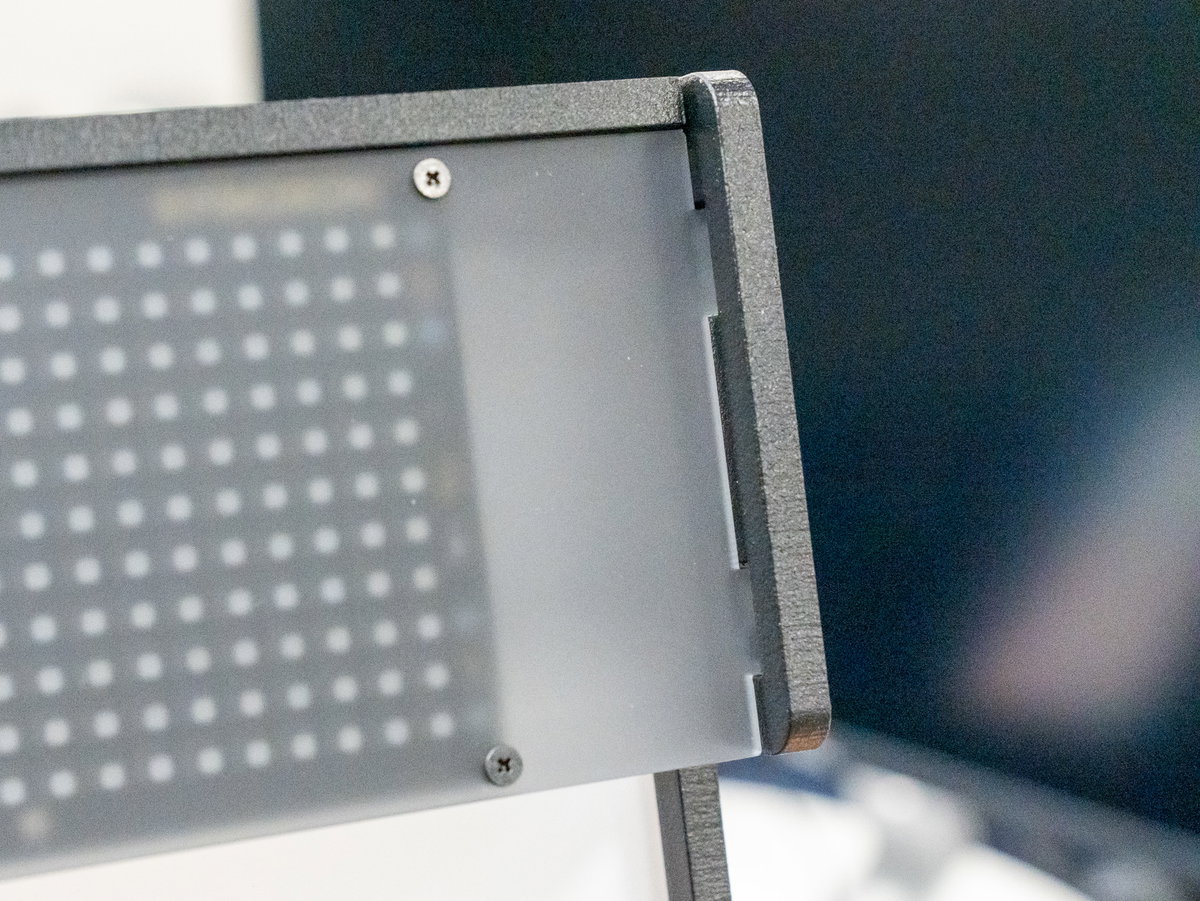
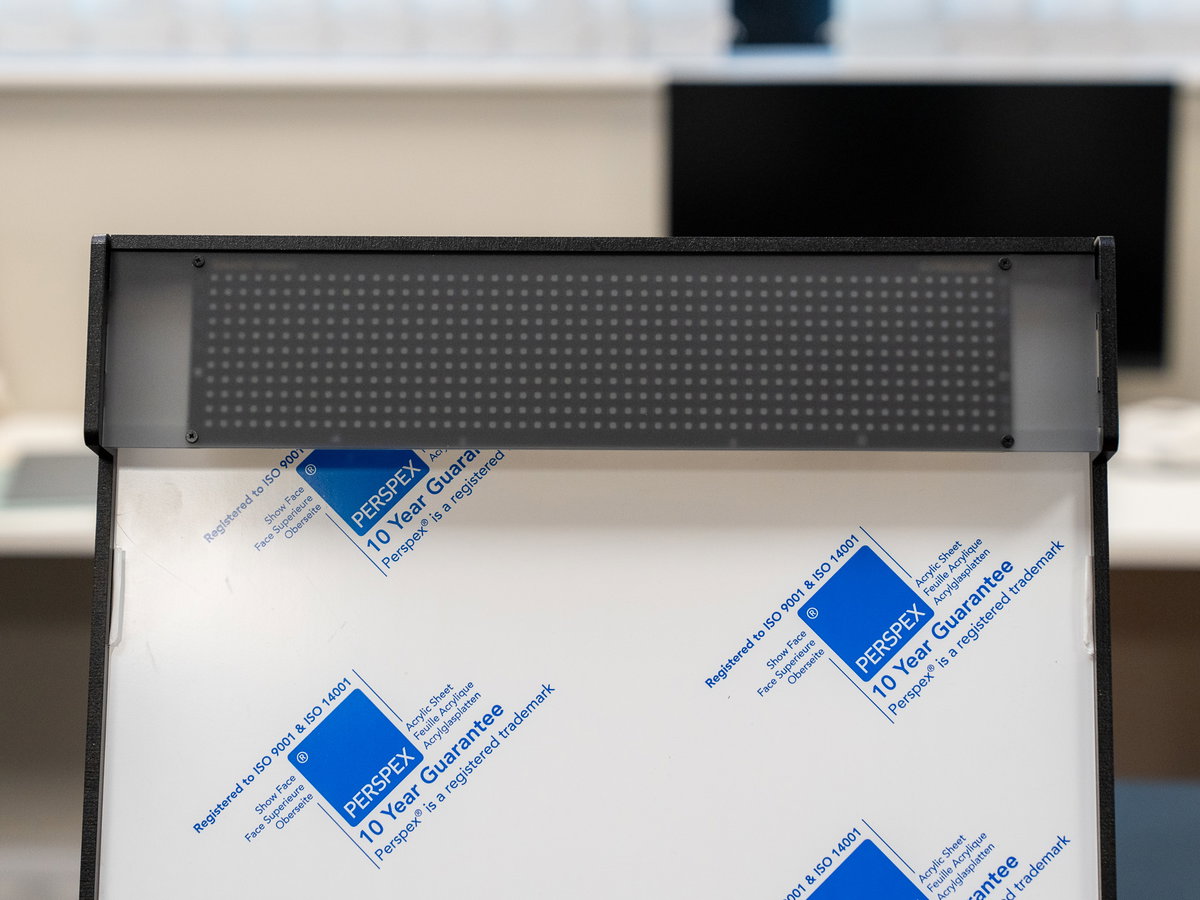
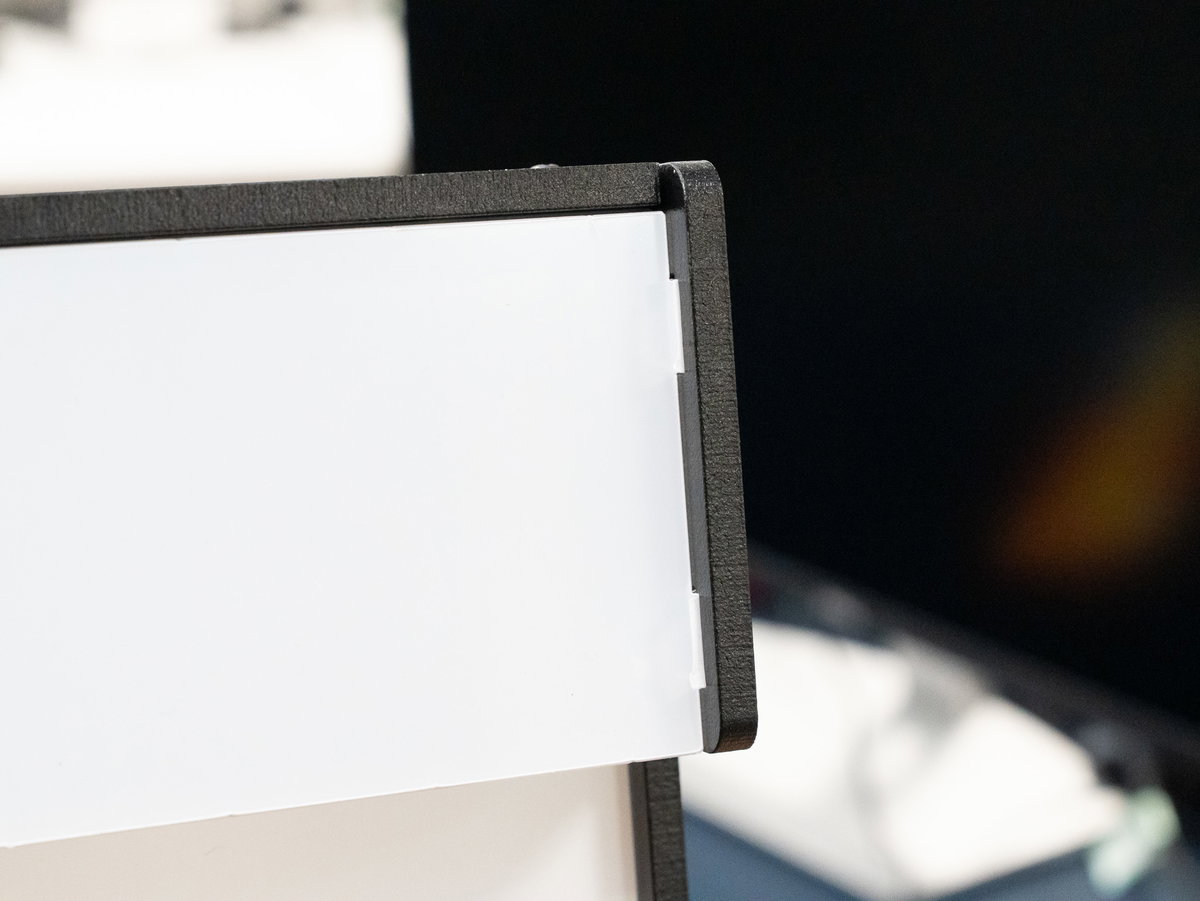
Fit the tabs on the diffuser panel into the front slots in panels D and E. Note that the clear transparent acrylic marquee piece won't be used if you're installing a Unicorn this way.
Appendix C - Unicorn Marquee with Clear Acrylic Overlay
If you just want to add a diffuser in front of the LEDs (like we did in Appendix B), you don't need to use the clear acrylic piece. However, the slots in the cabinet panels will accommodate both acrylic layers so it is now possible to mount the transparent piece in front of the diffuser if you want. This might be handy if you want to do something like mounting artwork or a vinyl overlay in front of the LEDs, or if you just want your diffuser to be shiny instead of matt.
If you want to go down this route here's what you'll need:
- The black translucent acrylic marquee piece (with holes)
- A Galactic Unicorn
- A Diffuser Standoff Set containing tiny M2 nuts, screws and standoffs.
- The clear acrylic marquee piece
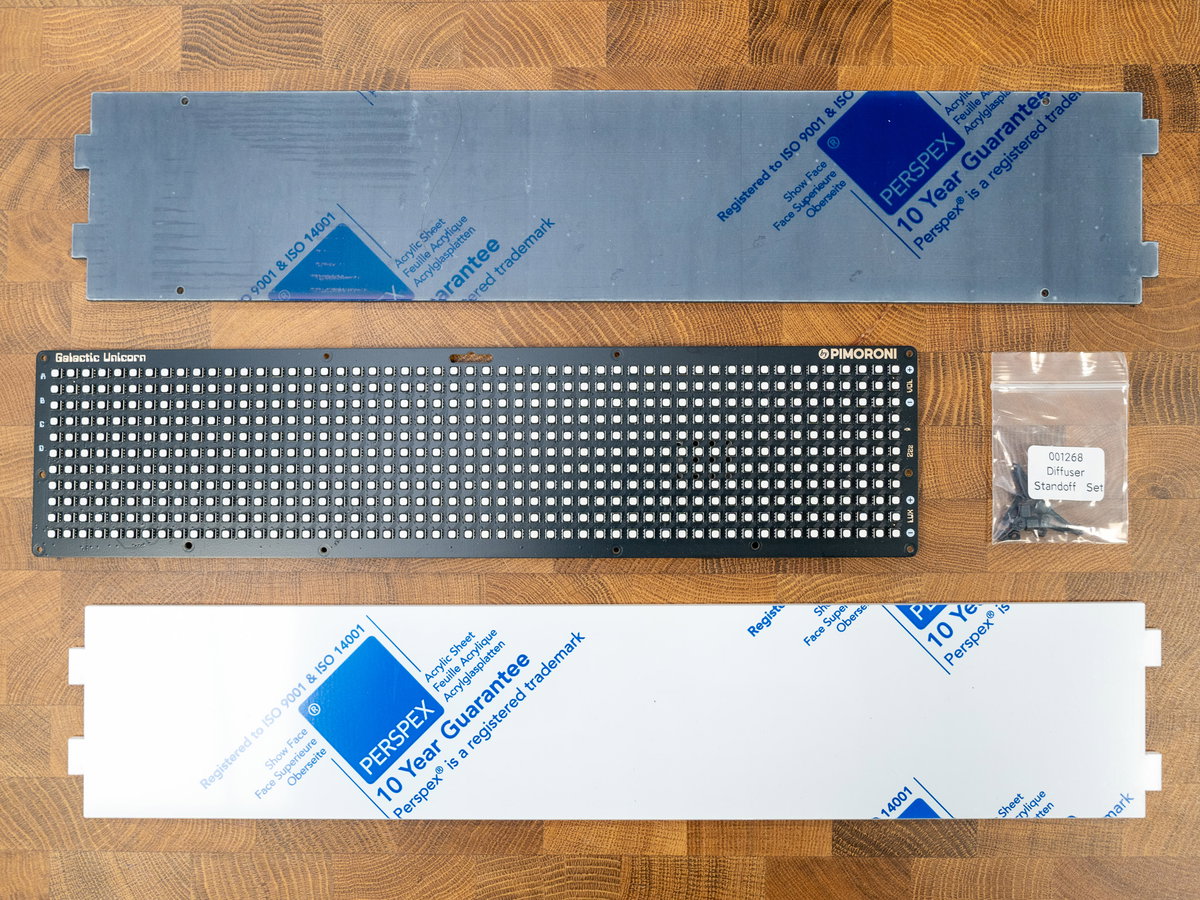
Unpeel the protective layer from the tabs of the clear acrylic piece.
Fasten your Unicorn to the translucent black diffuser piece using the screws, standoffs and nuts as described in Appendix B. Note that as we're planning on fitting this piece into the back slots in the cabinet, we'll using the translucent black piece the other way round, with the widely spaced tabs on the right (when looking at the assembly from the back).
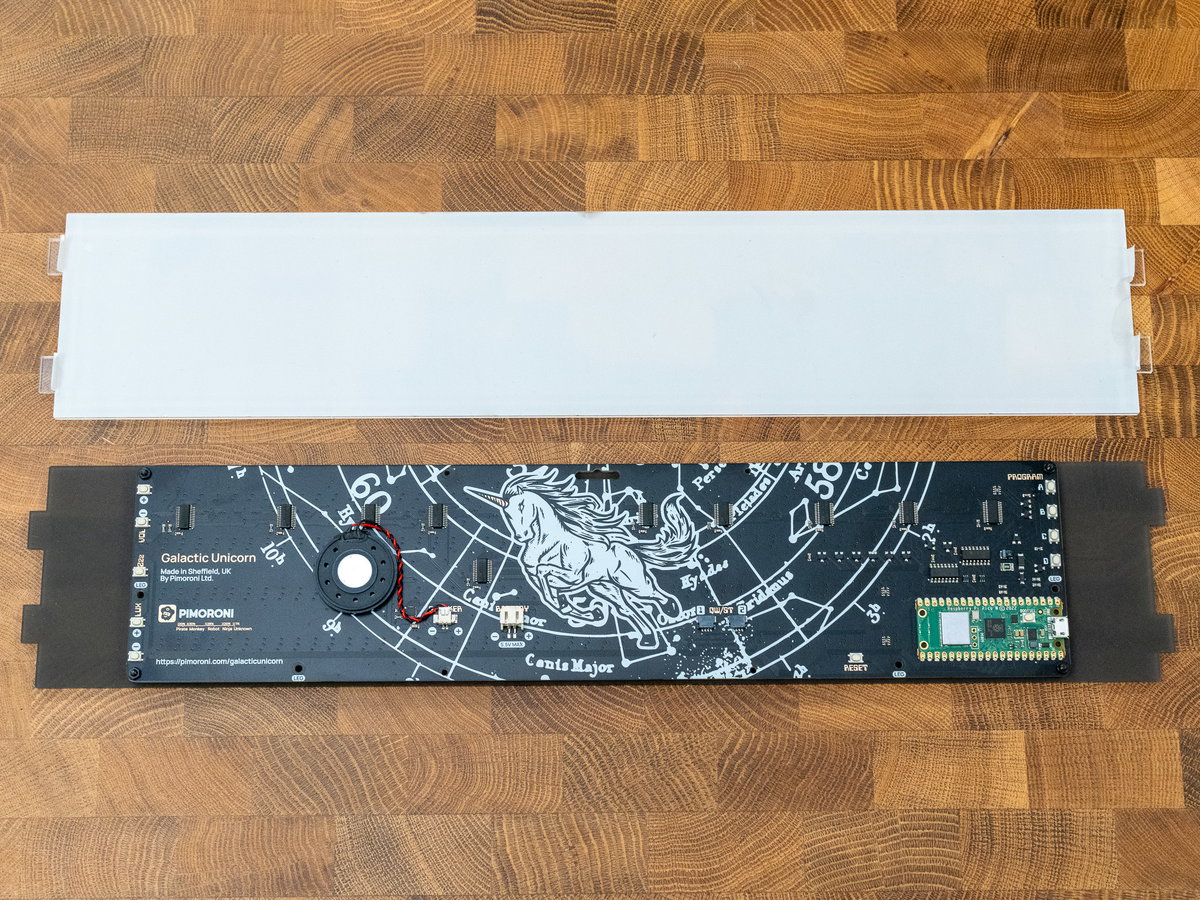
Unpeel the protective coating from the back of the clear acrylic piece (that's the side that's facing you if you've got the more closely spaced tabs on the right). Place the Unicorn + diffuser assembly on top of this piece - the tabs on the two pieces of acrylic should be offset.
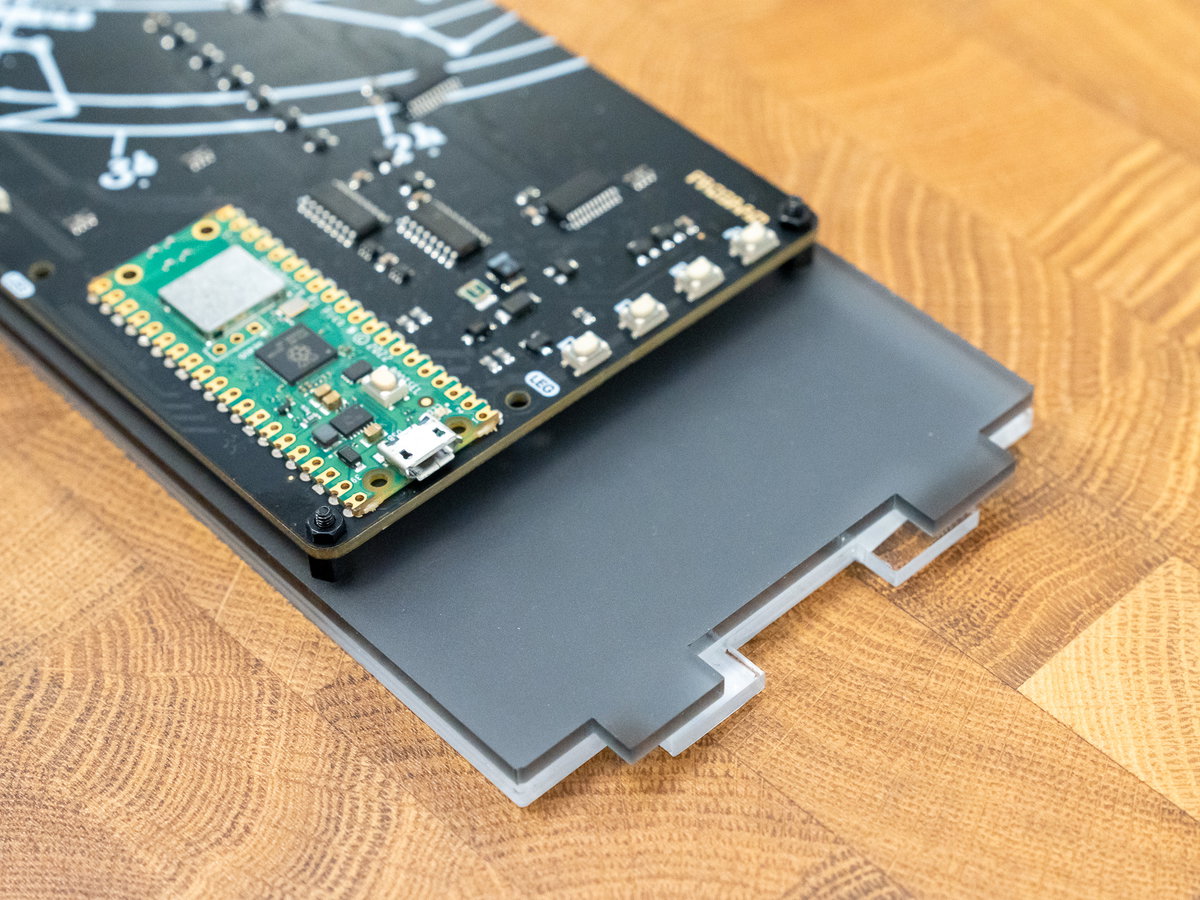
Fit the tabs on this assembly into the slots in panels D and E. It will use the front and back slots.
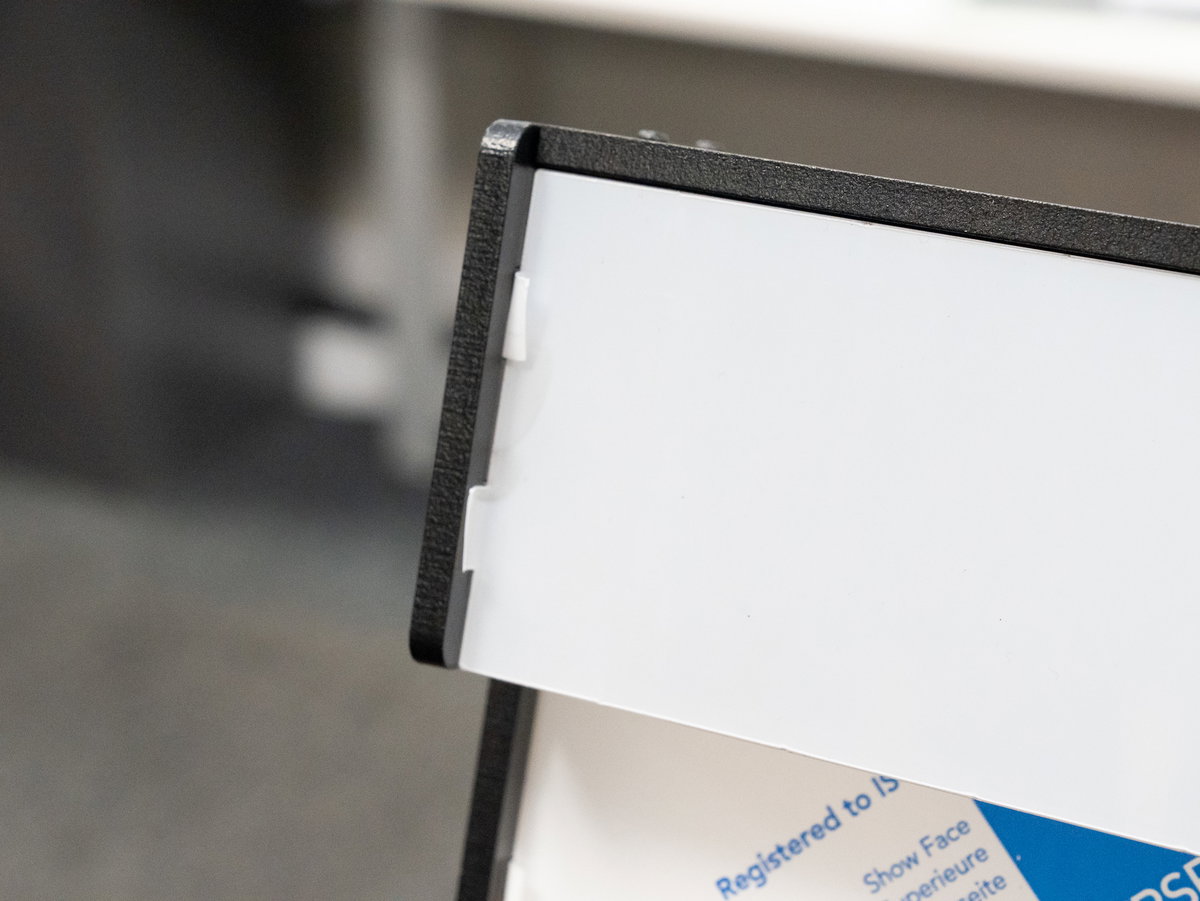
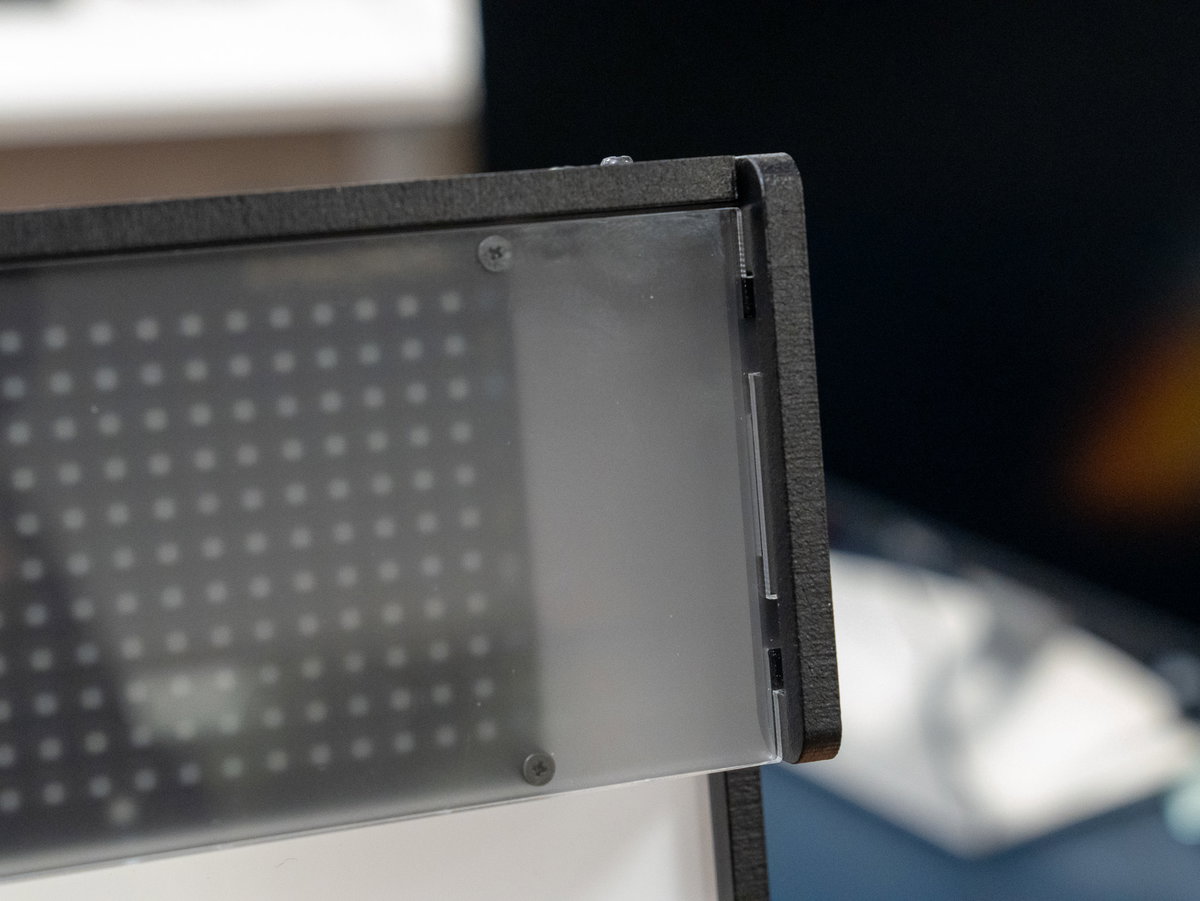
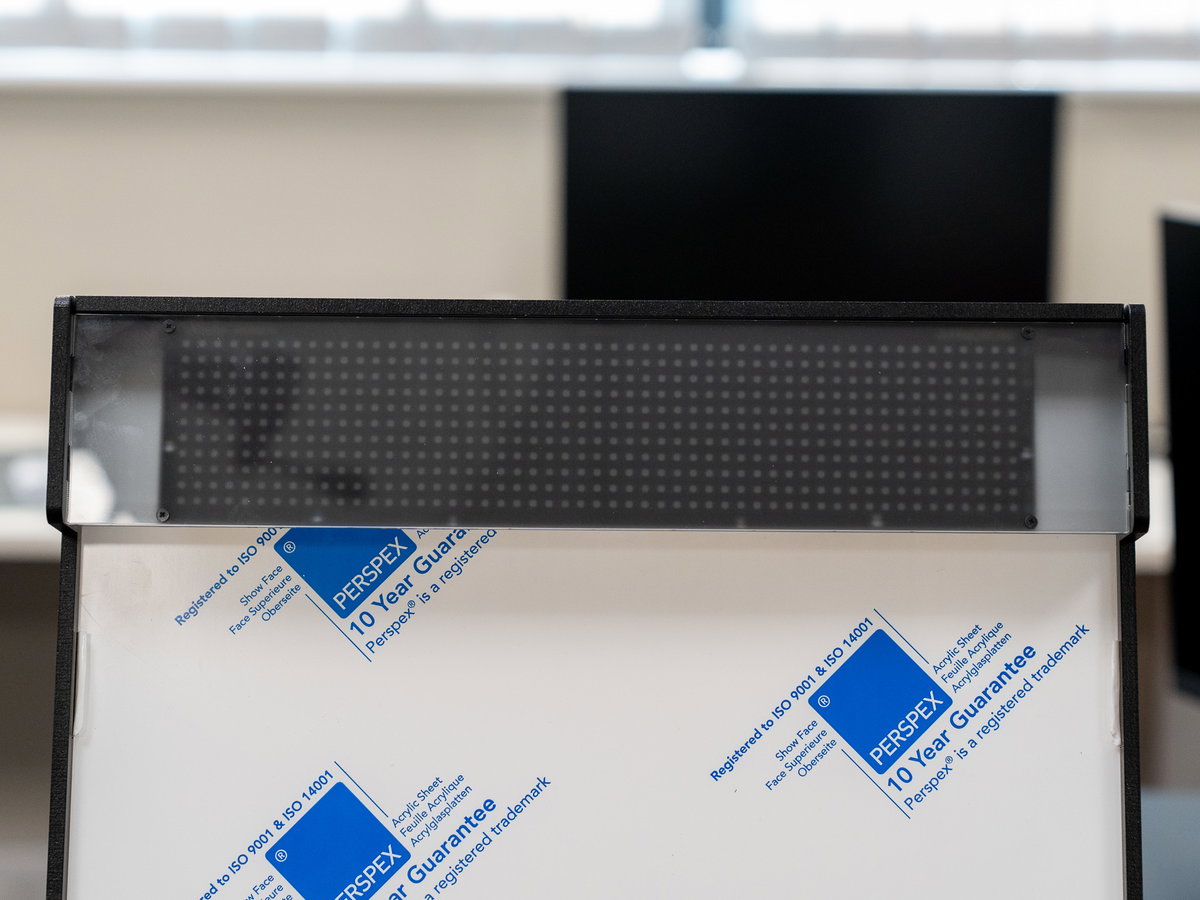
Here's what it looks like from the back!